Gluten-free sourdough sounds intimidating, but it's genuinely one of the most rewarding things you can bake once you understand what's actually happening in the dough. Here are five proven approaches to gluten-free sourdough, ranked from easiest to most advanced, along with the science that makes each one work.
Key takeaways
- You can make real gluten-free sourdough with a dedicated GF starter — no wheat contamination necessary for authentic tang and rise.
- Psyllium husk is the most reliable binder for GF sourdough because it mimics gluten's extensibility better than xanthan gum in long-fermented doughs.
- A rice flour and starch blend is the most beginner-friendly base, while buckwheat and teff starters offer more complex flavor for intermediate bakers.
- GF sourdough dough behaves more like a thick batter than a traditional dough — you shape it differently and proof it shorter.
- Internal temperature is the only reliable way to know GF sourdough is done. Pull it at 205-210°F (96-99°C) and cool completely before slicing.
- Starting with a simple loaf pan recipe eliminates the biggest failure point for beginners: trying to shape a soft dough freeform.
Why gluten-free sourdough is different from regular sourdough
Gluten-free sourdough relies on the same wild yeast and lactic acid bacteria as wheat sourdough, but without gluten's elastic protein network, the dough can't trap gas the same way. Instead of kneading and stretching, you're building structure through binders, hydration, and starch gelatinization.
This means GF sourdough dough looks and feels completely different. It's wet, sticky, and more like a thick pancake batter than a ball of dough. That's not a problem — that's how it's supposed to be. If you've been frustrated by sticky gluten-free dough before, sourdough will actually teach you to embrace it.
The fermentation process does something special for gluten-free flours: it breaks down phytic acid, improves mineral absorption, and develops flavors that mask the sometimes off-putting taste of rice flour or starch-heavy blends. Many people who find regular GF bread bland are shocked by how good sourdough tastes.
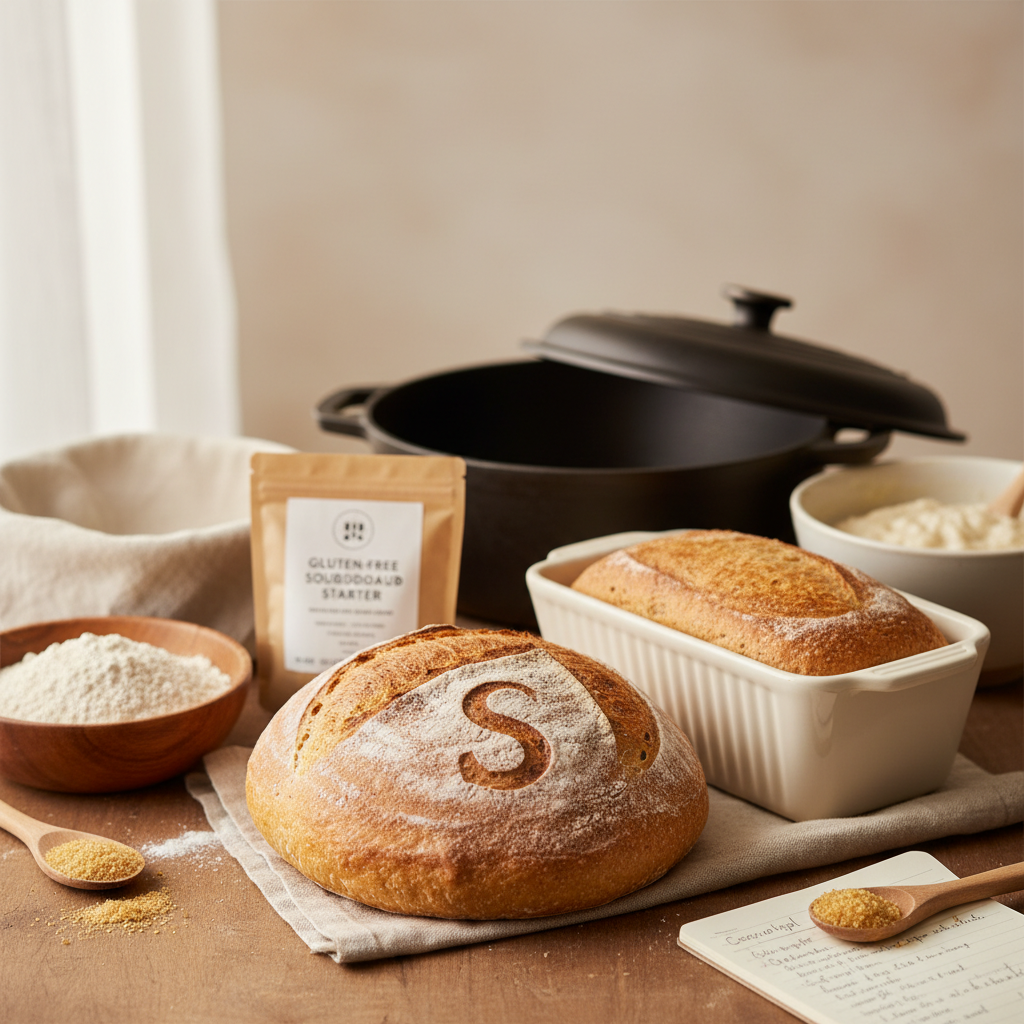
How to make a gluten-free sourdough starter from scratch
A gluten-free sourdough starter takes 7-14 days to establish and uses the exact same wild fermentation process as a wheat starter. The only difference is your flour choice.
The simplest approach is to use brown rice flour as your base. It ferments reliably, is inexpensive, and produces a mild-flavored starter that works in any recipe. Here's the basic process:
- Day 1: Mix 50g brown rice flour with 50g room-temperature water in a clean jar. Cover loosely and leave at room temperature (70-78°F is ideal).
- Days 2-3: You may see some bubbles or nothing at all. Discard half the starter, then feed with 50g flour and 50g water.
- Days 4-7: Feed once or twice daily (every 12-24 hours), always discarding half first. You should start seeing consistent bubbling.
- Days 7-14: Your starter is ready when it reliably doubles in size within 4-8 hours of feeding.
A few tips that prevent the most common beginner failures: use filtered or bottled water (chlorine can inhibit fermentation), keep the jar in a warm spot, and be patient. GF starters sometimes take a few extra days compared to wheat starters because rice flour has fewer naturally occurring wild yeasts on its surface.
For a more flavorful starter, try buckwheat flour — it ferments vigorously and gives a deeper, earthier tang. Some bakers maintain a rice flour starter for mild breads and a buckwheat starter for heartier loaves.
If you're building out your gluten-free baking setup for the first time, our Confident Gluten-Free Baker Toolkit walks you through the foundational knowledge that makes recipes like these actually succeed, rather than leaving you guessing about why something went wrong.
Approach 1: simple loaf pan sourdough (easiest)
This is where every beginner should start. A loaf pan eliminates the need to shape your dough freeform, which is the single biggest frustration point in GF sourdough baking. The pan does the structural work for you.
What makes this approach work
The recipe uses a commercial gluten-free flour blend as the base (like Bob's Red Mill 1-to-1 or King Arthur Measure for Measure), psyllium husk as the primary binder, and your GF sourdough starter for leavening. The flour blend already has starches and protein flours balanced, so you're not building a custom blend from scratch.
A typical ratio looks like this:
| Ingredient | Amount | Role |
|---|---|---|
| GF flour blend | 350g | Structure and bulk |
| Active GF starter | 200g | Leavening and flavor |
| Psyllium husk powder | 15g | Binding and moisture retention |
| Water | 250-280g | Hydration (adjust by blend) |
| Salt | 7g | Flavor and fermentation control |
| Olive oil or melted butter | 30g | Crumb tenderness |
| Honey or sugar | 15g | Feeds yeast, aids browning |
Mix everything together until smooth (a stand mixer with a paddle attachment makes this much easier), pour into a greased loaf pan, cover, and proof at room temperature for 4-8 hours or until the dough rises about 1 inch above the rim. Bake at 375°F for 50-60 minutes.
Common mistakes and how to fix them
The bread collapses after rising beautifully. You overproofed. GF sourdough has a narrower proofing window than wheat sourdough. Once it crests the pan, get it in the oven. If this keeps happening, check our full guide on why gluten-free bread collapses.
The center is gummy. This is almost always an underbaking issue. Use an instant-read thermometer and don't pull the bread until it hits 205°F internally. Then let it cool completely — at least 2 hours — before slicing. We know it's hard to wait, but cutting into hot GF bread guarantees a gummy interior.
The crust is pale and soft. Brush the top with water or an egg wash before baking, and make sure your oven is properly preheated. An oven thermometer is worth its weight in gold here.
Approach 2: buckwheat and teff sourdough (more flavor)
Once you've nailed the basic loaf pan method, this approach introduces more interesting flours for a bread that tastes like something you'd buy at an artisan bakery. Buckwheat and teff both have naturally strong, nutty flavors that pair beautifully with sourdough's tang.
What makes this approach work
Instead of relying entirely on a commercial blend, you're building a custom flour mix. A good starting point is 50% brown rice flour, 25% buckwheat flour, and 25% teff flour, with tapioca starch added at about 15% of total flour weight for chewiness. The tapioca starch is critical — it creates that slightly stretchy, chewy quality that makes sourdough feel like sourdough.
Use psyllium husk as your binder here (not xanthan gum). In long-fermented doughs, psyllium creates a more extensible, bread-like crumb. Xanthan gum tends to make sourdough rubbery over time as the acids in the dough interact with it.
Common mistakes and how to fix them
The bread tastes too earthy or bitter. Buckwheat can be strong. Dial it back to 15% and increase the rice flour. Also make sure you're using light buckwheat flour, not dark — the dark variety has more hull and a more aggressive flavor.
The dough is too thick to pour. Custom blends absorb water differently than commercial blends. Add water 1 tablespoon at a time until you get a thick batter consistency — it should slowly pour off a spoon, not plop in chunks.
The bread is dense and heavy. Whole grain flours like teff and buckwheat are heavier than refined rice flour. Make sure your starter is at peak activity (doubled and bubbly) before mixing. If density is a recurring issue, our complete guide to fixing dense GF bread covers every possible cause.
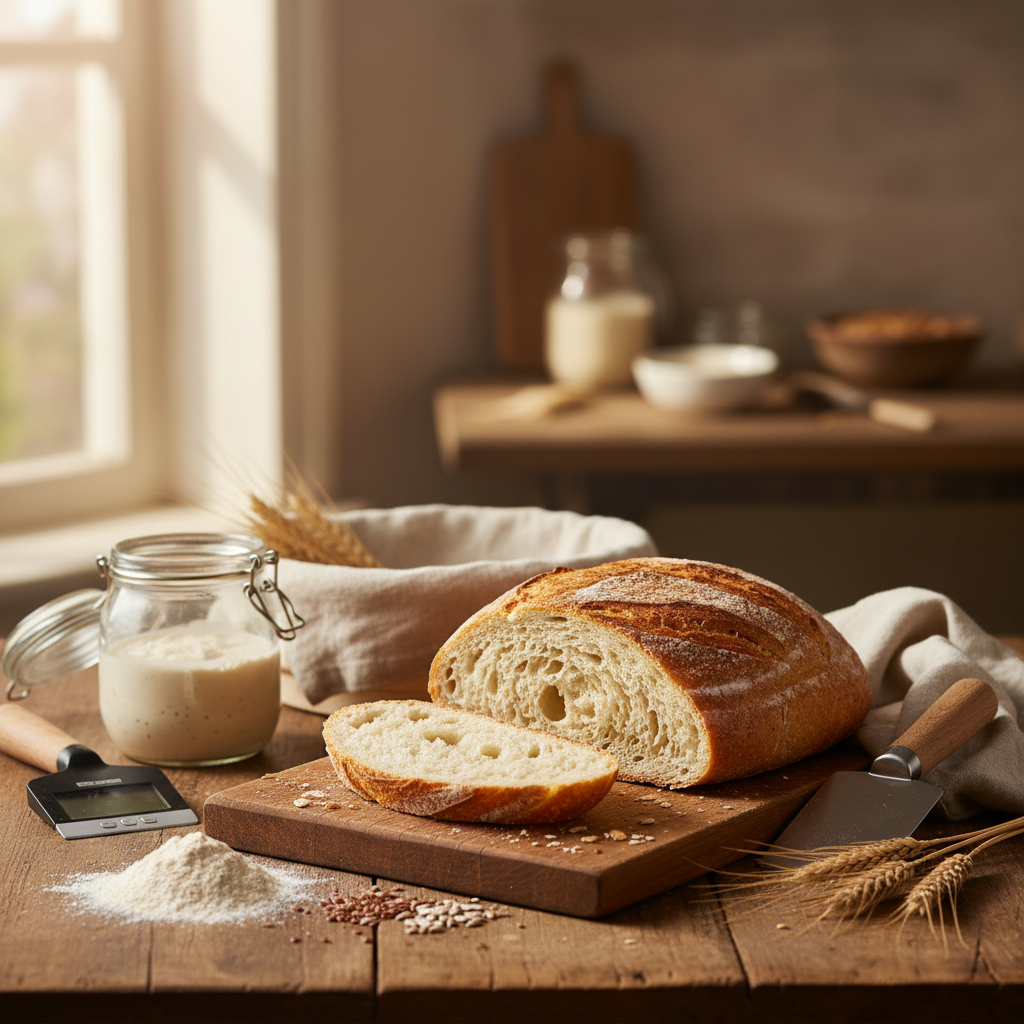
Approach 3: Dutch oven artisan round (crusty and impressive)
This is the approach that makes people say "wait, that's gluten-free?" Baking in a Dutch oven traps steam around the loaf, creating a crackling crust that's genuinely hard to distinguish from wheat sourdough.
What makes this approach work
The Dutch oven creates a sealed, humid environment during the first 20-25 minutes of baking. This steam keeps the crust flexible while the bread expands, then removing the lid lets the crust dry out and develop deep color and crunch. It's the same technique wheat sourdough bakers use, and it works just as well for GF dough.
The key difference from the loaf pan method: you need a stiffer dough that can hold a rough shape. This means slightly less water and more psyllium husk (bump it up to 20g for 350g of flour). You'll shape the dough with wet hands into a rough ball, place it on parchment paper, let it proof, then lower it into the preheated Dutch oven.
Don't expect the tight, smooth boule shape you see in wheat sourdough Instagram posts. GF dough will spread a bit and look rustic. That's fine — the flavor and crust make up for it.
Common mistakes and how to fix them
The bread spreads flat instead of rising up. Your dough was too wet, or you proofed too long on the counter without support. Try proofing in a bowl lined with a floured cloth to help the dough hold its shape, then flip it into the Dutch oven.
The bottom burns before the inside is done. Place a baking sheet on the rack below the Dutch oven to act as a heat shield. You can also reduce the oven temperature by 15-20°F after removing the lid.
The bread sticks to the Dutch oven. Always use parchment paper as a sling. GF dough is stickier than wheat dough and will bond to cast iron like cement without a barrier.
Approach 4: overnight cold-fermented sourdough (best flavor)
If you want the deepest, most complex sourdough flavor with the least hands-on work, cold fermentation is your friend. You mix the dough in the evening, stick it in the fridge overnight, and bake it the next morning.
What makes this approach work
Cold temperatures (38-42°F) slow down yeast activity but allow lactic acid bacteria to keep working. This means the dough develops more sour flavor without overproofing. It also makes the dough slightly firmer and easier to handle, which is a huge bonus for GF bakers who struggle with soft, sticky dough.
Use any of the flour combinations from the approaches above. The method stays the same: mix your dough, place it in a loaf pan or proofing bowl, cover tightly, and refrigerate for 8-16 hours. In the morning, let it sit at room temperature for 30-60 minutes while you preheat the oven, then bake as usual.
The science here is straightforward — longer fermentation also breaks down more of the complex sugars and starches in GF flours, which improves digestibility and reduces that "beany" or starchy aftertaste some people notice in gluten-free baked goods.
Common mistakes and how to fix them
The dough doesn't rise at all in the fridge. That's normal — cold fermentation produces minimal visible rise. The rise happens during the room-temperature rest and the first few minutes in the oven (oven spring). Don't panic if it looks flat in the morning.
The bread is too sour. Shorten the cold fermentation to 8-10 hours, or use a younger starter (fed 4-6 hours before mixing rather than at peak). You can also add a pinch of baking soda (1/4 teaspoon) to neutralize some acidity without affecting the flavor dramatically.
Approach 5: sourdough discard flatbreads and focaccia (use your discard)
Every sourdough baker ends up with discard — the portion you remove before feeding. Instead of throwing it away, use it to make flatbreads and focaccia that require zero shaping skill and almost no proofing time.
What makes this approach work
Sourdough discard still contains flavor compounds and some leavening power, even if it's past peak activity. For flatbreads, you don't need much rise at all — the discard provides tang and a slight puffiness. For focaccia, you supplement the discard with a small amount of commercial yeast to guarantee a good rise.
A basic GF sourdough focaccia uses 200g discard, 250g GF flour blend, 10g psyllium husk, 5g instant yeast, 200g warm water, 60g olive oil, and 7g salt. Mix it all together, pour into an oiled sheet pan, dimple the top with wet fingers, drizzle with more olive oil, and let it proof for 1-2 hours. Bake at 425°F for 20-25 minutes. It's nearly impossible to mess up.
Flatbreads are even simpler — mix discard with enough GF flour blend to form a soft dough, divide into portions, press flat, and cook in a hot skillet for 2-3 minutes per side.
Common mistakes and how to fix them
The focaccia is gummy inside. It's likely underbaked. Focaccia should be golden brown on top and firm when you tap the center. Let it cool in the pan for at least 15 minutes. If gummy centers are a recurring issue across your GF baking, our guide to fixing gummy centers breaks down every cause.
The flatbreads crack and break apart. Your dough is too dry. Add water a tablespoon at a time until it's pliable. A little olive oil in the dough also helps with flexibility. If your GF breads consistently fall apart, there's a detailed troubleshooting guide that covers the structural fixes.
Choosing the right binder for gluten-free sourdough
Your binder choice matters more in sourdough than in any other type of GF bread, because the long fermentation time interacts with binders differently. Here's how the main options compare:
| Binder | Best for | Amount per 350g flour | Notes |
|---|---|---|---|
| Psyllium husk powder | All sourdough styles | 12-20g | Best overall choice; creates extensible, bread-like crumb |
| Psyllium husk whole | Rustic loaves | 20-30g (needs more) | Coarser texture; grind it first for smoother bread |
| Xanthan gum | Quick flatbreads only | 5-7g | Can become rubbery in long-fermented doughs |
| Flax gel | Supplementary binder | 2 tbsp ground flax + 6 tbsp water | Adds moisture and binding; works well combined with psyllium |
For a deeper dive into how these binders work and when to use each one, check out our complete binder comparison guide.
Essential equipment for gluten-free sourdough
You don't need much specialized equipment, but a few items make a significant difference in your success rate:
- A kitchen scale — GF sourdough is all about ratios. Measuring by volume introduces too much variability.
- An instant-read thermometer — The only reliable way to know your bread is done inside.
- A stand mixer or sturdy spatula — GF sourdough dough is thick and sticky. Mixing by hand works but it's a workout.
- A cooling rack — Cooling GF bread completely is non-negotiable. A rack prevents the bottom from getting soggy.
- A glass jar for your starter — You need to see the bubbles and track the rise. A wide-mouth mason jar with a loose lid works perfectly.
Frequently asked questions
Can you make sourdough bread without gluten?
Yes, absolutely. Gluten-free sourdough uses the same wild yeast and bacterial fermentation as wheat sourdough. The difference is that you replace gluten's structural role with binders like psyllium husk and use GF flour blends. The flavor development is just as good — many people find GF sourdough tastes even better because fermentation reduces off-flavors in rice and starch-based flours.
What is the best flour for gluten-free sourdough bread?
For beginners, a commercial GF flour blend like Bob's Red Mill 1-to-1 or King Arthur Measure for Measure is the easiest starting point. For more advanced bakers, a custom blend of brown rice flour, tapioca starch, and potato starch gives you more control. Adding buckwheat or teff flour creates deeper, more complex flavors.
How long does gluten-free sourdough take to rise?
At room temperature (70-78°F), GF sourdough typically takes 4-8 hours to proof, depending on how active your starter is and how warm your kitchen is. Cold-fermented doughs take 8-16 hours in the fridge. GF sourdough generally proofs faster than wheat sourdough because there's no gluten network resisting expansion, so watch it carefully to avoid overproofing and collapse.
Why is my gluten-free sourdough so dense?
The most common causes are an inactive starter, too little hydration, or not enough binder. Make sure your starter doubles within 4-8 hours of feeding before using it. If the dough is very thick and stiff, add water gradually until it reaches a thick batter consistency. Our guide to getting GF bread to rise properly covers all the variables that affect density.
Do you need xanthan gum for gluten-free sourdough?
No, and we actually recommend against it for sourdough specifically. Psyllium husk is a much better choice because it creates an extensible crumb that holds up well during long fermentation. Xanthan gum can turn rubbery in acidic, slow-fermented doughs. Save xanthan gum for quick breads and cookies where it works beautifully.

Written by
Co-founder, BakingSubs
Co-founder of BakingSubs, where he turns the science of ingredient substitutions into tested, reliable guidance for home bakers.
Related Posts
How to Price Sourdough Bread for Sale: A Real Framework From Bakers Who Actually Profit
How Much Does Bakery Insurance Actually Cost? Real Numbers From 6 Policy Types

How to Manage Rush Orders as a Home Baker (Without Wrecking Your Week or Your Margins)
Bake with Confidence
See all
Confident Gluten-Free Baker Toolkit
The science-based system that replaces gluten's seven invisible jobs so your baking turns out soft, fluffy, and foolproof — every time.

Gluten-Free Recipe Vault
Instant access to our complete library of proven gluten-free recipes — no waiting, no guesswork, just results that work tonight.

Fix Your Gluten-Free Bread
Learn the 3-step formula to make bread rise and stay soft, discover why your loaves collapse, and get a tested sandwich bread recipe that actually works.