So, you've tried baking gluten-free bread and ended up with something more like a brick than a loaf? We get it. It's super frustrating when you follow a recipe and still end up with dense, gummy, or flat bread. Don't toss that loaf just yet! We've been there, tested a ton of recipes, and figured out how to fix common gluten-free bread problems. Let's dive into how to fix gluten free dough so you can finally enjoy delicious, homemade gluten-free bread.
Key Takeaways
- Gluten-free dough can be tricky because it lacks gluten, so binders like xanthan gum or psyllium husk are needed for structure.
- Dough consistency is key; too stiff can lead to density, while too wet might result in a gummy interior or collapse.
- Proper hydration is vital; different flour blends absorb water differently, so you might need to adjust liquid amounts.
- Yeast needs the right conditions to work: check its freshness, use warm water (not hot!), and provide a warm place for proofing.
- Baking time and cooling are important; underbaking leads to gumminess, and slicing too soon can make the bread seem dense.
Understanding Your Gluten-Free Dough Consistency
Working with gluten-free bread dough can feel like a whole different ballgame compared to traditional wheat bread. It's not just about following a recipe; it's about understanding what the dough should feel like and why it behaves the way it does. We've all been there, staring at a bowl of something that looks more like paste than potential bread, wondering what went wrong.
Why Gluten-Free Dough Can Be Tricky
Gluten is what gives regular bread its structure and elasticity. It's that stretchy network that traps gases, making the dough rise and giving the finished loaf its chewy texture. Without gluten, we have to rely on other ingredients and techniques to mimic that structure. This means gluten-free doughs often have a different feel – sometimes they're stickier, sometimes they're more crumbly, and they definitely don't have that same elastic pull.
The Role of Flour Blends in Dough Texture
This is a big one. Unlike wheat flour, which is pretty standard, gluten-free baking uses a mix of different flours and starches. You've got your rice flours, tapioca starch, potato starch, sorghum, millet, and so on. Each one behaves differently. Some absorb more liquid, some create a finer crumb, and some can make the dough feel heavy. The specific blend you use is probably the biggest factor in how your dough looks and feels. If you swap out flours or use a blend you haven't tried before, expect the dough's consistency to change.
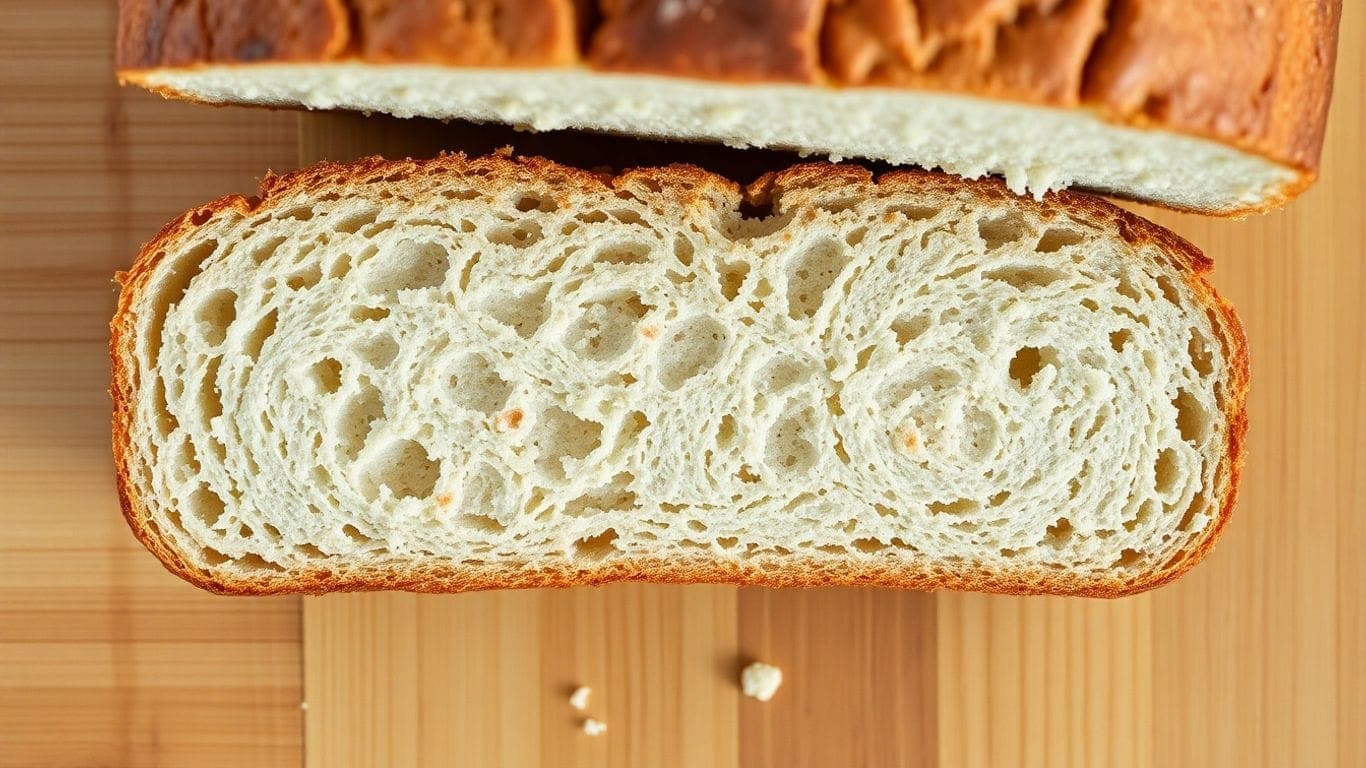
Hydration: The Key to a Better Dough
Hydration, or the amount of liquid in your dough, is super important. Too little liquid, and your bread will be dry and dense. Too much, and it can turn into a gummy mess or not rise properly. Because different gluten-free flours soak up water differently, what works for one recipe might not work for another. You might need to adjust the liquid amount based on your flour blend. Generally, gluten-free dough should be soft and a little sticky, but not runny like cake batter. It should be workable, maybe even a bit like a thick paste that you can scoop rather than pour.
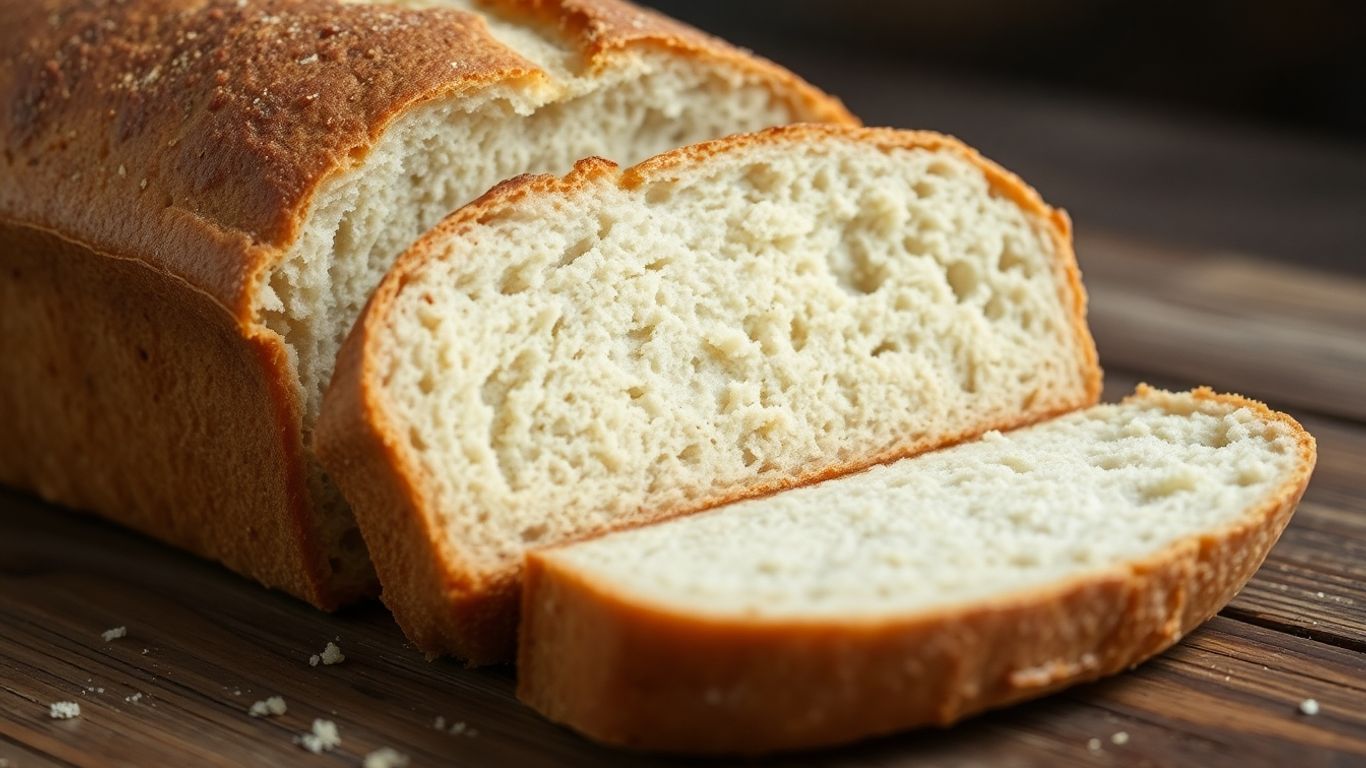
Troubleshooting Dense Gluten-Free Bread
So, you pulled your beautiful loaf out of the oven, only to find it's as dense as a brick? We've all been there! It's super frustrating when you follow the recipe and still end up with a heavy, unappetizing result. Let's figure out why this happens and how we can fix it.
Is Your Dough Too Stiff?
One of the main culprits behind dense gluten-free bread is dough that's just too stiff. Unlike wheat doughs, gluten-free batters often look more like thick cake batter or even play-doh. If your dough looks like it could stand up on its own without any support, it's probably too stiff.
- Too little liquid: This is the most common reason. Gluten-free flours, especially whole grain ones, soak up a lot of moisture. You might need to add more liquid than the recipe calls for. Don't be afraid to add water a tablespoon at a time until you reach the right consistency.
- Flour blend differences: Different flour blends absorb water differently. A coarser grind might need more liquid than a finely milled one.
- Weighing ingredients: Measuring by volume (cups) can be really inaccurate. Using a kitchen scale to weigh your flour and liquids makes a huge difference in getting the hydration just right.
The Impact of Binders on Bread Density
Binders are what give gluten-free bread its structure, acting like the gluten in traditional bread. Without them, your loaf can fall apart or become dense. The type and amount of binder you use are super important.
- Xanthan Gum: This is a common binder. Too much can make the bread gummy, but too little means it won't hold together well.
- Psyllium Husk: This is fantastic for moisture retention and structure. However, if your psyllium husk is very fine, it might absorb more water than expected, leading to a stiffer dough and a denser loaf. You might need to adjust the amount based on the brand you use.
- Guar Gum: Another option, similar to xanthan gum. The key is to use the right amount for your specific flour blend.
Ensuring Proper Dough Hydration
Getting the hydration level right is probably the most critical step for avoiding dense gluten-free bread. It's all about finding that sweet spot where the dough has enough moisture to create a light crumb but not so much that it collapses.
- Observe the dough: Your gluten-free dough should generally be quite wet, often described as a thick batter or a very soft dough. It shouldn't be stiff or dry.
- Adjust as needed: If your dough feels too stiff after mixing, add liquid gradually. If it seems too wet and is spreading excessively, you might need a bit more binder or a slightly different flour blend next time.
- Consider the environment: Humidity and temperature can affect how much liquid your dough needs. On a humid day, you might need slightly less liquid, and on a dry day, a bit more.
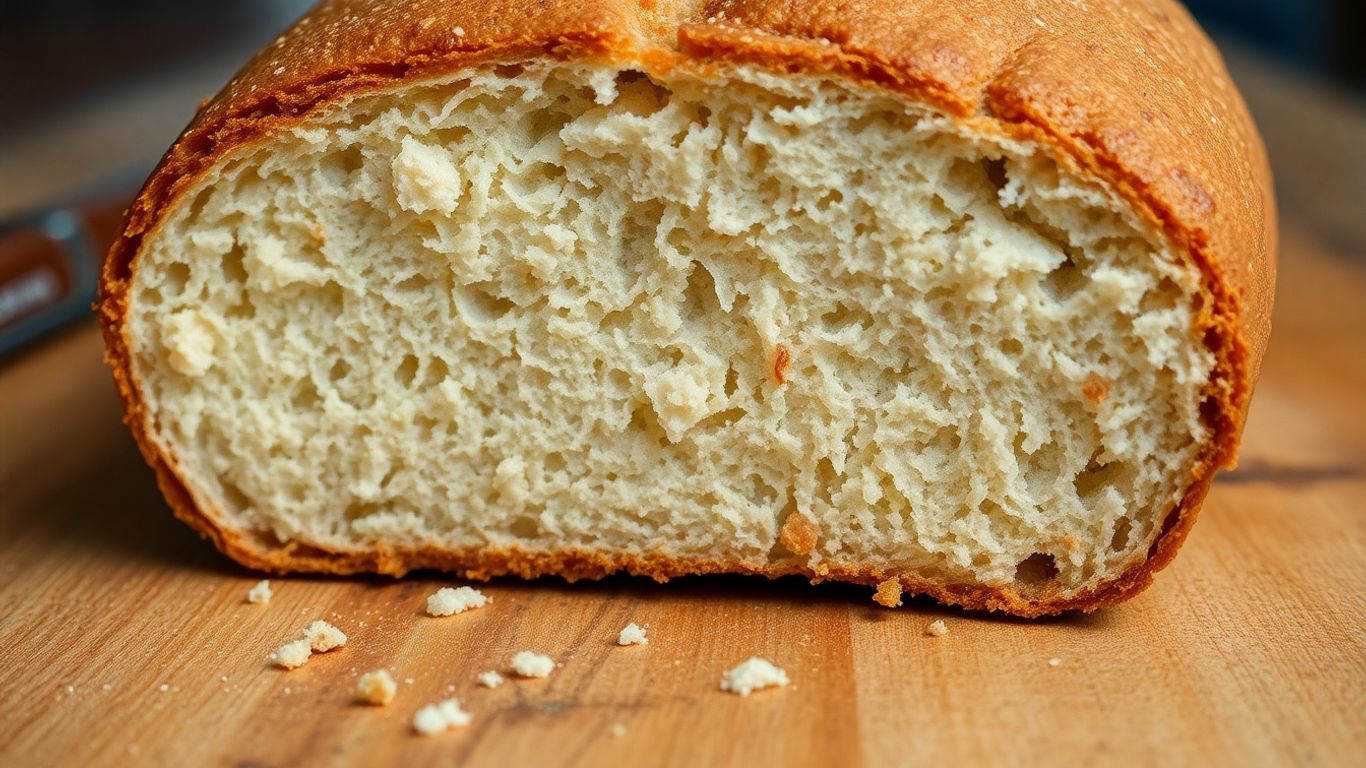
Fixing Gummy or Undercooked Gluten-Free Bread
We've all been there, right? You pull a beautiful loaf of gluten-free bread out of the oven, slice into it, and... it's gummy or still doughy in the middle. It's super frustrating, but don't worry, we can usually fix this with a few adjustments. Often, the main culprit is simply not baking it long enough. Gluten-free breads, especially those with higher hydration levels, need more time in the oven compared to traditional wheat breads. They need that extra time to allow the moisture to evaporate and the starches to fully cook through.
Did You Bake It Long Enough?
This is probably the most common reason for that gummy texture. Gluten-free doughs often have a lot more liquid than wheat doughs, and it takes a good while for all that water to cook out. Don't be afraid to bake your loaf longer than you think you need to. A good way to tell if it's done is by using an instant-read thermometer. We're looking for an internal temperature of around 210°F (99°C). If it's not quite there, give it more time. Sometimes, after the bread reaches temperature, I'll even take it out of the pan and place it directly on the oven rack (with the oven turned off) for the last 10-15 minutes. This helps air circulate underneath and encourages any remaining moisture to escape.
Balancing Liquid and Starch in Your Dough
Sometimes, the issue isn't just baking time, but the ratio of liquid to starch in your recipe. If your flour blend is very starchy, or if you've added a bit too much liquid, it can lead to a gummy result even with proper baking. When you're developing or tweaking a recipe, pay attention to how the dough feels. It should be moist but not soupy. If you consistently find your bread gummy, you might try slightly reducing the liquid in your recipe or ensuring your flour blend has enough structure-building ingredients like psyllium husk or xanthan gum.
The Importance of Cooling Time
This one is HUGE and often overlooked. Even after baking, the bread continues to cook and release moisture as it cools. If you cut into your gluten-free loaf while it's still warm, you're likely to find that gummy texture. We need to let that bread cool completely. Ideally, let it cool on a wire rack for at least 3-5 hours, or even longer. Some bakers even find success by letting the bread cool in a turned-off oven for a bit before moving it to the rack. Patience here really pays off for a better crumb structure.
Addressing Gluten-Free Bread That Doesn't Rise
We've all been there, right? You follow the recipe, mix everything up, and then... nothing. Your gluten-free loaf just sits there, stubbornly refusing to puff up like it's supposed to. It's super frustrating, but don't worry, we can figure this out together. There are a few common culprits when our bread decides to take a nap instead of rising.
Checking Your Yeast's Vitality
First things first, let's talk about the yeast. This little guy is the engine of our bread's rise. If it's old or not happy, the whole process is going to stall.
- Check the expiration date: Seriously, this is the easiest thing to overlook. Old yeast might not have enough oomph left to do its job.
- Type of yeast: Make sure you're using the kind the recipe calls for. Active dry yeast needs a little wake-up call, while instant or rapid-rise yeast can often be mixed right in.
- Proofing temperature: If you're proofing active dry yeast, the water temperature is key. Too hot, and you'll kill it; too cold, and it won't wake up. Aim for around 105-115°F (40-46°C). It should feel lukewarm, not hot.
- Food for the yeast: Yeast needs something to eat! A little sugar, honey, or maple syrup in the proofing water gives it the energy it needs to get going.
The Right Temperature for Proofing
Once your dough is mixed, it needs a cozy spot to rise. Gluten-free dough can be a bit finicky about temperature.
- Warmth is good: Yeast loves warmth, but not scorching heat. A consistently warm environment, around 75-85°F (30-30°C), is ideal.
- DIY proofing box: If your kitchen is on the cooler side, especially in winter, try this trick: preheat your oven to its lowest setting (like 200°F or 93°C), then turn it OFF. Place your covered dough inside. The residual warmth creates a perfect little proofing chamber.
- Avoid drafts: Keep the dough away from cold windows or air conditioning vents, as these can shock the yeast and halt the rising process.
Understanding the Single Rise of Gluten-Free Dough
This is a big one for gluten-free baking, and it's different from traditional bread. Gluten-free dough generally only gets one good rise. This means you need to be strategic about when you shape your loaf.
- Shape first, then rise: Mix your dough, then immediately shape it into its loaf pan or onto your baking sheet. Then, let it rise.
- Don't over-handle: Once shaped, try not to mess with it too much. You want to capture that initial puffiness.
- Watch for the rise: You might not see a dramatic doubling in size like with wheat bread. Look for a noticeable increase in volume and a slightly lighter, airier texture before it's time to bake.
Preventing Your Gluten-Free Loaf From Collapsing
Sometimes, our beautiful gluten-free loaves decide to take a nosedive right in the middle, or their sides just can't hold it together. It's a bummer, for sure, but usually, there's a reason behind it, and we can totally fix it for next time.
The Danger of Over-Proofing
Over-proofing is a big one, especially with gluten-free doughs. Because they don't have gluten to give them that stretchy structure, they can puff up really high and then just… give up. Think of it like a balloon that's been blown up too much; eventually, it's going to pop or deflate. Gluten-free flours, particularly those with lots of starches, can be super sensitive to this. We want our dough to rise, but we don't want it to go past its peak. It's a delicate balance, and sometimes it happens faster than we think, especially if your kitchen is warm.
Managing Dough Hydration Levels
This is where things get a little technical, but it's super important. Gluten-free breads often need a lot more water than traditional wheat breads to get that nice, soft crumb. This is because we're using binders like psyllium husk or xanthan gum to mimic gluten's job, and these guys love water. However, if we add too much water, the dough can become too weak to support itself as it bakes. It's like trying to build a wall with really wet cement – it just slumps over. We need enough liquid for the binders to work their magic, but not so much that the whole structure collapses.
The Role of Oven Spring
Oven spring is that magical moment when your bread really puffs up in the oven. It's driven by heat and steam. If your dough is too wet, or if it's been over-proofed, it might not have the strength to take advantage of that oven spring. Instead of rising up, it might just spread out or sink. Making sure your oven is at the right temperature and that your dough has the right structure (thanks to binders and proper hydration!) helps give it the best chance to achieve that beautiful, tall loaf we're aiming for. Sometimes, even after baking, if the bread is too moist inside, it can lead to a collapse as it cools. Letting it cool properly is key!
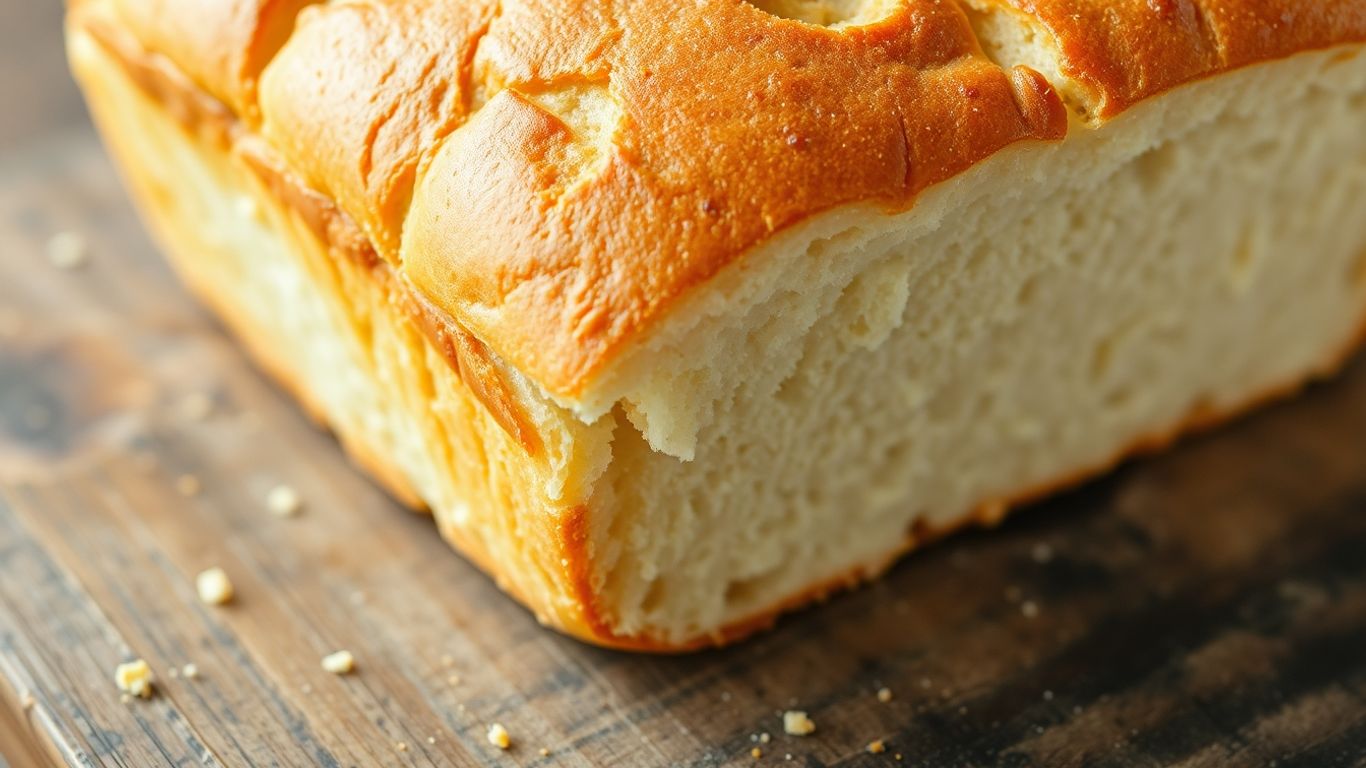
Achieving the Perfect Gluten-Free Crust
We all want that beautiful, golden-brown crust on our gluten-free loaves, right? It’s not just about looks; a good crust adds texture and flavor. Sometimes, though, our gluten-free breads come out pale, too hard, or just… meh. Let's talk about how we can get that crust just right.
The Impact of Baking Temperature
This is a big one. If your oven isn't hot enough, your bread won't get that lovely crisp exterior. It might even end up pale and soft, which isn't usually what we're going for. On the flip side, if it's too hot, the outside can burn before the inside is cooked through.
- Always use an oven thermometer. Seriously, don't skip this. The dial on your oven can be way off, and knowing the actual temperature is key.
- Most gluten-free breads bake best at higher temperatures, often around 400-425°F (200-220°C). Check your recipe, but be prepared to adjust based on your oven.
- Give your oven plenty of time to preheat. Gluten-free doughs can be a bit delicate, and they need that initial blast of heat to get going.
Creating Steam for a Better Crust
Steam is your friend when it comes to crust development. It helps the crust stay soft and pliable for longer during the initial baking phase, allowing the loaf to rise fully before the crust hardens. This leads to a better oven spring and a more appealing crust.
Here are a few ways we can introduce steam:
- The Water Pan Method: Place a shallow metal pan on the rack below your baking bread. Just before you put the bread in, carefully pour about a cup of hot water into the pan. Close the oven door quickly to trap the steam. Remove the pan after about 15-20 minutes of baking.
- The Spray Bottle Method: Lightly mist the oven walls (avoiding the light and heating elements) with water a few times during the first 10 minutes of baking.
- The Dutch Oven Method: Baking your loaf in a preheated Dutch oven is fantastic for trapping steam naturally. The lid keeps all that moisture in.
Cooling Your Loaf Properly
I know, I know, the smell of fresh bread is torture, and you want to slice into it immediately. But please, resist the urge! Cooling is a vital part of the baking process, even for the crust.
- Let your bread cool completely on a wire rack. This allows air to circulate all around the loaf, preventing the bottom crust from getting soggy.
- If you cut into it too soon, the steam trapped inside can make the crumb gummy and soft, and it can even affect the crispness of the crust as it cools.
- Patience here really pays off. Waiting until it's fully cooled means you'll get the best texture and crust possible.
General Tips for Gluten-Free Dough Success
Weighing Your Ingredients Accurately
Okay, so we've talked a lot about what can go wrong, but let's get to some basics that really help avoid those problems in the first place. First off, measuring your ingredients is a big one. We've found that using a kitchen scale is way more reliable than those measuring cups. Gluten-free flours can be tricky – they pack differently, and a cup measure can easily give you too much or too little of something. Weighing everything out gives you the best shot at consistency. It might seem like a hassle at first, but trust us, it makes a world of difference.
Considering Environmental Factors
Think about where you're baking, too. The temperature and humidity in your kitchen can actually affect how your dough behaves. If it's cold and damp, your yeast might be sluggish, and your dough might take longer to rise. On the flip side, a super hot day can make things go too fast. We've found that using your oven as a proofing spot can help. Just warm it up a little (like 200°F or 93°C), then turn it off and let your dough rise in there. Just make sure to cover your dough so it doesn't dry out.
Don't Be Afraid to Tweak Your Recipe
Finally, remember that every gluten-free flour blend is a little different. What works perfectly in one recipe might need a small adjustment in another. Don't be scared to make little changes if your dough doesn't look quite right. If it seems too stiff, try adding a tiny bit more liquid, maybe a teaspoon at a time. If it's too wet and sticky, add a tablespoon of flour. You'll get a feel for what the dough should look like – it should be soft and a little tacky, but not like cake batter. Pay attention to the dough's texture; it's your best guide.
Don't Give Up on Your Gluten-Free Bread!
So, we've gone through a bunch of reasons why our gluten-free loaves might end up a bit… well, not quite right. It can be super frustrating when you follow a recipe and still end up with something dense or gummy. But honestly, we've learned so much by trying to fix these issues, right? Remember, every bake is a learning opportunity, and even a less-than-perfect loaf can usually be turned into something tasty, like croutons or bread pudding. Keep experimenting, pay attention to those little details like hydration and flour blends, and don't be afraid to tweak things. We're all in this baking journey together, and with a little patience and practice, we'll get to that perfect slice!

Written by
Co-founder, BakingSubs
Co-founder of BakingSubs, where he turns the science of ingredient substitutions into tested, reliable guidance for home bakers.
Related Posts
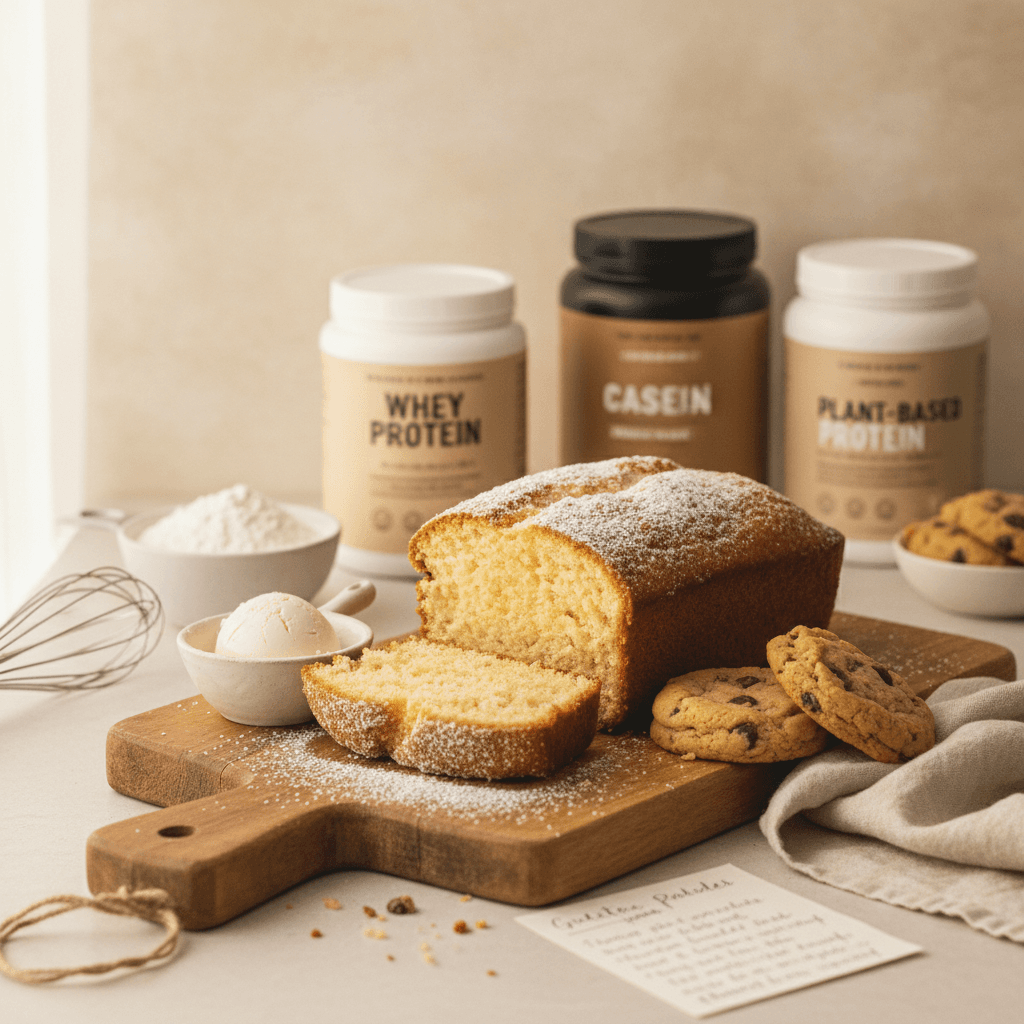
Protein Powder as Flour Replacement in Baking: Why It Fails (and 5 Fixes That Actually Work)
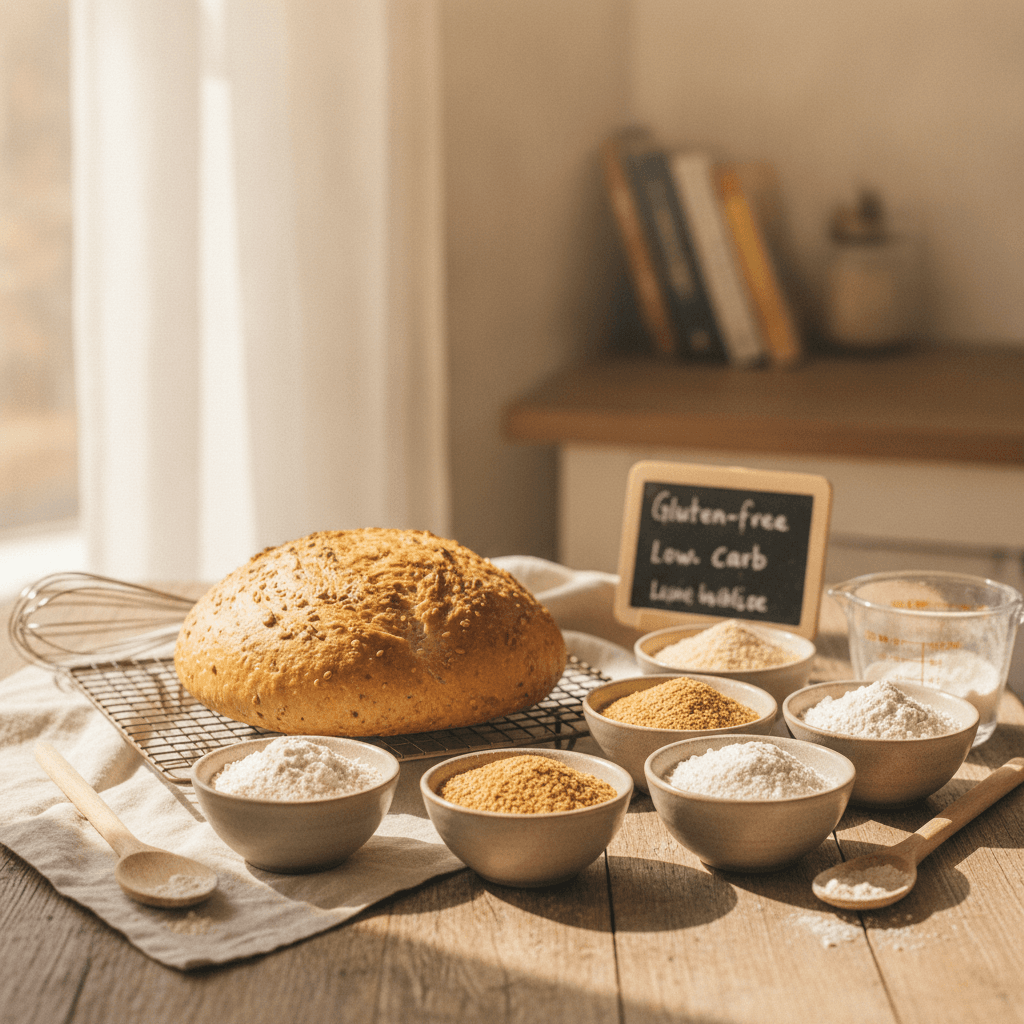
7 Low Carb Flour Alternatives for Bread (and Why Most Bakers Pick the Wrong One)
Almond Flour vs Coconut Flour for Keto Baking: 5 Differences That Actually Change Your Results
Bake with Confidence
See all
Confident Gluten-Free Baker Toolkit
The science-based system that replaces gluten's seven invisible jobs so your baking turns out soft, fluffy, and foolproof — every time.

Gluten-Free Recipe Vault
Instant access to our complete library of proven gluten-free recipes — no waiting, no guesswork, just results that work tonight.

Fix Your Gluten-Free Bread
Learn the 3-step formula to make bread rise and stay soft, discover why your loaves collapse, and get a tested sandwich bread recipe that actually works.