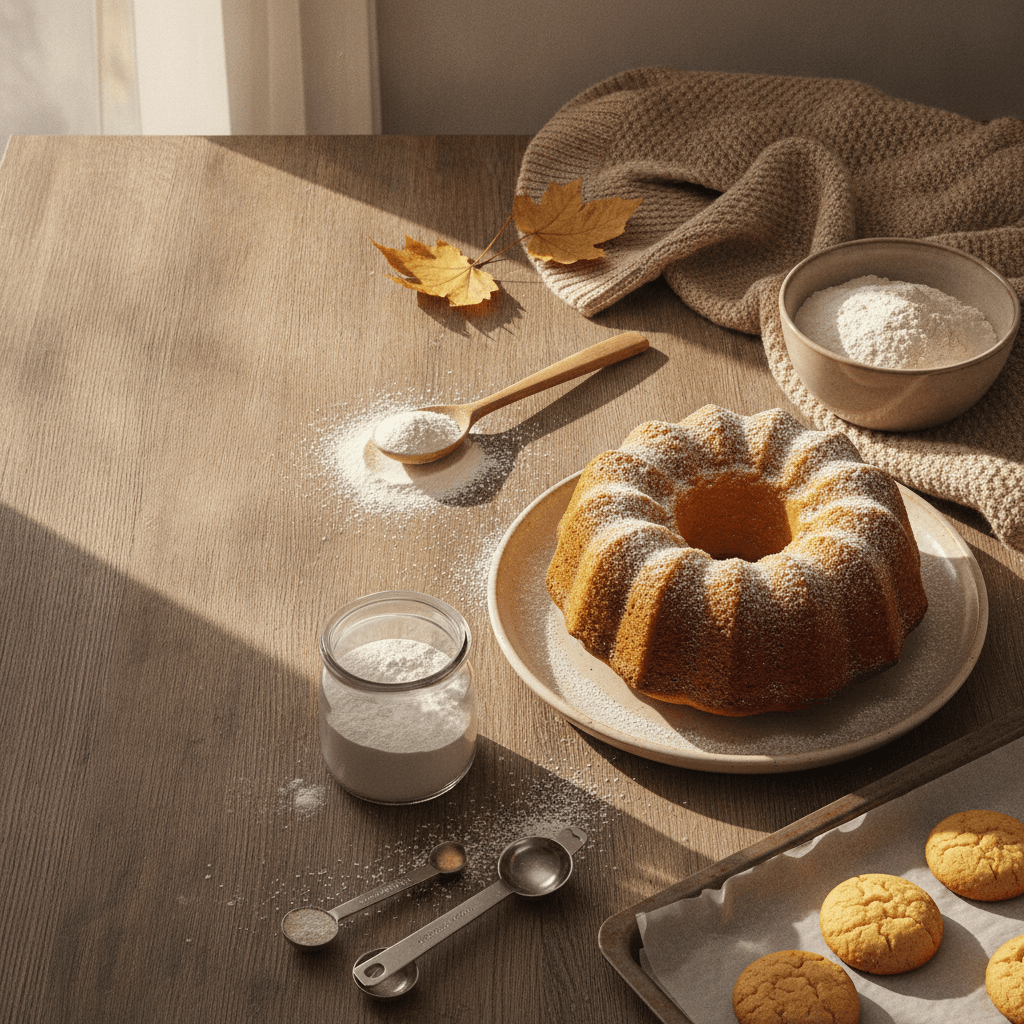
We've all been there, right? You're excited to bake some delicious gluten-free bread, you follow the recipe, and then... nothing. The dough just sits there, refusing to rise. It's super frustrating when your gluten-free bread won't rise, but don't worry, we've figured out a few things that can help. Let's get your bread puffing up like it should!
Key Takeaways
- Make sure you're measuring your gluten-free flours correctly. Using a scale or spooning them into the cup is better than scooping.
- High-protein flours give your bread structure, so look for options like sorghum or millet, or use a blend.
- Yeast needs warmth to do its job. Proofing your yeast first and finding a warm spot for rising are important steps.
- Don't treat gluten-free dough like wheat dough. Avoid overworking it and skip the 'punching down' step.
- Sometimes, the simplest things like checking your yeast's freshness or using room temperature ingredients can make all the difference.
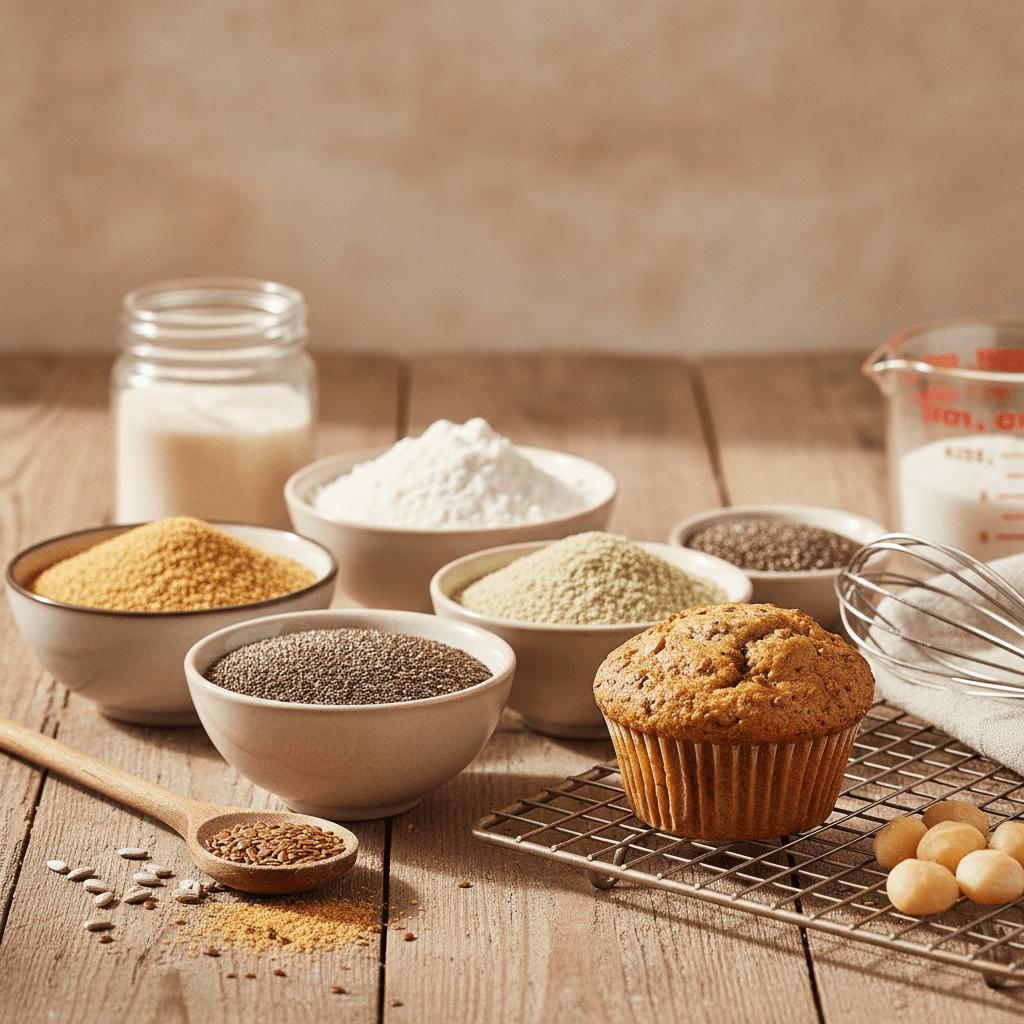
Understanding Your Gluten-Free Flour
Measure Your Flours Accurately
Okay, so we're diving into the world of gluten-free bread, and the first thing we gotta talk about is the flour. It's not like regular wheat flour where you can just scoop and go. Gluten-free flours are all over the place in terms of how much they weigh. Seriously, a cup of one flour can be way heavier or lighter than a cup of another. This is a big deal for baking.
- Weighing your flour is the best way to get consistent results. It takes the guesswork out of it. If a recipe gives you weights in grams, use those! It's way more precise than just using cups.
- Even a small difference, like half a cup, can mess things up. So, pay attention to the measurements.
- Don't just swap flours willy-nilly. If a recipe calls for a specific blend, try to stick to it, especially when you're starting out. They're usually put together for a reason.
Choose High-Protein Flours
When we're talking about gluten-free bread, we want it to have some structure, right? That's where protein comes in. Since we don't have gluten to give us that stretchy, chewy texture, we need to find flours that have a good amount of protein on their own. Think about things like sorghum flour, brown rice flour, or even some of the bean flours if you're feeling adventurous.
These guys help give the bread a bit more body and can help it rise better. It's not just about picking any old GF flour; the protein content really makes a difference in how your loaf turns out. We're aiming for a bread that's not too crumbly, and higher protein flours are a good step in that direction.
Hydration is Key for Gluten-Free Dough
Gluten-free dough is a whole different beast compared to regular bread dough. It's usually much wetter, more like a thick batter than something you can knead. This higher hydration is super important because gluten-free flours don't absorb water the same way wheat flour does. They need that extra liquid to get going and to create a good texture.
If your dough is too dry, your bread will likely be dense and crumbly. So, don't be scared if your dough looks wetter than you expect. It's supposed to be that way! We want to make sure all those flours get fully hydrated so they can do their job and help our bread rise nicely. It’s all about getting that balance right so we end up with a soft, delicious loaf.
The Magic of Yeast and Leavening
Yeast is where the real magic happens when we're making bread, especially gluten-free bread. It's not just about making things puff up; yeast also gives our bread that wonderful flavor and aroma we all love. Because gluten-free dough doesn't have gluten to help it rise naturally, we really need to pay attention to how we treat our yeast.
Proof Your Yeast Properly
This is a step we never skip. Proofing is basically waking up your yeast and making sure it's alive and ready to work. If your yeast is dead, your bread just won't rise, plain and simple. Here’s how we do it:
- Get the temperature right: We use warm liquid, usually water or milk, around 105-115°F (40-46°C). Too cold and the yeast won't wake up; too hot and we'll kill it. It's a bit like Goldilocks – gotta be just right!
- Add a little food: A pinch of sugar or a teaspoon of honey helps feed the yeast and gets it going faster. This is optional, but we find it helps.
- Let it sit: Mix the yeast and liquid (and sugar, if using) in a bowl and let it sit for about 5-10 minutes. You're looking for it to get foamy and bubbly. If it looks like nothing's happening, your yeast might be old, and it's best to toss it and start with a fresh packet.
Incorporate Eggs for Extra Lift
Eggs are like a secret weapon for gluten-free bread. They add structure and richness, but more importantly for us, they help give the dough an extra boost. The proteins in eggs can trap gases produced by the yeast, which means a better rise and a lighter texture. We usually add them after the yeast has been proofed and we've started mixing in our dry ingredients. Just make sure they're at room temperature so they incorporate smoothly into the dough.
Consider Adding Ascorbic Acid
This might sound a bit technical, but ascorbic acid, which is just Vitamin C, can be a real game-changer for gluten-free bread. It acts as an oxidizer, which helps strengthen the dough structure. Think of it like giving the dough a bit more backbone. This is super helpful in gluten-free baking because we don't have gluten to provide that structure naturally.
You only need a tiny amount, usually about 1/4 teaspoon for a standard loaf. We often add it right in with our dry ingredients. It helps the dough hold onto the gases produced by the yeast, leading to a better, more consistent rise.
Creating the Perfect Rising Environment
Alright, so we've got our dough ready, and now it's time to let it do its thing. This is where we create the ideal cozy spot for our yeast to get to work. Think of it like setting up a little spa day for your bread dough!
Find a Warm Spot for Rising
Finding the right temperature is super important. Too cold, and the yeast gets sluggish. Too hot, and well, we might accidentally cook it before it even gets a chance to rise! We're aiming for a gentle warmth, not a blast furnace.
- A good rule of thumb is to aim for a temperature between 75-85°F (24-29°C). This is the sweet spot where yeast really thrives.
- Avoid direct sunlight or drafty windows. These can cause the dough to dry out or cool down too quickly.
- If your kitchen is on the cooler side, don't worry! We've got a few tricks up our sleeve.
Utilize Your Oven as a Proofing Box
This is one of our favorite hacks for creating that perfect, consistent warmth. It's surprisingly simple and effective!
- Turn your oven on to its lowest setting (usually around 200°F or 93°C) for just a minute or two. You don't want it to get hot, just slightly warm.
- Turn the oven OFF. This is key!
- Place a shallow pan filled with hot water on the bottom rack. This adds a bit of humidity, which is also great for rising.
- Carefully place your covered dough on the middle rack and close the oven door.
This creates a stable, warm, and humid environment without the risk of overheating.
The Benefits of a Lidded Pan
Sometimes, the vessel you use for rising can make a difference. Using a pan with a lid, like a Pullman loaf pan, can be a game-changer for gluten-free bread.
- It traps moisture: This prevents the dough's surface from drying out and forming a crust before it has a chance to rise fully.
- It creates a consistent environment: The lid helps maintain that steady temperature we talked about, reducing fluctuations.
- It can help with shape: The enclosed space can encourage a more even rise and a neater loaf shape, especially for those trickier gluten-free doughs.
Boosting Your Bread's Rise
Sometimes, even with the best intentions, our gluten-free loaves need a little extra help to reach their full potential. We've all been there, staring at a dough that just isn't puffing up like we hoped. Don't worry, we've got a few tricks up our sleeves to give your bread that much-needed lift.
Substitute Liquids for Water
Water is fine, but sometimes we can get a better rise by swapping it out for something a bit more exciting. Think about using carbonated water or even a gluten-free beer instead. The bubbles in these liquids can really help lighten the dough and give it a boost. Plus, if you go with beer, you get a nice little flavor addition too!
Add Moisture with Mayonnaise
This one might sound a little strange, but hear us out. Adding a tablespoon or two of mayonnaise to your dough can make a surprising difference. The oil and eggs in mayo add extra moisture and tenderness, which can contribute to a softer, more voluminous crumb. It's a simple addition that can really pay off.
The Power of Bubbles
We touched on this with the liquid substitution, but it's worth repeating: bubbles are your friend! Whether it's from carbonated water, ginger ale, or even a splash of soda, those little gas pockets are what give bread its airy texture. When you're mixing your dough, think about how you can incorporate more of these tiny air pockets. It's not just about the yeast; sometimes, a little extra fizz is all it takes.
Troubleshooting Common Rising Issues
Sometimes, no matter how hard we try, our gluten-free bread just doesn't get that beautiful rise we're hoping for. Don't throw in the towel just yet! Let's figure out what might be going wrong.
Why Your Gluten-Free Bread Won't Rise
There are a few common culprits when our loaves decide to stay stubbornly flat. It's usually not one big thing, but a combination of smaller factors. We've found that checking these points can make a world of difference:
- Yeast troubles: Is your yeast fresh? Old yeast is a frequent offender. You can test it by mixing it with some warm liquid and a pinch of sugar. If it doesn't get foamy and smell yeasty after about 5-10 minutes, it's time for a new packet. Remember, quick-rise yeasts usually get mixed right in with the dry ingredients, so don't proof those!
- Temperature woes: Yeast needs a warm, cozy spot to do its thing, but not too hot. If your kitchen is chilly, try using your oven as a proofing box (turn it on to warm it up, then turn it off before putting the dough in). Too hot, and you'll kill the yeast. Too cold, and it'll be sluggish.
- Ingredient mix-ups: Did you accidentally swap potato starch for potato flour, or use the wrong kind of rice flour? Even small substitutions can really throw off the delicate balance of gluten-free baking. Also, double-check your baking soda and baking powder – they can lose their oomph over time.
Don't Overwork the Dough
This is a big one for gluten-free bread. Unlike traditional wheat doughs, you don't want to knead or punch down gluten-free dough much, if at all. Overworking it can actually make the texture tough and rubbery, and it can hinder the rise. Once it's mixed, treat it gently. Think of it more like a thick batter than a stretchy dough. We learned this the hard way after trying to 'knead' our GF dough like we would regular bread – big mistake!
Check Your Ingredient Integrity
We touched on this a bit, but it's worth repeating. Your ingredients are the foundation of your bread, so make sure they're up to snuff.
- Yeast: As mentioned, yeast has a shelf life. If you're unsure, test it. It's better to toss old yeast than to end up with a flat loaf.
- Leaveners: Baking soda and baking powder also expire. You can test them easily. For baking soda, mix a little with some lemon juice or vinegar – it should fizz. For baking powder, add a bit to hot water – it should bubble vigorously. If they don't react, they won't make your bread rise.
- Flours and Starches: While they don't 'expire' in the same way, old flours can sometimes develop off-flavors or lose some of their potency. Storing them properly in airtight containers helps keep them fresh.
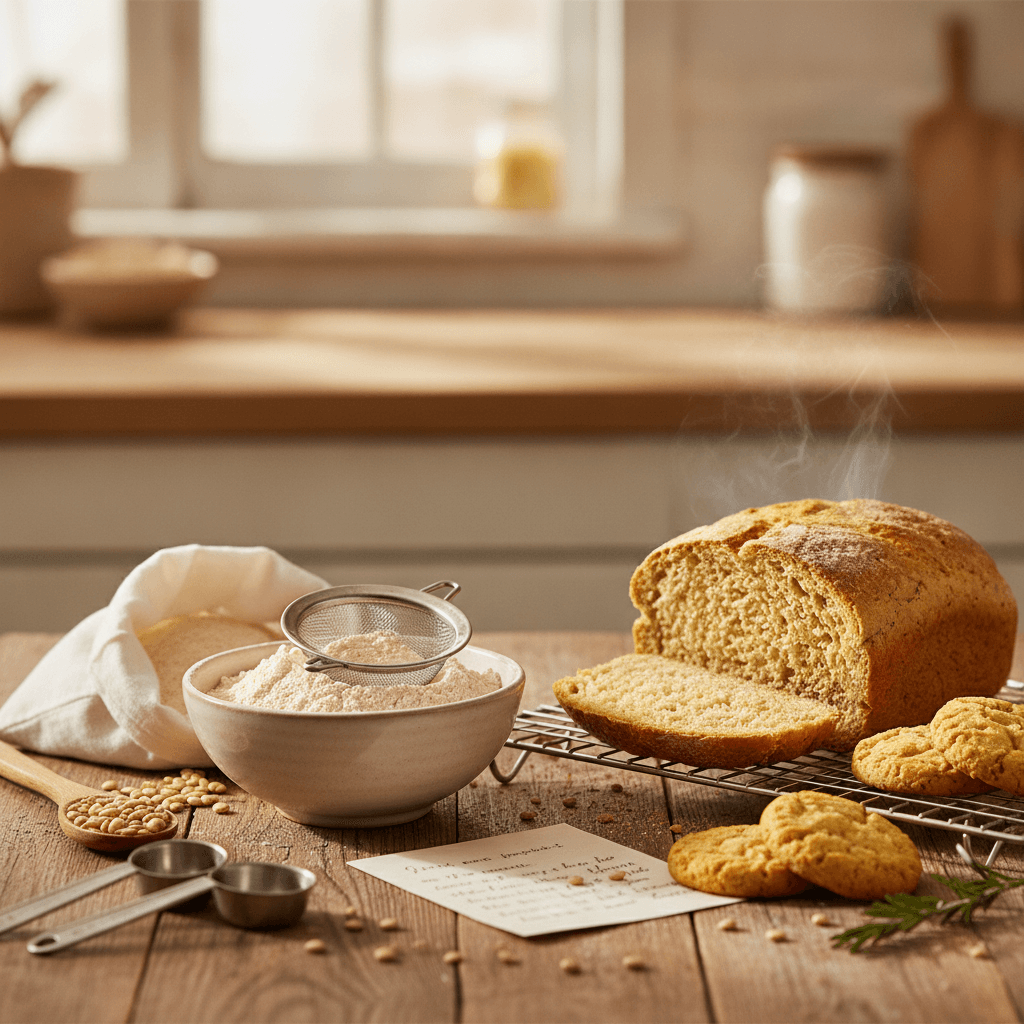
Baking and Pan Considerations
Alright, so we've nurtured our dough, given it a cozy place to rise, and now it's time for the main event: baking! But hold on, before we just shove it in the oven, there are a couple of things we should think about. These might seem small, but they can really make a difference in how our gluten-free loaf turns out.
Shape Before the First Rise
This is a big one, especially with gluten-free doughs. Unlike wheat doughs that can be shaped and reshaped, gluten-free batters are often more delicate. It's best to get your bread into its final shape and pan before that first rise. Think about it: once it's puffed up, trying to move it or shape it can deflate all those lovely bubbles we worked so hard to create. So, whether you're using a loaf pan, a baking sheet for an artisan style, or even muffin tins, get it ready to go before it starts its big puff.
Choose the Right Baking Pan
The pan you use can actually affect how your bread bakes. Metal pans tend to conduct heat well, which can give you a nice, even bake and a good crust. Glass or ceramic can also work, but they might bake a little differently, sometimes requiring a slight adjustment in temperature or time. If you're going for a really tall, even loaf, a Pullman pan with a lid can be a game-changer. It creates a steamy environment inside, which helps the bread rise evenly and keeps the crust soft. And remember, don't overfill your pan! Filling it about two-thirds full is usually the sweet spot to prevent overflow and ensure even baking.
Proper Oven Rack Placement
Where you put your bread in the oven matters too. If the rack is too high, the top of your loaf might get too much direct heat, leading to a burnt top or even a split down the side as it expands. Too low, and the bottom might not cook through properly. We generally want the middle of the oven, giving the bread space to rise without being too close to the heating elements. Also, make sure there isn't another rack directly above your bread pan. We don't want our beautiful loaf to bump into anything as it reaches its full potential!
So, Let's Get Baking!
Making gluten-free bread rise can feel like a puzzle sometimes, right? We've gone over a bunch of little things that can make a big difference, from getting your ingredients just right to finding that perfect warm spot for rising. Don't get discouraged if your first few loaves aren't exactly what you hoped for. Keep trying, pay attention to the details we talked about, and you'll be pulling beautiful, fluffy gluten-free bread out of the oven before you know it. Happy baking, everyone!

Written by
Co-founder, BakingSubs
Co-founder of BakingSubs, where he turns the science of ingredient substitutions into tested, reliable guidance for home bakers.
Related Posts
Collagen Powder in Baking as Flour Supplement: Why It Mostly Fails (and 3 Ways to Make It Work)
6 Sunflower Seed Flour Substitutes for Keto Baking (and When Each One Actually Works)
Lupin Flour as a Low Carb Flour Substitute: 5 Things That Change (and 3 That Can Go Wrong)
Bake with Confidence
See all
Confident Gluten-Free Baker Toolkit
The science-based system that replaces gluten's seven invisible jobs so your baking turns out soft, fluffy, and foolproof — every time.

Gluten-Free Recipe Vault
Instant access to our complete library of proven gluten-free recipes — no waiting, no guesswork, just results that work tonight.

Fix Your Gluten-Free Bread
Learn the 3-step formula to make bread rise and stay soft, discover why your loaves collapse, and get a tested sandwich bread recipe that actually works.