An instant read thermometer is the single most important tool for gluten-free bread baking, and most people don't own one. If your loaves keep coming out gummy, dense, or underbaked in the middle, temperature is almost certainly the missing piece. Here's everything you need to know about choosing and using one.
Key takeaways
- Gluten-free bread must reach an internal temperature of 205-210°F to fully set — anything below 200°F will be gummy inside.
- Visual cues like crust color and bake time are unreliable for gluten-free bread because GF batters brown differently than wheat-based doughs.
- The best instant read thermometers for bread give a reading in 2-3 seconds and are accurate within 1°F.
- Thermocouple thermometers are faster and more accurate than thermistor models, but both work for bread baking.
- Insert the thermometer into the center of the loaf through the bottom or side to get the most accurate reading.
- A good instant read thermometer costs $15-50 and will transform your gluten-free bread results overnight.
Why gluten-free bread needs a thermometer more than wheat bread
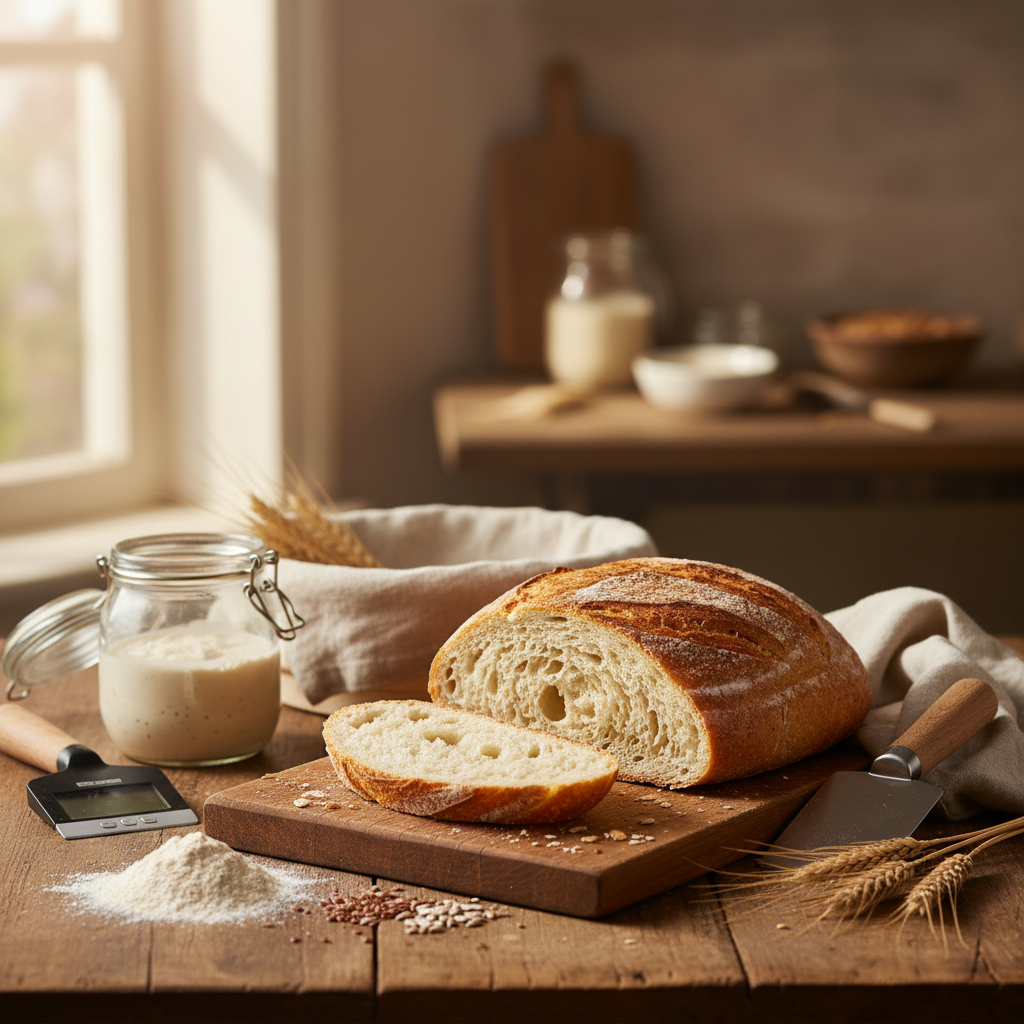
Gluten-free bread must reach an internal temperature of 205-210°F to fully bake through. Without gluten's protein network to provide structure, GF bread relies entirely on starches gelatinizing and moisture evaporating at the right temperature. Pull the loaf too early and those starches stay wet, giving you that dreaded gummy middle that plagues so many home bakers.
With conventional wheat bread, you can often get away with tapping the bottom and listening for a hollow sound. That trick doesn't work with GF bread. The higher moisture content in most gluten-free batters means the crust can look perfectly golden while the interior is still a sticky mess. We've pulled loaves that looked absolutely beautiful on the outside only to cut into a raw, gluey center. A thermometer eliminates the guesswork entirely.
This is also why gummy centers are the number one complaint we hear from gluten-free bread bakers. The fix is almost always the same: keep baking until the thermometer says it's done.
What to look for in an instant read thermometer for bread
The best instant read thermometer for bread baking needs to be fast, accurate, and easy to use with one hand while you're holding a hot pan. Here are the features that actually matter:
Speed
You want a reading in 2-4 seconds. Every second you hold the oven door open, you're losing heat — and gluten-free bread is especially sensitive to temperature drops during baking. Thermocouple thermometers (like the ThermoWorks Thermapen) read in about 1-2 seconds. Thermistor models take 3-6 seconds, which is still workable.
Accuracy
Look for accuracy within plus or minus 1°F. The difference between 200°F and 207°F is the difference between gummy bread and perfectly baked bread. You need precision here.
Probe length and tip
A probe that's at least 4 inches long lets you reach the true center of a standard loaf. A thin, pointed tip is important because it creates a smaller hole in the crust — you don't want to deflate a delicate GF loaf by jabbing it with a thick probe.
Backlit display
Ovens are dark. A backlit screen makes it much easier to read the temperature without pulling the bread all the way out.
If you're building out your gluten-free baking setup, a thermometer should be right at the top of your list alongside a good scale. Our Confident Gluten-Free Baker Toolkit walks you through all the essential gear and techniques so you can stop guessing and start getting consistent results.
Best instant read thermometers for bread baking compared
We've tested several thermometers over the years specifically for bread baking. Here's how the top options stack up:
| Thermometer | Type | Speed | Accuracy | Price range | Best for |
|---|---|---|---|---|---|
| ThermoWorks Thermapen ONE | Thermocouple | 1 second | +/- 0.5°F | $100-105 | Serious bakers who want the best |
| ThermoWorks ThermoPop 2 | Thermocouple | 2-3 seconds | +/- 2°F | $30-35 | Best value for most home bakers |
| Alpha Grillers instant read thermometer | Thermistor | 2-3 seconds | +/- 1°F | $15-20 | Budget-friendly option |
| Taylor Precision 9842 | Thermistor | 4-6 seconds | +/- 2°F | $10-15 | Absolute budget pick |
Our top pick: ThermoWorks ThermoPop 2
For most gluten-free home bakers, the ThermoWorks ThermoPop 2 hits the sweet spot. It reads in 2-3 seconds, is accurate enough for bread baking, and costs around $30. The rotating display means you can read it from any angle, and it's waterproof for easy cleaning.
If budget is truly no concern and you bake frequently, the Thermapen ONE is the gold standard. It's what professional bakers use, and the 1-second read time is genuinely impressive. But for bread baking specifically, the ThermoPop 2 gives you 90% of the performance at a third of the price.
How to use an instant read thermometer for gluten-free bread
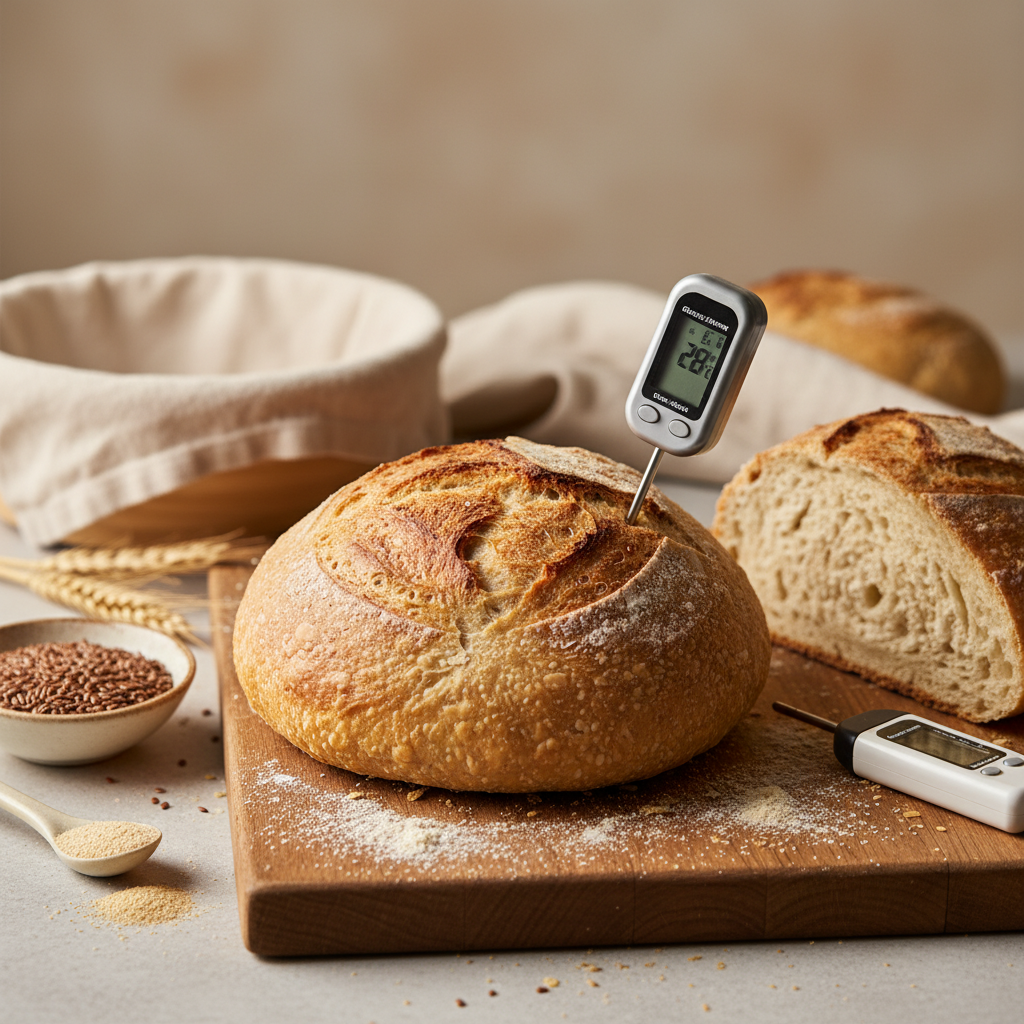
Insert the thermometer probe into the center of the loaf — the thickest part that's farthest from the edges and crust. For sandwich loaves, go in through the side or bottom at a slight angle so the tip reaches the dead center. Here's the process we follow:
- Start checking temperature about 10 minutes before the recipe says the bread should be done. GF bread can be unpredictable.
- Pull the rack out slightly (wearing oven mitts) and insert the probe quickly into the center of the loaf.
- Wait for the reading to stabilize — this takes 1-3 seconds with a good thermometer.
- If it reads below 200°F, slide it back in and check again in 5-10 minutes.
- Once it hits 205-210°F, remove the bread from the oven.
- Let it cool completely in the pan for 10-15 minutes, then on a wire rack for at least an hour before slicing.
That last step matters more than most people realize. Gluten-free bread continues to set as it cools. Cutting into it too early releases steam and can leave you with a gummy texture even if the temperature was right. If you've been struggling with texture issues, our complete guide to fixing gluten-free bread texture problems covers the full picture.
Target temperatures for different gluten-free baked goods
While we're focused on bread here, your instant read thermometer is useful across all your gluten-free baking. Here's a quick reference:
| Baked good | Target internal temperature | Notes |
|---|---|---|
| Gluten-free sandwich bread | 205-210°F | The most critical — must hit 205°F minimum |
| GF artisan/crusty bread | 208-212°F | Slightly higher for a drier crumb |
| GF quick breads and muffins | 200-205°F | Can be slightly lower due to smaller size |
| GF cakes | 200-205°F | Be careful not to overbake |
| GF brownies | 190-200°F | Lower for fudgy texture |
Notice that gluten-free bread needs a higher internal temperature than most other baked goods. This is because bread loaves are denser and thicker, and the starches need more heat to fully gelatinize. If you've ever wondered why your gluten-free bread collapses, underbaking is one of the most common causes — the structure literally can't support itself if the interior hasn't set.
Common thermometer mistakes that ruin gluten-free bread
Even with a great thermometer, technique matters. Here are the mistakes we see most often:
Checking too close to the crust
The edges of your bread will always be hotter than the center. If you insert the probe only an inch or two in, you'll get a falsely high reading and pull the bread too early. Always aim for the geometric center of the loaf.
Not calibrating your thermometer
Most instant read thermometers drift slightly over time. Test yours by sticking it in a glass of ice water — it should read 32°F. If it's off by more than 2 degrees, recalibrate it according to the manufacturer's instructions or replace it.
Opening the oven door too often
Every time you open the door, the oven temperature drops 25-50°F. For gluten-free bread, which is already prone to poor rise, this can be devastating. Resist the urge to check before the bread has been in for at least 75% of the total bake time.
Relying only on the thermometer
Temperature is the most reliable indicator, but it works best in combination with other cues. The crust should be golden brown, the bread should have pulled slightly away from the sides of the pan, and it should sound somewhat hollow when tapped. Use all the data points together.
Why visual cues fail for gluten-free bread
Many bakers — especially those transitioning from wheat baking — rely on how the bread looks to decide when it's done. This is a recipe for gummy GF bread. Here's why:
Gluten-free flours brown at different rates than wheat flour. Rice flour-based blends tend to brown faster on the outside, while the interior stays underbaked. Some recipes include extra sugar or dairy that accelerate browning, making the crust look done well before the center has reached temperature. And because GF bread batters contain more water than wheat doughs, there's simply more moisture that needs to cook off.
We've had loaves that looked perfect at 35 minutes but didn't hit 205°F until the 55-minute mark. Without a thermometer, we would have pulled them 20 minutes too early. This is one of the most common gluten-free baking mistakes, and it's the easiest one to fix.
If your bread is browning too quickly on top before the inside is done, tent it loosely with foil for the last 15-20 minutes of baking. This lets the interior continue cooking without the crust burning.
Other essential tools for gluten-free bread success
A thermometer is critical, but it works best as part of a complete toolkit. Here are the other items we consider non-negotiable for GF bread baking:
- Kitchen scale — Gluten-free baking is far more sensitive to measurement errors than wheat baking. We use the OXO Good Grips 11lb Food Scale and it's been rock solid. Check out our guide to measuring baking ingredients for more on why this matters.
- Oven thermometer — Most home ovens are off by 15-25°F. If your oven runs cool, your bread will take longer to bake and may never reach the right internal temperature.
- Quality loaf pan — Light-colored metal pans with straight sides give the most even heat distribution.
- Wire cooling rack — Essential for proper cooling, which prevents condensation from making the bottom soggy.
For the full rundown, check out our essential gluten-free baking equipment list — it covers everything you need without the fluff.
Frequently asked questions
What temperature should gluten-free bread be when done?
Gluten-free bread should reach an internal temperature of 205-210°F before you remove it from the oven. This is higher than the 190-200°F often recommended for wheat bread because GF batters contain more moisture and the starches need extra heat to fully gelatinize. If your bread reads below 200°F, it will almost certainly be gummy in the middle.
Can I use a meat thermometer for bread?
Yes, you can use a meat thermometer for bread as long as it's an instant read model with a thin probe. Avoid leave-in dial thermometers with thick probes, as they create large holes in the bread and take too long to give a reading. The key is that it reads quickly and accurately in the 180-212°F range.
Why is my gluten-free bread gummy even though it looks done?
Gluten-free bread often looks fully baked on the outside while the interior is still underdone. GF flours — especially rice flour blends — brown faster than wheat flour, and the higher moisture content in GF batters means the center needs more time. An instant read thermometer is the only reliable way to confirm the interior has reached 205-210°F. Also make sure you're letting the bread cool completely before slicing, as cutting too early traps moisture inside.
How often should I calibrate my instant read thermometer?
Calibrate your instant read thermometer every few months, or anytime you drop it. The easiest method is the ice water test: fill a glass with ice and water, insert the probe, and it should read 32°F (0°C). If it's off by more than 2°F, follow your manufacturer's calibration instructions. For bread baking, even a small inaccuracy can mean the difference between perfectly baked and underdone.
Where do I insert the thermometer in a loaf of bread?
Insert the thermometer probe into the very center of the loaf — the thickest point that's farthest from all edges and the crust. For a standard sandwich loaf, go in through the side at a slight angle so the tip reaches the middle. Avoid inserting from the top if possible, as the hole can let steam escape and affect the crust. One quick insertion and reading is all you need.

Written by
Co-founder, BakingSubs
Co-founder of BakingSubs, where he turns the science of ingredient substitutions into tested, reliable guidance for home bakers.
Related Posts
How to Ship Baked Goods That Arrive Fresh: 9 Operator-Tested Methods That Cut Damage Claims by 80%
How to Price Sourdough Bread for Sale: A Real Framework From Bakers Who Actually Profit
How Much Does Bakery Insurance Actually Cost? Real Numbers From 6 Policy Types
Bake with Confidence
See all
Confident Gluten-Free Baker Toolkit
The science-based system that replaces gluten's seven invisible jobs so your baking turns out soft, fluffy, and foolproof — every time.

Gluten-Free Recipe Vault
Instant access to our complete library of proven gluten-free recipes — no waiting, no guesswork, just results that work tonight.

Fix Your Gluten-Free Bread
Learn the 3-step formula to make bread rise and stay soft, discover why your loaves collapse, and get a tested sandwich bread recipe that actually works.