We’ve all been there. You spend time and effort making a beautiful loaf of gluten-free bread, only to cut into it and find a gummy, dense middle. It’s super frustrating, right? We’ve experimented a lot in the kitchen, trying to figure out what makes gluten-free bread gummy. Turns out, there are a few common slip-ups that can lead to this disappointing result. Let’s go over some of the most frequent mistakes we’ve made and how to avoid them so you can enjoy perfectly baked gluten-free bread.
Key Takeaways
- Make sure your gluten free bread is baked long enough. Gluten-free dough often needs more time in the oven than traditional bread.
- The type of flour blend you use really matters. Starchy flours can contribute to a gummy texture, so choose your blend wisely.
- Getting the liquid content just right is key. Too much liquid can make your gluten free bread gummy.
- Binders like xanthan gum or psyllium husk are vital for structure in gluten-free baking; without enough, your bread might be gummy.
- Don't slice your gluten free bread until it's completely cool. Cutting into a hot loaf will almost always result in a gummy interior.
Did You Bake It Long Enough?
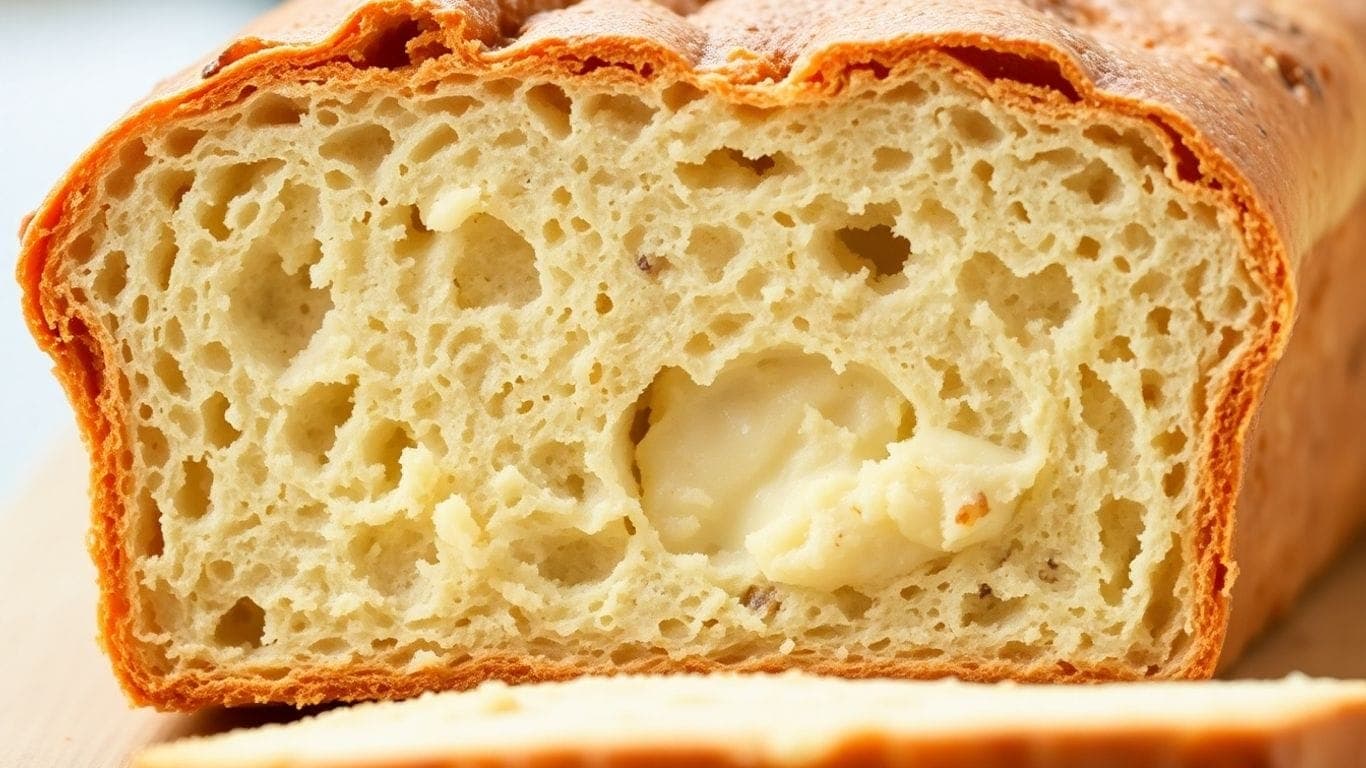
Okay, let's talk about the most common reason our gluten-free loaves end up with that frustratingly gummy middle: we just didn't bake them long enough. Seriously, this happens to the best of us. Gluten-free bread is a different beast than its wheat-filled cousin, and it needs more time in the oven to get fully cooked through. Regular bread might look done after 45 minutes, but for our GF creations, that's often just the beginning.
The Most Common Culprit for Gluten Free Bread Gummy Centers
If you pull your loaf out and it feels a bit sticky to the touch, or you notice a dense, wet line at the bottom, chances are it's underbaked. Gluten-free dough often has more moisture and doesn't have gluten to give it that structure that cooks quickly. So, it needs that extra time to dry out and set properly. It's easy to pull it out too soon because the outside might look perfectly golden brown, but the inside is still a bit doughy.
Understanding Gluten-Free Baking Times
So, how long is long enough? It really varies, but many gluten-free recipes need significantly longer baking times than traditional bread. Some people find success with lower temperatures for extended periods. For example, baking at 275°F for 75 minutes, then taking the bread out of the pan and baking for another 15 minutes can do the trick. That's a total of 1.5 hours! It sounds like a lot, but it helps make sure the center is cooked.
Signs Your Bread Needs More Time in the Oven
How do you know if it needs more time? Here are a few tell-tale signs:
- The Touch Test: When you gently press the crust, does it feel firm or does it give way and feel soft or sticky? A properly baked loaf will feel mostly firm.
- The Sound Test: Gently tap the bottom of the loaf. Does it sound hollow? A hollow sound usually means it's cooked through. A dull thud might mean it's still a bit wet inside.
- Internal Temperature: The most reliable way is to use an instant-read thermometer. For yeast-risen gluten-free breads, you're aiming for an internal temperature between 205-210°F (96-99°C). If it's lower, it needs more time.
- Visual Cues: While the crust might look done, check the sides and bottom. If they look pale or feel soft, it likely needs more baking.
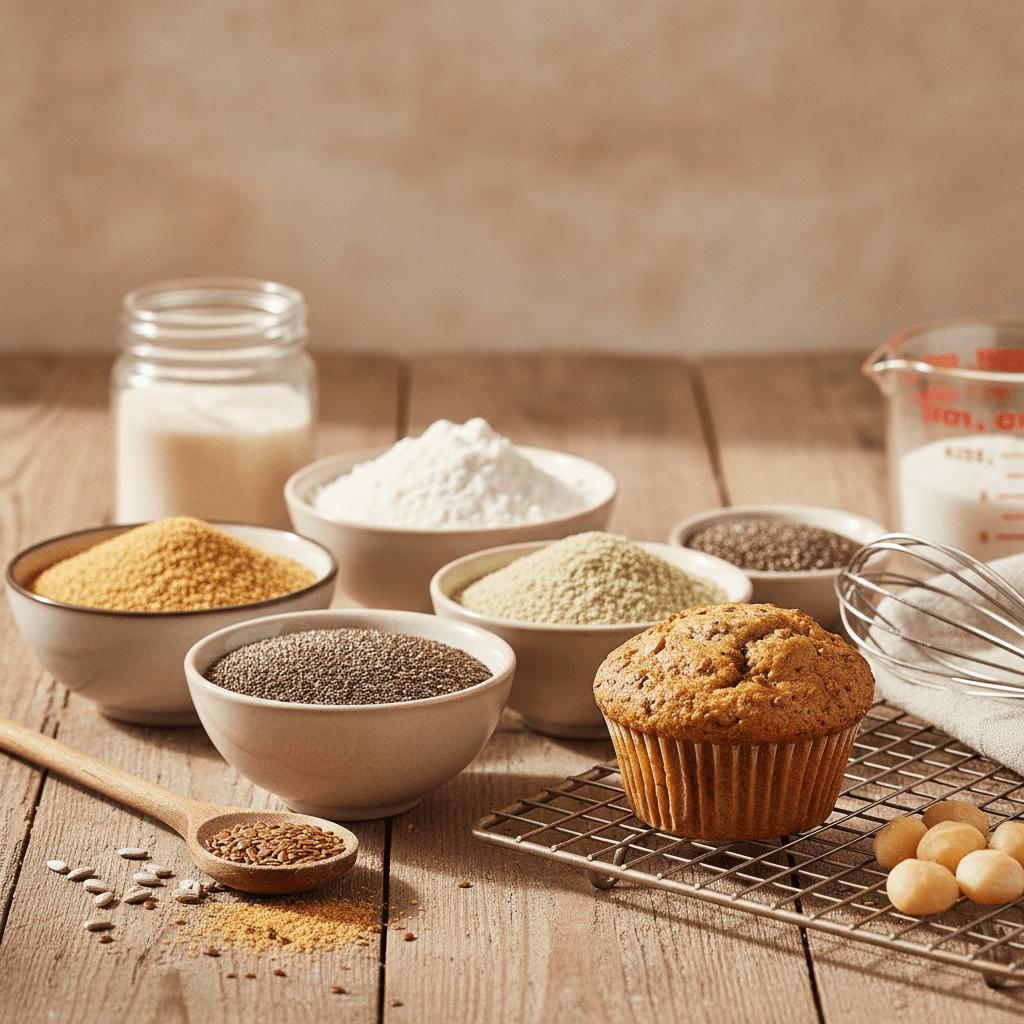
The Role of Your Flour Blend
Okay, let's talk about the flour blend. This is a big one, and honestly, it's probably the most common reason our gluten-free loaves end up with that gummy, dense middle. Unlike wheat flour, gluten-free flours don't have gluten, which is what gives regular bread its structure and chew. So, we have to rely on a mix of different flours and starches to get things right.
Starchy Flours and Gummy Bread
When we use too much starchy flour, like tapioca starch or potato starch, without enough of the grain-based flours, the bread can get gummy. These starches absorb a lot of liquid, and if they're not balanced out, they can create a dense, sticky texture that doesn't bake through properly. It's like trying to build a house with only pillows – it just doesn't hold its shape.
Choosing the Right Gluten-Free Flour Mix
Not all gluten-free flour blends are created equal, and some just don't play well with yeast. You'll want to look for blends specifically designed for bread baking. These usually have a good balance of heavier grain flours (like brown rice or sorghum) and lighter starches, plus they're often formulated to work with yeast. Some popular store-bought blends might be great for cakes or cookies, but they can lead to gummy bread when used for loaves. Always check the packaging or the brand's website to see if it's recommended for yeast bread.
How Flour Weight Affects Texture
Measuring your flour by weight instead of by volume (cups) makes a huge difference. Gluten-free flours can be tricky to measure accurately with cups because they pack differently. Weighing gives you a precise amount every time. This consistency is key, especially when you're trying to get that perfect bread texture. If your recipe calls for a specific weight, try to stick to it. A digital scale is a baker's best friend for gluten-free baking, seriously.
Liquid Content and Dough Consistency
Too Much Liquid Creates a Gummy Loaf
We've all been there, staring at a gluten-free bread recipe, wondering if the dough looks right. It's a common sticking point, and honestly, it's super easy to get wrong. If your gluten-free bread is coming out gummy in the middle, a big reason could be the amount of liquid in your dough. Gluten-free flours behave so differently than wheat flour. They don't absorb liquid in the same way, and if you add too much, you end up with a batter that's more like cake batter than bread dough. This excess moisture just doesn't bake off properly, leaving you with that dense, gummy texture we're trying to avoid.
Achieving the Right Dough Consistency
So, what's the magic consistency we're aiming for? It's not a hard and fast rule, and it can vary a bit depending on your specific flour blend. Generally, we want a dough that's soft and a little sticky, but not so wet that it's completely unmanageable. Think of it like a thick brownie batter, but maybe a touch firmer. It should hold its shape somewhat, but still be pliable. If you're using a stand mixer, it should be able to handle the dough without it climbing all over the beater. If you're mixing by hand, it should feel workable, not like soup.
Measuring Liquids Accurately
Getting the liquid amount just right often comes down to how we measure. While cup measures are convenient, they can be really inaccurate with gluten-free flours, which are often powdery and can pack differently. Weighing your ingredients is the most reliable way to get consistent results. If you don't have a scale, try to be really careful when measuring your flour and liquids. For flours, it's often recommended to gently spoon them into the measuring cup and level off, rather than scooping directly from the bag. When it comes to liquids, use liquid measuring cups and check the level at eye height. If your dough seems too wet, don't panic! You can often fix it by adding a tablespoon of your gluten-free flour blend at a time until it reaches that soft, tacky consistency. If it seems too dry, add a teaspoon of warm water at a time. It's all about that balance.
The Importance of Binders
Why Binders Are Crucial in Gluten-Free Baking
Okay, so we all know that regular bread gets its amazing chewy structure from gluten, right? It's like the glue that holds everything together. Well, when we bake gluten-free, we're missing that natural glue. That's where binders come in. They're super important because they step in to mimic gluten's job, giving our loaves structure and preventing them from falling apart into a crumbly mess. Without them, our gluten-free bread can end up dense, gummy, or just plain sad.
Common Binders and How They Work
There are a few go-to binders we often reach for in gluten-free baking:
- Xanthan Gum: This is probably the most common one you'll see. It's a workhorse that adds elasticity and structure. We usually use about 3/4 to 1 teaspoon per recipe.
- Guar Gum: Think of this as a cousin to xanthan gum. Some people prefer it, and it works similarly to provide binding. The amount is usually around 3/4 to 1 teaspoon as well.
- Psyllium Husks: This one is fantastic for bread specifically. It absorbs a lot of water, creating a gel that gives the dough a nice, pliable texture and helps keep the bread moist. For bread, we often use around 16-18 grams.
Ensuring Your Blend Has Enough Binding Power
When you're picking out a gluten-free flour blend, take a peek at the ingredients. Does it already have one of these binders in it? Many pre-made blends do, but not all of them are formulated for yeast breads. If your blend doesn't list a binder, or if you're mixing your own flours, you'll definitely want to add one. Adding the right binder is often the secret to getting that perfect, non-gummy texture. It makes a world of difference in how your bread holds together and bakes up!
Yeast and Proofing Pitfalls
Okay, let's talk about yeast and proofing, because this is where things can get a little tricky with gluten-free bread. It's not quite like regular bread, and we only get one good rise out of it, so we have to be smart about it.
Expired or Incorrect Yeast
First off, we need to make sure our yeast is actually alive and kicking. If you've got old yeast lying around, it might not do its job. Always check the expiration date. Also, pay attention to the type of yeast your recipe calls for. There's active dry yeast and instant yeast, and they don't always play nice if you swap them out. Some recipes might even call for rapid-rise yeast. And a quick note: most yeast is gluten-free, but it's always good to double-check the packaging, just in case.
The Danger of Over-Proofing Your Dough
This is a big one for gluten-free baking. We only really get one good rise, so we need to get it right. If we let the dough proof for too long, it can get too airy. Think of it like a balloon that's been blown up too much – it's going to pop. This can lead to the bread collapsing either while it's baking or right after it comes out of the oven. A good sign that you might have over-proofed is if the dough has risen way above the sides of your pan. It just doesn't have enough support to hold its shape.
Proper Proofing Environments for Gluten-Free Dough
So, where should we let our dough do its thing? Yeast likes warmth, but not too much. A common trick is to preheat your oven to about 200°F (93°C), then turn it off. Pop your covered dough in there, and it creates a nice, cozy spot for it to rise. Just make sure to cover it well, maybe with plastic wrap, so the surface doesn't dry out. We want that dough to be happy and rise evenly. Remember, shaping the dough before this main rise is key. Get it into the pan or shaped on the baking sheet first!
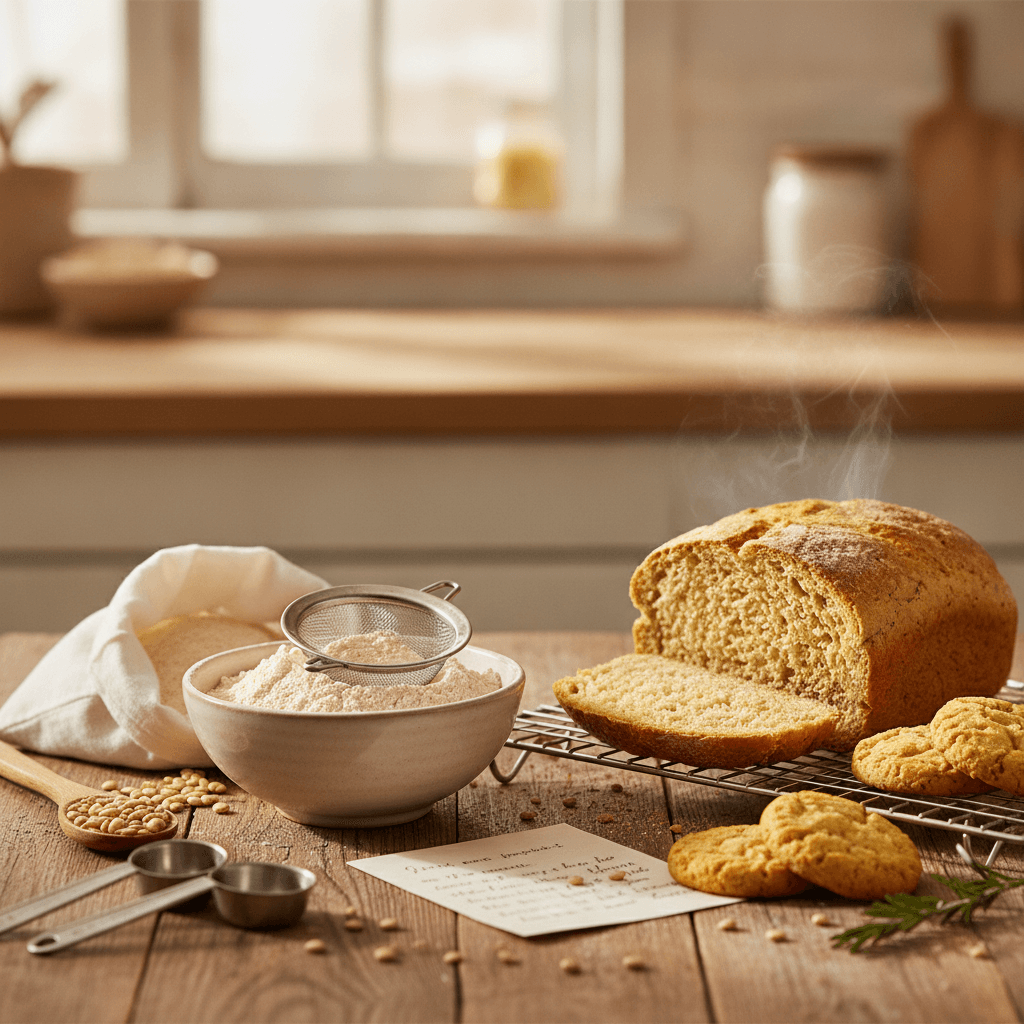
Cooling and Slicing Your Loaf
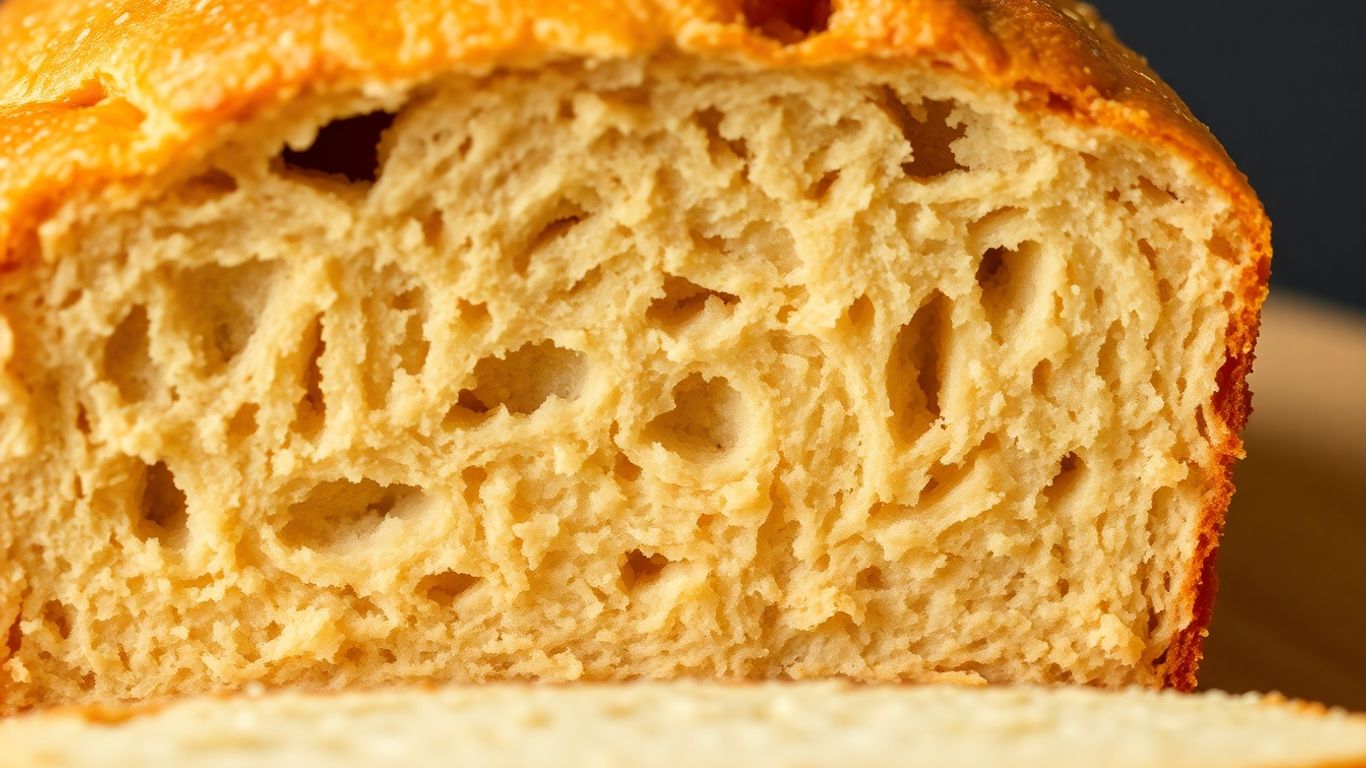
We know, we know. The smell of freshly baked bread is intoxicating, and you just want to dive right in. But hold on a second! Cutting into your gluten-free loaf while it's still piping hot is a recipe for a gummy disaster. Think of it like this: the bread is still doing a lot of its internal work even after it comes out of the oven. It needs time to set up properly.
The Patience Required After Baking
Seriously, this is where we often trip up. Gluten-free bread, especially, needs a good long chill-out session. The starches are still absorbing moisture and firming up. If you slice too soon, all that lovely moisture that should be part of the crumb structure is still sloshing around, making the inside dense and sticky.
Why Cutting Hot Bread Leads to Gummy Results
When you cut hot bread, the steam inside hasn't fully escaped, and the internal structure hasn't solidified. The starches haven't finished gelatinizing, which is the process that gives bread its structure. Cutting it prematurely essentially squishes that delicate structure, leading to that unpleasant gummy texture we're trying to avoid. It's like trying to slice a cake that's still molten in the middle – it just doesn't work.
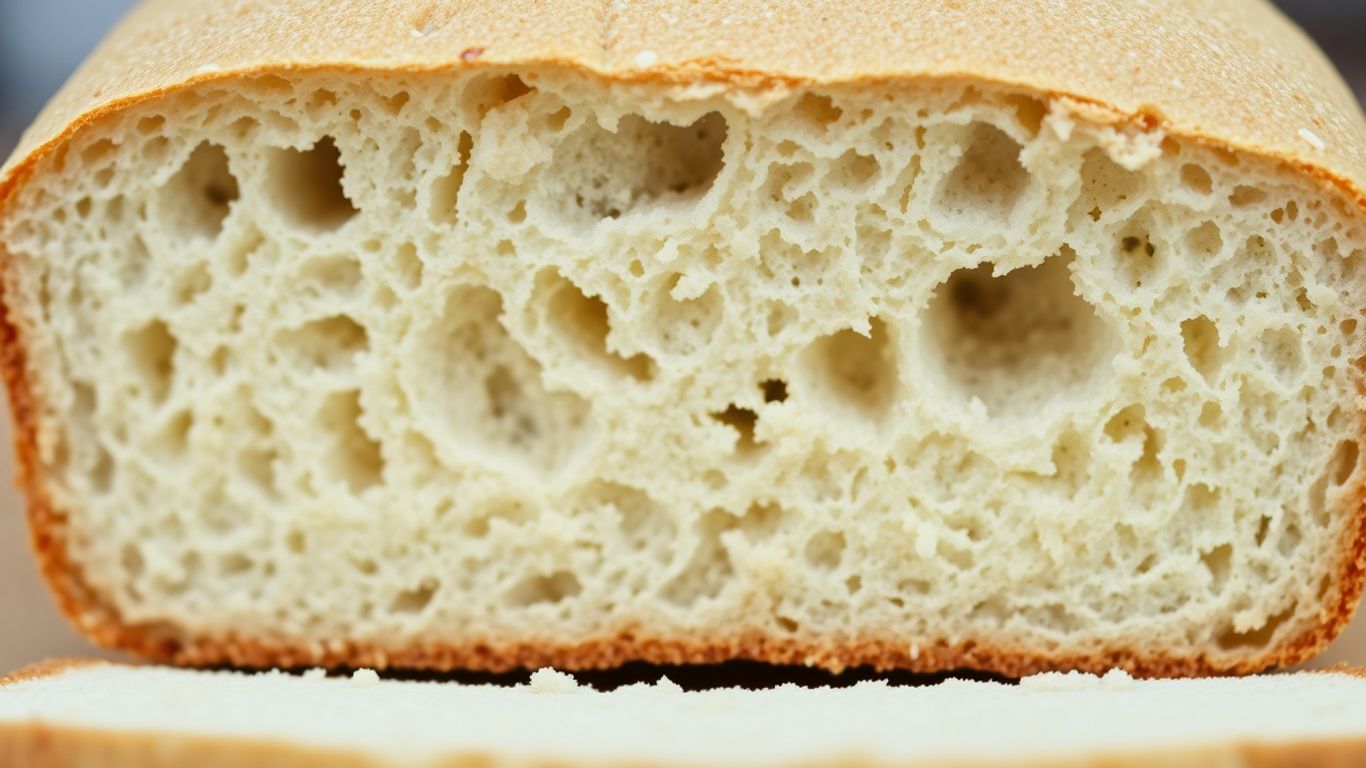
Allowing Your Bread to Cool Completely
So, what's the magic number? It really depends on the size and density of your loaf, but we're generally talking at least 2-3 hours, sometimes even longer. Here’s a little guide to help you know when it's ready:
- Feel the loaf: It should feel mostly firm and not squishy.
- Check the crust: The crust should be fully set and not feel damp.
- Internal temperature (optional but helpful): If you have an instant-read thermometer, the internal temperature should be around 200-210°F (93-99°C).
Resist the urge! Let it cool on a wire rack to allow air to circulate all around the loaf. Your patience will be rewarded with a slice that holds its shape and has a delightful texture.
Oven Temperature and Baking Time
Finding the Sweet Spot for Baking Temperature
Okay, so we've talked about a lot of things that can go wrong, but let's get to the oven itself. Sometimes, the temperature your oven says it's at isn't the temperature it actually is. We've found that using an oven thermometer is a total game-changer. It helps us make sure we're baking at the right heat, which is super important for gluten-free bread.
The Benefits of a Lower Temperature and Longer Bake
We've noticed that gluten-free bread often needs a bit more time in the oven than regular bread. Trying to rush it with a high temperature can lead to a gummy middle because the outside cooks too fast. A lower temperature for a longer period seems to do the trick. Think about baking your loaf for maybe 75 minutes at a lower temp, and then maybe taking it out of the pan for the last 15 minutes to get a nice crust. This longer, slower bake helps cook the inside all the way through.
Using a Thermometer for Perfect Doneness
Forget the old tap-the-bottom trick for checking if bread is done. For gluten-free loaves, we've found that an instant-read thermometer is way more reliable. You're looking for an internal temperature of around 205-210°F (96-99°C). If it's not quite there, give it a few more minutes. It's better to be safe than sorry when it comes to avoiding that gummy texture!
So, What's the Takeaway?
We've all been there, right? Staring at a loaf of gluten-free bread that looks amazing on the outside but is a gummy mess inside. It's super frustrating, but hopefully, after going through these common mistakes, we can all bake a little better next time. Remember, it's often a mix of things – maybe it needed a bit longer in the oven, or perhaps the flour blend was a little off. Don't give up! Keep experimenting, pay attention to those details, and soon enough, we'll be enjoying perfectly baked gluten-free bread. Happy baking, everyone!

Written by
Co-founder, BakingSubs
Co-founder of BakingSubs, where he turns the science of ingredient substitutions into tested, reliable guidance for home bakers.
Related Posts
Collagen Powder in Baking as Flour Supplement: Why It Mostly Fails (and 3 Ways to Make It Work)
6 Sunflower Seed Flour Substitutes for Keto Baking (and When Each One Actually Works)
Lupin Flour as a Low Carb Flour Substitute: 5 Things That Change (and 3 That Can Go Wrong)
Bake with Confidence
See all
Confident Gluten-Free Baker Toolkit
The science-based system that replaces gluten's seven invisible jobs so your baking turns out soft, fluffy, and foolproof — every time.

Gluten-Free Recipe Vault
Instant access to our complete library of proven gluten-free recipes — no waiting, no guesswork, just results that work tonight.

Fix Your Gluten-Free Bread
Learn the 3-step formula to make bread rise and stay soft, discover why your loaves collapse, and get a tested sandwich bread recipe that actually works.