We've all been there, right? Staring at a beautiful loaf of gluten-free bread that looked so promising in the oven, only to watch it deflate like a sad balloon. It’s frustrating, I know. I’ve spent countless hours in my kitchen, covered in flour, trying to figure out why my gluten-free bread collapses. It turns out, it’s not about luck or some secret technique. It’s about understanding the science behind what makes bread rise and hold its shape, especially when gluten isn't around to help. Let's break down why your gluten-free bread collapses and how we can fix it.
Key Takeaways
- Gluten acts like a scaffold in traditional bread, trapping gases. Without it, gluten-free bread needs other ingredients like xanthan gum and psyllium husk to create structure and hold air.
- Starch gelatinization is key to bread's crumb. The internal temperature needs to reach at least 200°F for the starches to fully transform and create a soft texture.
- Yeast needs warmth and sugar to produce carbon dioxide, but in gluten-free bread, the real challenge is capturing those gas bubbles with binders instead of gluten.
- Temperature control is super important during proofing. Gluten-free dough can rise and fall much faster than wheat dough, so watch it closely to avoid over-proofing, which can cause your gluten-free bread to collapse.
- Diagnosing common problems like gummy or dense loaves involves looking at binder ratios, hydration levels, fermentation times, and baking temperatures, all based on simple chemistry principles.
The Great Gluten Mystery: What We Lost and How Science Saves Us
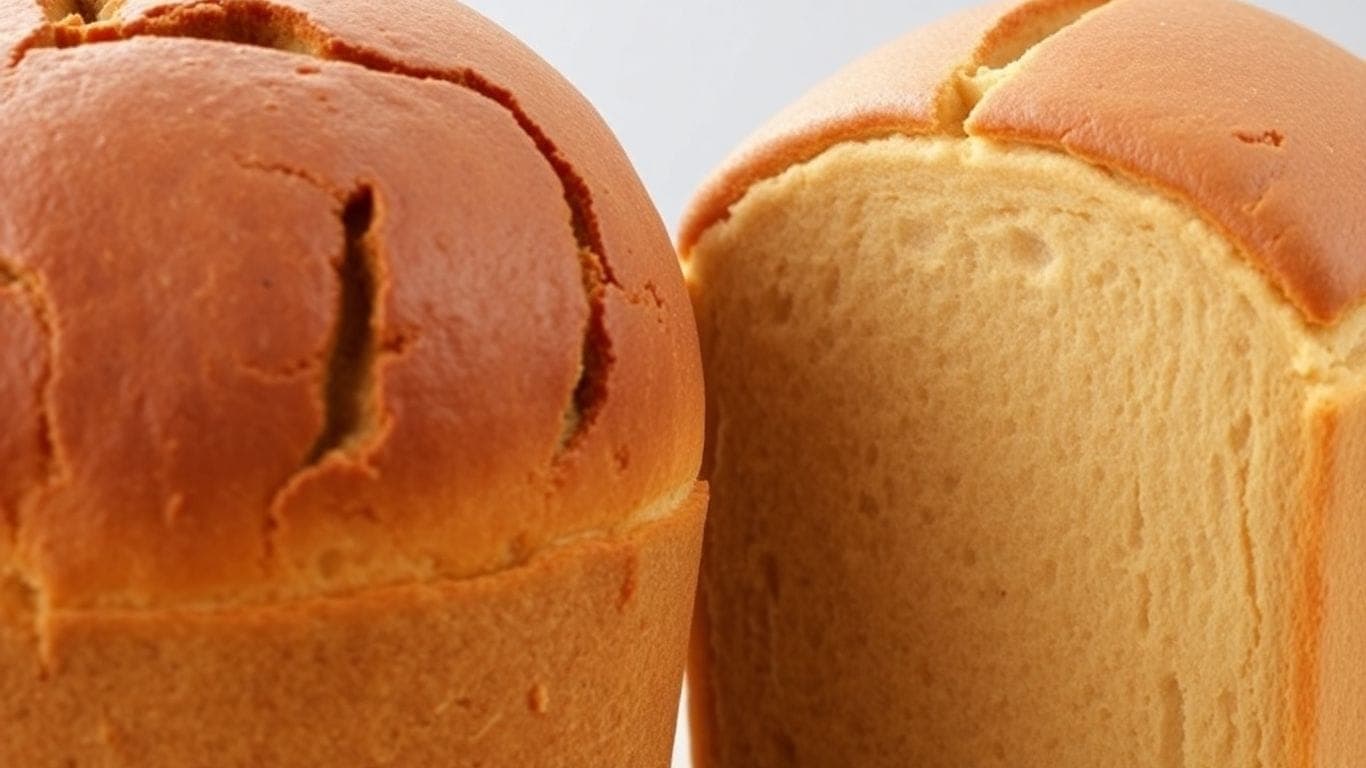
We’ve all been there, right? Staring at a gluten-free loaf that looks more like a sad, dense pancake than actual bread. It’s frustrating, especially when you’ve followed the recipe to the letter and used all the fancy flours. For years, I thought gluten was just some magical ingredient that made bread fluffy, and without it, we were doomed to crumbly failures. But here’s the thing: gluten is actually a complex protein network that does some pretty amazing work in traditional bread making. When wheat flour meets water, two proteins, glutenin and gliadin, get together and form this stretchy, elastic structure. Think of it like a microscopic scaffolding that traps the air bubbles created by yeast. This network is what gives regular bread its chew, its rise, and its ability to hold together.
When we remove gluten, we lose that natural scaffolding. Suddenly, our dough can’t hold onto those precious gas bubbles, it tears easily instead of stretching, and it struggles to keep its shape when it hits the heat of the oven. It’s like trying to build a house without any support beams – it’s just going to fall apart.
But don’t despair! The good news is that science has given us some clever ways to mimic gluten’s magic. We’ve learned that by understanding the chemistry of different ingredients, we can build new structures and create gluten-free bread that’s actually delicious and has a great texture. It’s not about just swapping out flour; it’s about understanding how different components interact to create that perfect loaf.
Understanding Gluten's Role in Traditional Bread
So, what exactly does gluten do? When you mix wheat flour with water, you’re activating glutenin and gliadin. These proteins link up to form a flexible, elastic network. This network is super important because:
- It provides the structure that allows bread to rise.
- It traps the carbon dioxide gas produced by yeast, creating those lovely air pockets.
- It gives bread its characteristic chewy texture.
This network is why traditional bread dough feels springy and can be stretched without breaking. It’s the backbone of the loaf.
Why Gluten-Free Baking Needs New Strategies
Without gluten, we’re missing that built-in structural support. This means gluten-free doughs behave very differently. They tend to be more like batters, and they can’t trap gas as effectively. This is why many gluten-free breads end up dense or crumbly. We can’t just substitute ingredients; we need to rethink the whole process and use ingredients that can create structure and elasticity in new ways.
The Science Behind Gluten's Structure
At a molecular level, glutenin contributes strength and elasticity, while gliadin adds extensibility and viscosity. When they combine, they form a complex three-dimensional network. This network is dynamic; it can be stretched and shaped, but it also has enough integrity to hold its form. The way these proteins interact is key to the texture and rise of traditional bread. Understanding this helps us appreciate what we’re trying to replicate when we bake gluten-free.
The Binding Agent Dream Team: Science Made Simple
When we take gluten out of the picture, we lose that amazing stretchy network that holds our bread together. It’s like trying to build a house without any beams! So, what do we do? We bring in some science-backed helpers. These aren't just random additions; they're ingredients that mimic gluten's job, giving our loaves structure and a pleasant texture.
Xanthan Gum: The Microscopic Glue
Xanthan gum is a real workhorse in gluten-free baking. It’s made through a fermentation process and acts like a binder. When you add it to your dough, it creates a sort of microscopic web. This web helps hold everything together, preventing that crumbly texture we often get without gluten. Think of it as tiny, flexible threads that give the dough some body and elasticity. It’s pretty amazing how a little bit of this powder can make such a big difference in keeping your bread from falling apart.
Psyllium Husk: Nature's Elastic Fiber
Psyllium husk is another fantastic ingredient that we love to use. It comes from the seeds of a plant and is packed with fiber. What's cool about psyllium is how much water it can soak up – way more than you might expect! This absorption helps create a gel-like substance in our dough. This gel gives the bread a nice chewiness and helps it hold its shape, much like gluten does. It adds a springiness that makes the bread feel more substantial and less likely to collapse.
The Perfect Ratio for Structure and Softness
Getting the right mix of these binding agents is key. Too much of one or the other can lead to problems. For example, too much xanthan gum can make the bread gummy, while too much psyllium husk might make it too dense or dry. We've found that a balanced ratio, often using both xanthan gum and psyllium husk, gives us the best of both worlds:
- Structure: They work together to create a network that traps gases during rising and baking.
- Softness: They contribute to a tender crumb that isn't dry or crumbly.
- Elasticity: They give the dough enough give to expand without tearing.
Experimenting with these ratios is part of the fun, but starting with a good balance is your best bet for a successful loaf.
Starch Science: Transforming Flour into Texture
Okay, so we've talked about gluten's role and the binders that try to replace it. But there's another player in this bread-making game that's super important for that perfect crumb: starch. Honestly, I used to barely think about it, but once I started digging into how starch works, it totally changed how I bake.
How Starch Gelatinization Creates Crumb
Think about raw flour. It's made up of these tiny, hard granules. When we mix flour with water and heat it up in the oven, something pretty amazing happens. This process is called gelatinization. The starch granules start soaking up water, swelling up like little sponges. As the temperature climbs, they eventually burst, releasing all that starchy goodness. This released starch then forms a gel, and this gel is what creates the soft, structured interior of our bread. It’s this transformation that turns a sticky dough into a sliceable loaf. Without it, you'd just have a pile of dry flour and water.
Why Internal Temperature is Key
This is where things get really interesting, and honestly, a bit tricky with gluten-free bread. We can't just rely on time because different flours and blends heat up differently. The real indicator of whether your bread is cooked through is its internal temperature.
For that starch to fully gelatinize and create a stable crumb, the inside of your loaf needs to reach at least 200°F, and ideally closer to 207-210°F. If you pull your bread out too early, even if the outside looks golden brown, the inside can end up gummy and dense because the starch hasn't finished its job. Using an instant-read thermometer is a game-changer here; it takes the guesswork right out of it.
Flour Blend Chemistry for Success
This is something I learned the hard way. Trying to make good gluten-free bread with just one type of flour? It's usually a recipe for disappointment. The real magic happens when we combine different flours. Each flour brings something unique to the table:
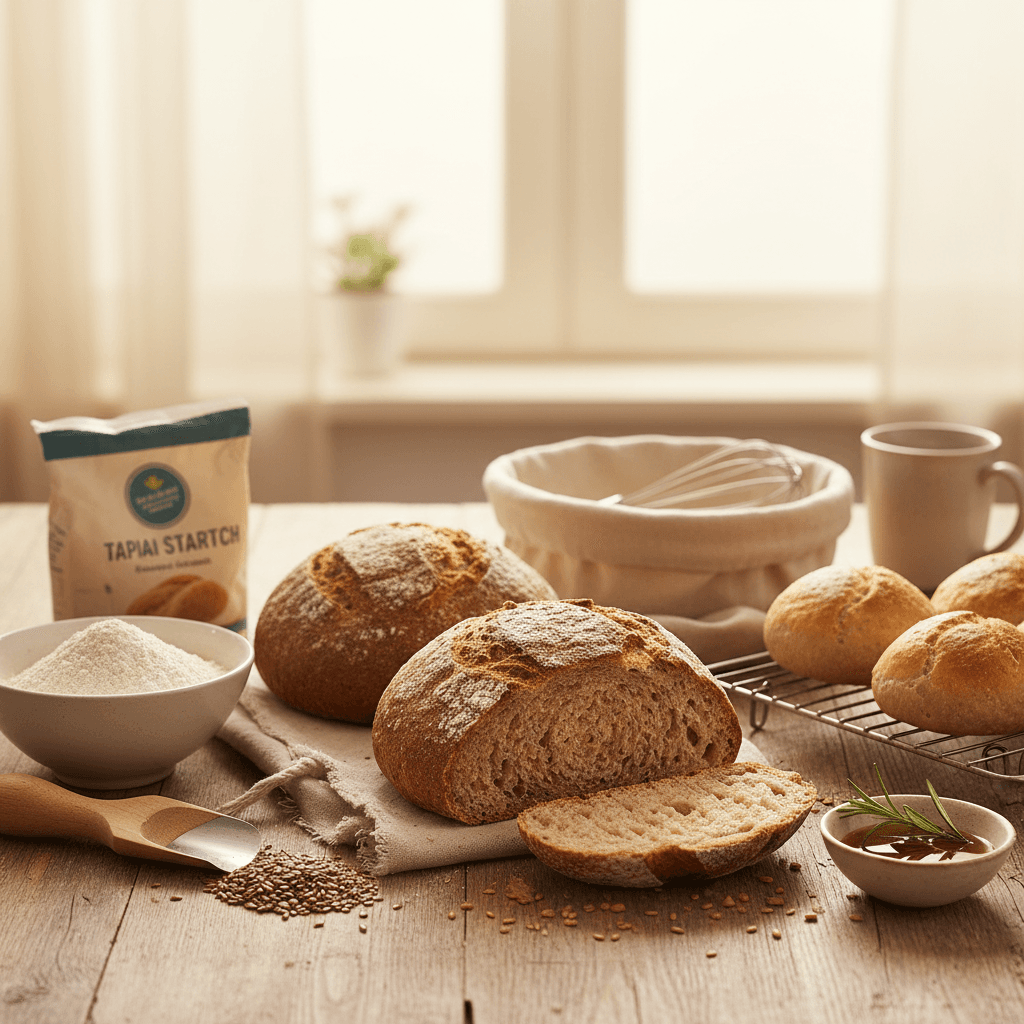
- Rice Flour: This is often our base. It has small, uniform starch granules that help create a smooth texture. It gelatinizes relatively early, giving the loaf some initial structure.
- Tapioca Starch: This one is fantastic for adding a bit of chewiness and elasticity. It also helps the bread retain moisture, which is great for keeping it from going stale too quickly.
- Other Starches (like potato or cornstarch): These can add tenderness and help with browning.
Finding the right balance is key. Too much of one starch might make it gummy, while too little can lead to a crumbly loaf. It's all about understanding how these different components interact when heated with water to create that desirable bread texture we're all aiming for.
Fermentation Science: Making Yeast Happy Without Gluten
Yeast Biology in Gluten-Free Environments
Honestly, I used to think yeast just couldn't hack it without gluten. It turns out I was totally wrong! Yeast doesn't actually miss gluten; it just needs a different kind of structure to do its thing. The real trick isn't keeping yeast happy; it's about how we capture the gas it makes. Yeast is pretty simple, really. It eats sugar (from the flour or any added sweeteners) and, with a little warmth, it burps out carbon dioxide gas. That gas is what makes our bread rise. It also makes a bit of alcohol, which mostly bakes off and adds flavor, and it releases energy, which is why dough feels warm when it's actively fermenting.
The Real Challenge: Trapping Gas Bubbles
In regular bread, the gluten forms this stretchy network, like tiny balloons, that traps all those CO2 bubbles. Gluten-free dough doesn't have that natural elasticity. So, we need other ingredients to step in and create a structure that can hold onto the gas yeast produces. This is where our binding agents come in, forming flexible films around the bubbles. Good hydration is also key, helping these binders create a network. And how we mix matters too – we want to incorporate some air without destroying the fragile structure we're trying to build.
Temperature Sensitivity Science for Proofing
Yeast is super sensitive to temperature, and this is even more true in gluten-free dough. Get it wrong, and your rise can suffer or even collapse. Here's a quick guide:
- 60-70°F (15-21°C): Yeast is pretty sleepy here; activity is very slow.
- 75-85°F (24-29°C): This is the sweet spot! Yeast is active and happy, making for a good, steady rise.
- 90-95°F (32-35°C): Yeast works fast, but it can get a bit unstable, leading to a quick rise and potential collapse.
- 100°F+ (38°C+): Too hot! Yeast cells start to die, and fermentation stops.
So, keeping your dough in that optimal 75-85°F range during proofing is really important for consistent results.
Troubleshooting Through Chemistry: Diagnosing Problems Scientifically
Okay, so our gluten-free loaves aren't always perfect, right? Sometimes they come out gummy, or dense, or just… sad. Instead of throwing in the towel, let's look at these issues like a scientist. It's all about understanding what's happening chemically inside that dough.
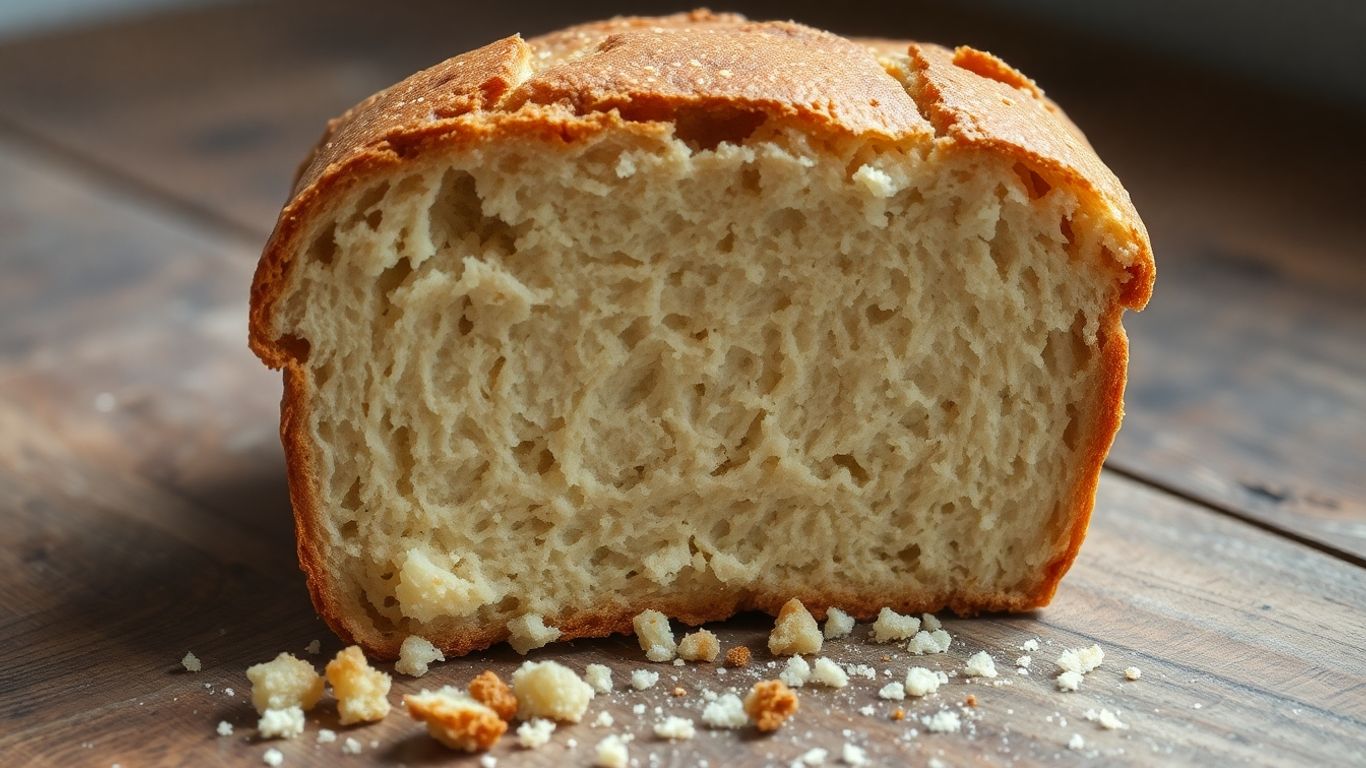
Diagnosing a Gummy Texture
A gummy texture usually means one of two things: either the starches didn't fully cook, or we added too much liquid, which stopped the structure from forming properly. Think of it like undercooked pasta – still a bit mushy.
Here's how we can break it down:
- Starch Issue: If the inside of your loaf didn't reach a high enough temperature (we're aiming for 207-210°F), those starches won't gelatinize, or cook, all the way. This leaves behind those sticky, gummy pockets.
- Hydration Issue: Too much liquid can overwhelm our binding agents, like xanthan gum and psyllium. They just can't hold everything together when there's too much water floating around.
- Binding Issue: Sometimes, we just don't have enough binder, or maybe they weren't activated correctly. This means the structure can't form properly, leading to a gummy result.
To fix this next time, always use a thermometer to check that internal temperature. If you suspect too much liquid, try reducing it by a couple of tablespoons. And make sure your binders get a chance to pre-hydrate – that's key for them to work their magic.
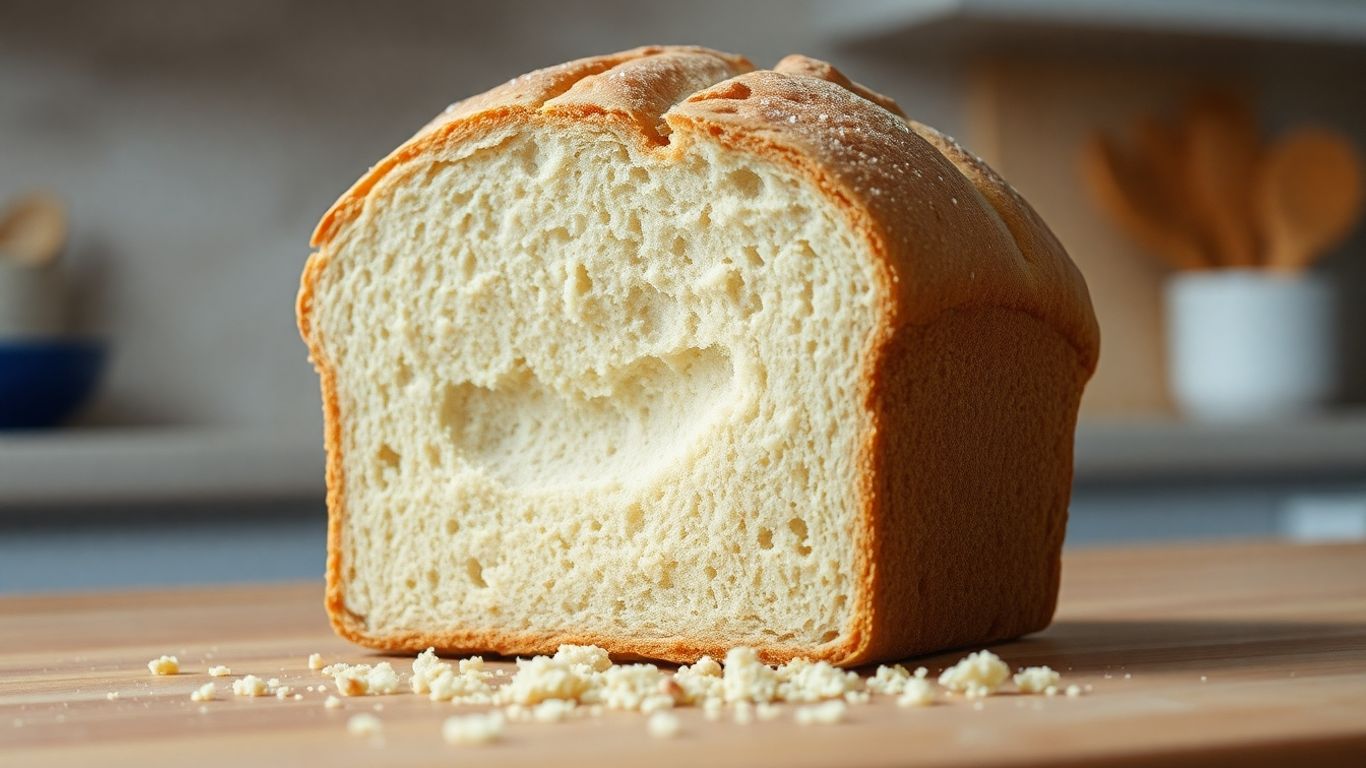
Identifying the Causes of a Dense Loaf
A dense loaf is often a sign that something went wrong with the leavening or the structure's ability to hold gas. It's like a deflated balloon.
Let's look at the common culprits:
- Not Enough Lift: This could be old yeast that's lost its oomph, or maybe our chemical leaveners (like baking powder) aren't fresh.
- Over-Proofing: We let the dough rise for too long, and the delicate structure collapsed before it even hit the oven.
- Poor Gas Retention: Our binding agents didn't create a strong enough network to trap the gas bubbles produced by the yeast.
- Starch Problems: Sometimes, the flour blend or how we mixed it just doesn't set up right, leading to a dense crumb.
To test this, we can do a quick check. Proof your yeast in warm water – it should get foamy. Baking powder should bubble right away in hot water. And those pre-hydrated binders should form a thick gel. If any of these fail, it's time for fresh ingredients. Getting the proofing temperature right (around 75-85°F) is also super important for happy yeast.
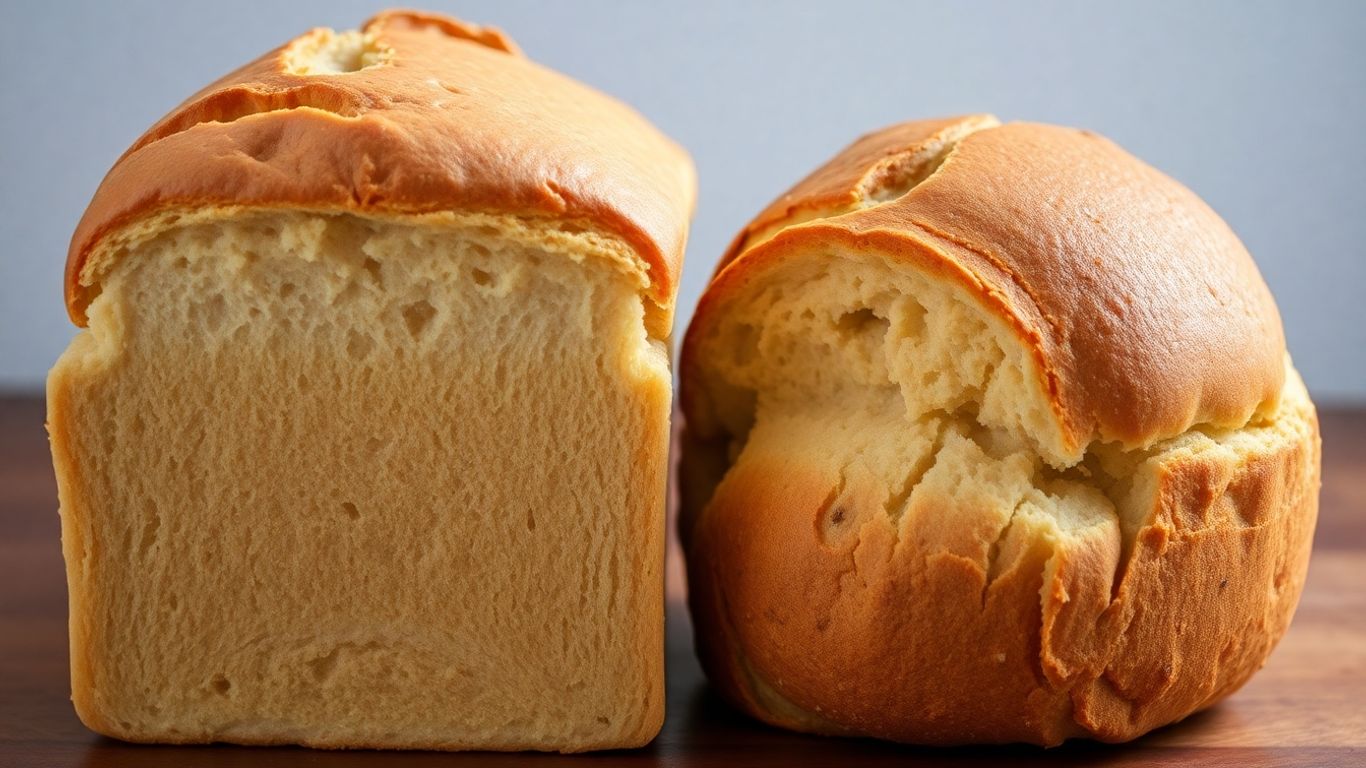
The Science Behind a Collapsed Loaf
Ah, the dreaded collapse. This is usually a more dramatic version of the dense loaf problem, often happening after baking. It means the structure was too weak to support itself as it cooled.
Here’s what might have happened:
- Over-Proofing: This is a big one. The yeast produced too much gas, stretching the gluten-free structure beyond its limits. When it cooled, it couldn't hold its shape.
- Insufficient Binding: Not enough xanthan gum, psyllium, or other binders, or they weren't mixed in properly, means the structure is weak from the start.
- Under-baking: If the internal temperature wasn't high enough, the starches and proteins didn't set properly, and the loaf can't support its own weight.
- Too Much Liquid: Similar to the gummy texture, excess liquid can weaken the overall structure.
The key takeaway is that gluten-free baking is a delicate balance of hydration, binding, and controlled fermentation. When any of these elements are off, we can end up with a collapsed loaf. Paying close attention to proofing times (often shorter than wheat bread!) and ensuring your internal baking temperature is spot on are your best defenses.
Advanced Diagnostic Techniques for Perfect Loaves
So, we've talked a lot about the science behind why gluten-free bread can be tricky. Now, let's get practical. Sometimes, you just need to feel and see what's going on with your dough and your baked loaf. These aren't just random guesses; they're based on understanding how the ingredients are behaving chemically. Think of them as your scientific toolkit for diagnosing issues before they even become a problem, or for figuring out what went wrong if your loaf didn't turn out quite right.
The Scientific Poke Test
This is one of my favorites because it’s so simple yet tells you so much about the proofing stage. You've let your dough rise, and now you need to know if it's ready for the oven or if it's gone too far.
- Get Ready: Lightly flour your finger. You don't want it sticking to the dough.
- The Poke: Gently press your floured finger about a quarter-inch into the side of the loaf. Don't jab it!
- Observe: What happens next is key:
- Slow Spring-Back: If the indentation slowly fills back in, leaving just a slight mark, your dough is perfectly proofed. It has enough structure to hold the gas but is still active.
- No Spring-Back: If the indentation stays put or the dough seems to deflate, it's likely over-proofed. You'll want to get it into the oven ASAP to prevent further collapse.
- Immediate Spring-Back: If the indentation pops right back out, your dough needs more time to proof. The yeast is active, but the structure isn't quite ready to hold the gases.
Adapting the Stretch Test for Gluten-Free
We all know gluten-free dough won't stretch like traditional wheat dough – you're not going to get those beautiful, thin windowpanes. But we can still adapt the idea to check how well our binding agents are doing their job. This test is more about the cohesion of the dough.
- Take a Small Piece: Gently pull off a small bit of dough from the main mass.
- Stretch Gently: Try to stretch it between your fingers. Don't force it.
- What to Look For:
- Good Binding: The dough should stretch a little, maybe an inch or two, before it tears. This resistance shows that your gums and fibers are creating a network.
- Poor Binding: If it tears immediately with no stretch, or if it stretches really easily without any tension, your binding agents might not be fully hydrated or you might not have enough of them. This can lead to a crumbly loaf.
The Sound Test for Doneness
This is the classic baker's trick, and it works for gluten-free bread too! It tells you if the internal structure has set properly. The hollow sound is your signal that the starches have gelatinized and the proteins have set.
- Remove the Loaf: Carefully take your baked bread out of the pan.
- Tap the Bottom: Gently tap the bottom of the loaf with your knuckle.
- Listen Closely:
- Hollow Thump: This is what you want to hear! It means the interior is cooked through, the structure is set, and moisture has evaporated appropriately.
- Dull Thud: If it sounds dense or dull, the inside is likely still gummy or under-baked. The starches haven't fully gelatinized, and the structure hasn't set. You might need to pop it back in the oven for a bit longer (maybe uncovered).
Using these simple tests, combined with an internal temperature check (aiming for around 207-210°F), gives you a really solid way to know if your gluten-free bread is perfectly baked. It takes the guesswork out and replaces it with observable, scientific cues.
Environmental Factors and Their Impact
We've all been there, right? You follow a recipe to the letter, and yet, your bread turns out... well, not quite right. Sometimes, the culprit isn't the ingredients or your technique, but the world around your dough. Our environment plays a bigger role than we often give it credit for, especially when we're baking gluten-free.
Why Temperature Matters More in GF Bread
Think about yeast. It's a living thing, and like most living things, it has its preferred temperature range. In gluten-free baking, where we don't have gluten to provide structure and trap gases, temperature becomes even more critical. Too cold, and your yeast gets sluggish, leading to a slow rise and a dense loaf. Too warm, and it can over-ferment, producing off-flavors and weakening the dough structure before it even gets to the oven. Finding that sweet spot, usually between 78-82°F (25-28°C), is key for a good rise. We often aim for the temperature of a beehive – nature's perfect incubator!
Humidity Effects on Your Dough
Humidity is another sneaky factor. If you live in a dry climate, the air is constantly trying to pull moisture out of everything, including your dough. This can cause the surface to dry out too quickly during mixing and proofing, leading to a crust that forms too early and restricts the loaf's expansion. On the flip side, in a very humid environment, your flour will absorb moisture from the air. This effectively increases the dough's hydration, making it stickier and potentially leading to overproofing or a gummy texture. You might need to adjust your liquid content based on how humid it is that day.
Timing Adjustments for Gluten-Free Proofing
Because temperature and humidity can speed up or slow down yeast activity, the proofing times in recipes are often just a guideline. You really need to watch the dough, not the clock. In warmer, more humid conditions, your dough might proof much faster than the recipe states. Conversely, in cooler, drier weather, it could take significantly longer. Learning to read the signs – like the dough looking puffy and feeling light – is more important than sticking to a strict time. It's all about observing how the environment is affecting your specific dough at that moment.
So, What's the Takeaway?
We’ve been through a lot together, haven’t we? From the baffling collapse of our loaves to understanding the tiny science happening inside. It’s pretty wild to think that all those failed attempts were just missing a little bit of know-how about how things like starches, binders, and even temperature actually work. But now, we’ve got the tools. We know why our bread falls flat and, more importantly, how to stop it. So, let’s get back in the kitchen, armed with this new knowledge. No more bricks, just beautiful, delicious gluten-free bread. We’ve got this!

Related Posts
How to sell gluten-free bread from home: a complete guide to building a loyal customer base
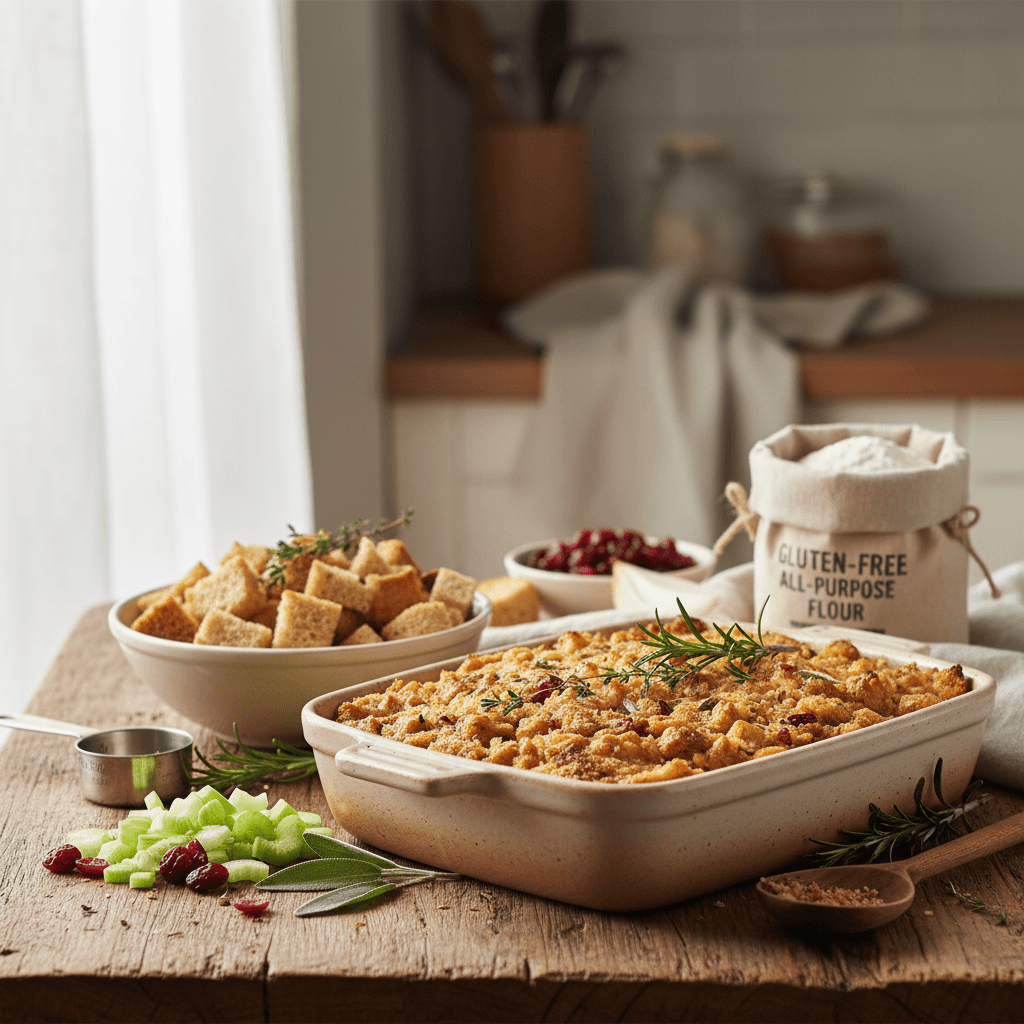
Gluten-free Thanksgiving stuffing recipes and brands: homemade and store-bought options that actually taste like the holidays
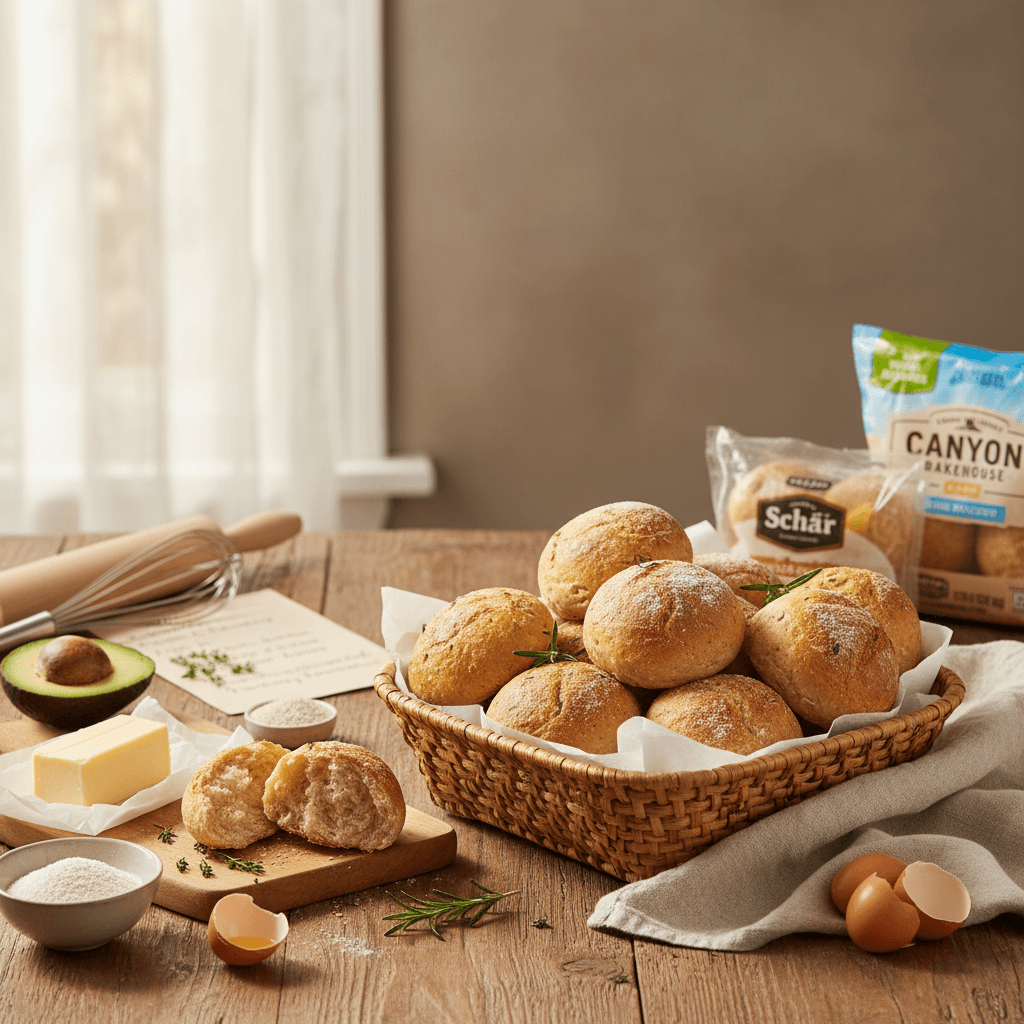
Best gluten-free dinner rolls for Thanksgiving: homemade recipes and store-bought picks
Bake with Confidence
See all
Confident Gluten-Free Baker Toolkit
The science-based system that replaces gluten's seven invisible jobs so your baking turns out soft, fluffy, and foolproof — every time.

Gluten-Free Recipe Vault
Instant access to our complete library of proven gluten-free recipes — no waiting, no guesswork, just results that work tonight.

Fix Your Gluten-Free Bread
Learn the 3-step formula to make bread rise and stay soft, discover why your loaves collapse, and get a tested sandwich bread recipe that actually works.