We've all been there, right? You follow a recipe for gluten-free bread, and it comes out… well, not great. Maybe it's gummy, maybe it's too dense, or maybe it just falls apart. It's super frustrating when you're just trying to get a decent loaf. We've spent years figuring out what makes gluten-free bread texture so tricky, and we're here to share our fixes. Let's get your gluten-free bread tasting and feeling just right.
Key Takeaways
- Getting the right mix of flours and starches is super important for gluten-free bread texture. Too much starch can make it gummy.
- How much liquid you use really matters. Too much water can lead to that dreaded gummy bread, while too little can make it dry.
- Don't skip the mixing! Gluten-free dough needs a good, thorough mix to get a lighter texture, not like traditional bread that needs kneading.
- Baking and cooling times are more important than you might think. Letting the bread cool completely is key to avoiding a gummy center.
- The quality of your ingredients, like xanthan gum, and even the type of pan you use can make a big difference in your final gluten-free bread texture.
Understanding Your Gluten Free Bread Texture
Why Gluten Free Bread Texture Can Be Tricky
When we first started baking gluten-free, getting the texture right felt like a puzzle. Unlike regular bread that has gluten to give it structure and chew, gluten-free baking relies on a mix of different flours and starches. This means we have to be a bit more mindful about how everything comes together. It's not just about throwing ingredients in a bowl; it's about understanding what each one does. We've found that paying attention to the details really makes a difference in the final loaf.
Common Gluten Free Bread Texture Problems
We've all been there, right? You pull a loaf out of the oven, and it's just... not quite right. Some of the usual suspects we've run into include:
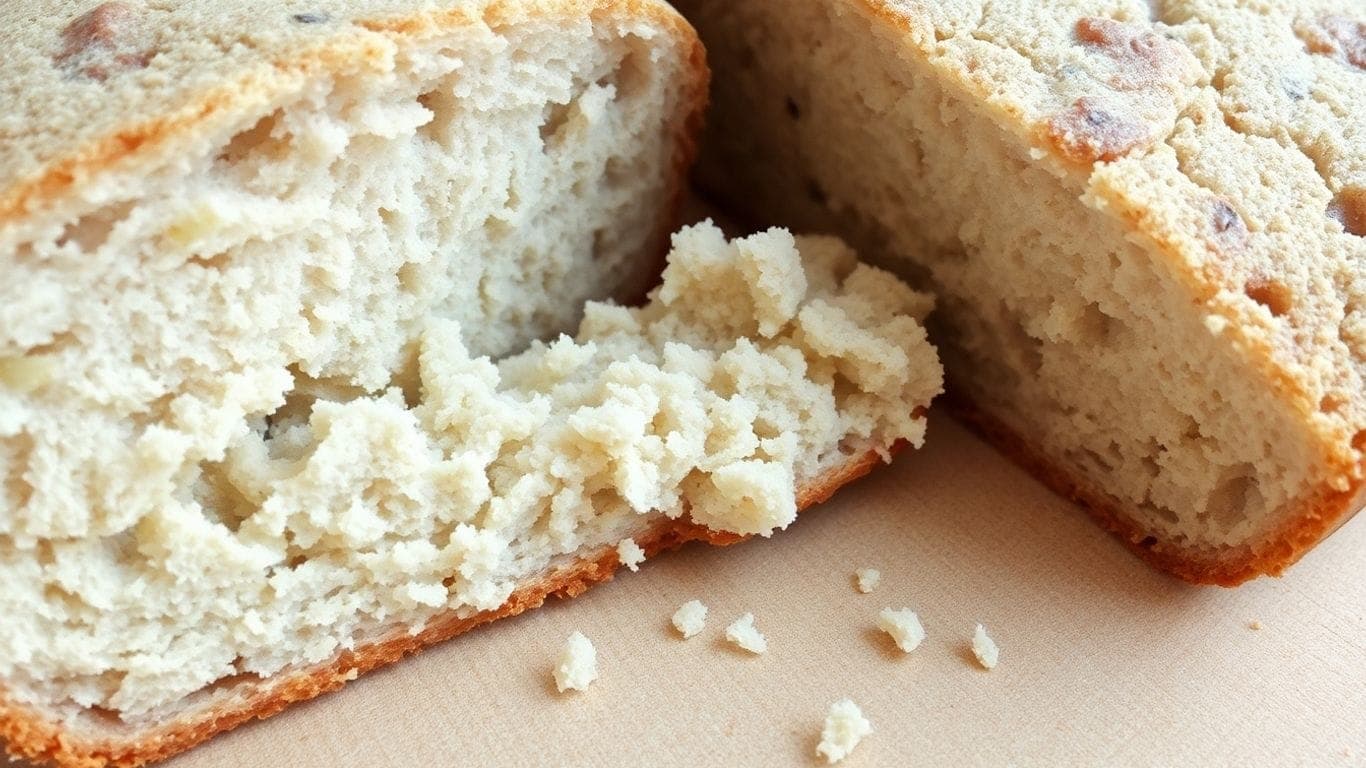
- Gummy or doughy centers: This is probably the most common one we see. It often means the bread wasn't baked long enough or the hydration was a bit off.
- Dry and crumbly loaves: Sometimes, our bread can feel more like a biscuit than a soft loaf.
- Dense texture: A loaf that just doesn't have that airy crumb we're hoping for.
- Bread that collapses: This is a sad sight, especially after all the effort!
The Role of Flour Blends in Texture
The type of flours and starches we use is a big deal. Different gluten-free flours have different weights and absorb liquids differently. For example, heavier flours like brown rice flour give a different result than lighter ones like sorghum flour. And then there are the starches – things like tapioca starch, potato starch, and cornstarch. They play a huge role in how our bread holds together and its final crumb. Getting the right balance between these flours and starches is key to avoiding those common texture problems. We've learned that a good blend is more than just a random mix; it's a carefully considered combination designed to mimic the properties of gluten.
Mastering Your Flour and Starch Ratios
Alright, let's talk about the heart of our gluten-free bread: the flour and starch blend. This is where things can get a little tricky, but also where we have a ton of control over the final texture. It's not just about grabbing any gluten-free flour off the shelf; we really need to think about what we're putting in.
The Importance of the Starch to Flour Balance
Think of it like building blocks. Flours, like rice or sorghum, give our bread structure, kind of like the walls of a house. Starches, such as tapioca or potato starch, are more like the mortar that holds those walls together and gives them a lighter feel. Getting this balance right is super important. Too much starch, and we might end up with a bread that's too crumbly or even a bit gummy. Too little, and it could be dense and heavy. We're aiming for that sweet spot where we get good structure without sacrificing a nice, soft crumb.
Balancing Lighter and Heavier Gluten Free Flours
Not all gluten-free flours are created equal, and they don't all behave the same way. We've got lighter flours, like white rice flour or sorghum flour, which can make our bread feel airy. Then we have heavier ones, like millet or buckwheat flour, which add more substance and a deeper flavor. When we're mixing our own blends, or even choosing a pre-made one, we need to consider how these work together. Often, a mix of lighter and heavier flours gives us the best of both worlds – a bread that's both light and satisfyingly hearty. It's all about creating a blend that complements the starches we're using.
How Tapioca Starch Affects Texture
Tapioca starch is a real workhorse in gluten-free baking. It helps create that lovely chewiness and can give our bread a nice rise. However, it can be a bit of a diva. If we use too much, or if it's not balanced with the right flours, we can end up with a gummy texture. This is especially true if we're pairing it with very light flours. Sometimes, adding a bit more of a heavier flour, like millet, can help absorb excess moisture and prevent that sticky, gummy outcome. It’s a delicate dance, and sometimes it takes a little trial and error to find what works best for our specific recipe.
Achieving the Perfect Hydration
Understanding Hydration Beyond Just Water
When we talk about hydration in gluten-free bread, it's not just about the water you pour into the bowl. We need to think about all the wet stuff. This includes things like eggs, milk, or even liquid sweeteners like honey or maple syrup. These all contribute to the overall moisture content of your dough. So, when a recipe calls for a certain amount of liquid, remember it's the total liquid, not just plain water, that matters.
Adjusting Liquid for Optimal Dough Consistency
Getting the liquid amount just right can feel like a bit of an art. Gluten-free doughs are often wetter than traditional wheat doughs; they can look more like a thick batter than a kneadable dough. A good starting point is to use a little less liquid than the recipe suggests, maybe about 20-25% less. Then, you can add more liquid, a little bit at a time, until you get that perfect consistency. We're looking for a dough that's moist but still manageable. It's always better to add more liquid than to have too much from the start, because you can't really take it out!
Troubleshooting Gummy Bread from Too Much Liquid
Ever end up with a loaf that's gummy or sticky inside? Too much liquid is often the culprit. When there's too much moisture, the flour and starches can't absorb it all properly, leading to that unpleasant gummy texture. This can happen even if you're using ingredients like tapioca starch, which can sometimes contribute to gumminess if not balanced correctly with other flours. If your bread consistently comes out gummy, try reducing the liquid in your recipe slightly next time. You might also want to check your flour blend; some lighter flours need a bit more structure from heavier ones to prevent this.
The Art of Mixing and Kneading
Alright, let's talk about getting our gluten-free dough just right when we're mixing and 'kneading' it. It's a bit different from traditional bread making, for sure.
Why Gluten Free Dough Needs Thorough Mixing
So, we don't have gluten to develop, right? That means we can't just knead away like we would with wheat flour. Instead, our goal is to really get everything thoroughly combined. Think of it like making a really good cake batter. We want all those flours, starches, liquids, and binders to get super friendly with each other. This thorough mixing helps to:
- Evenly distribute ingredients: Making sure the leavening agents (like yeast) and binders (like xanthan gum) are spread out everywhere.
- Hydrate the flours properly: Gluten-free flours can be thirsty, and good mixing helps them soak up all that liquid.
- Incorporate air: This is super important for getting a lighter loaf. We're essentially creating tiny air pockets that the yeast can later expand.
The key is to mix until the batter is smooth and uniform, without any dry pockets of flour. If you're using a stand mixer, the paddle attachment is usually your best friend here, not the dough hook. We're not developing gluten, so we don't need to stretch and fold. Just let it mix until it looks cohesive.
Using the Right Mixing Tools for Better Texture
When it comes to tools, we've got a few options, and they can really impact the final texture.
- Stand Mixer: Honestly, this is often the easiest way to get a consistent, well-mixed batter. It takes the guesswork out of it. Just be mindful of the bowl size; sometimes really big mixers can struggle with smaller batches of gluten-free dough, making it climb the beater. A 5-quart mixer is often a sweet spot.
- Dough Whisk or Sturdy Spoon: You can absolutely get a great loaf with just a whisk or a strong spoon. It just takes a bit more elbow grease and attention. You really have to make sure you're scraping the bottom and sides of the bowl to get everything incorporated. It might take a little longer, but it's totally doable.
- Food Processor: Some folks have success with a food processor, especially for wetter batters. It can blend things up quickly, but you have to be careful not to over-process, which could make things gummy.
No matter what you use, the goal is the same: a smooth, well-combined batter. Don't be afraid to really work the batter to get it there.
The Role of Rest Time in Batter Preparation
After we've done all that mixing, you might be tempted to just pop it straight into the pan and bake. But hold on! That rest time is actually pretty important for gluten-free doughs. It's not quite the same as letting wheat dough rise, but it serves a few purposes:
- Hydration: It gives the flours and starches more time to fully absorb the liquid. This helps create a more stable structure.
- Yeast Activity: If you're using yeast, this is when it gets to work, creating those gases that will help the bread rise.
- Binder Activation: Ingredients like xanthan gum continue to work their magic during this time, helping to thicken and bind the batter.
So, don't skip this step! Follow the recipe's recommended rest time. You might not see a huge rise like you would with wheat bread, but trust that good things are happening in that bowl. It's all part of building that better texture we're after.
Ensuring Proper Baking and Cooling
Okay, so we've mixed our batter and it's looking good. Now comes the part where we bake it and then, the really hard part, we have to wait for it to cool. It sounds simple, but these steps can really make or break the texture of our gluten-free bread.
The Impact of Pan Size on Your Loaf
First off, let's talk about the pan. The size of your baking pan actually matters more than you might think. Even a small difference, like using an 8" x 4.5" pan instead of a 9" x 5", can change how your bread bakes up. We've found that using pans like a Pullman loaf pan or similar straight-sided pans often gives us the best results. These pans help the bread rise tall and bake evenly without collapsing.
Baking to the Correct Internal Temperature
How do we know when it's actually done? We can't just go by how it looks on the outside. The best way to tell if your bread is baked through is by using an instant-read thermometer. We're aiming for an internal temperature of around 200-210°F (93-99°C). If you check and it's not quite there, pop it back in the oven for a bit longer. This step is super important to avoid that dreaded gummy center.
Why Cooling Time is Crucial for Texture
This is the part that tests our patience! Once the bread is out of the oven, we need to let it cool completely. I know, I know, it smells amazing and you want to slice into it right away. But here's the deal: the bread is still cooking internally as it cools. If we cut into it too soon, all that steam and moisture is still trapped inside, which can lead to a gummy texture. We usually let ours cool on a wire rack for at least a couple of hours, sometimes longer. It's tough, but waiting really does make a difference in the final texture.
Ingredient Specifics for Better Bread
Okay, let's talk about the building blocks of our gluten-free loaves. Sometimes, the magic isn't just in the technique, but in the tiny details of the ingredients we choose. We've all been there, staring at a recipe, wondering if this particular yeast or that brand of xanthan gum will make a difference. And spoiler alert: it totally does!
Choosing the Right Yeast for Gluten Free Baking
When we're baking gluten-free, yeast acts a bit differently than in traditional baking. We've found that active dry yeast tends to give us more reliable results than instant yeast. It seems to give the dough a better chance to rise and develop that lovely texture we're after. Always make sure your yeast is fresh and that the water you use to 'wake it up' is the right temperature – not too hot, not too cold. If it doesn't get foamy, it's probably time to toss it and start over with new yeast. It's a small step, but it makes a big difference in how our bread turns out.
The Importance of Xanthan Gum Quality
Xanthan gum is our go-to binder in gluten-free baking, but not all brands are created equal. We've had experiences where switching to a different brand resulted in flat, crumbly loaves, even when following the recipe exactly. It sounds a bit dramatic, but the quality really matters here. Paying a little extra for a reputable brand often saves us from a baking disaster. It's worth doing a little research or sticking with what you know works for your favorite recipes.
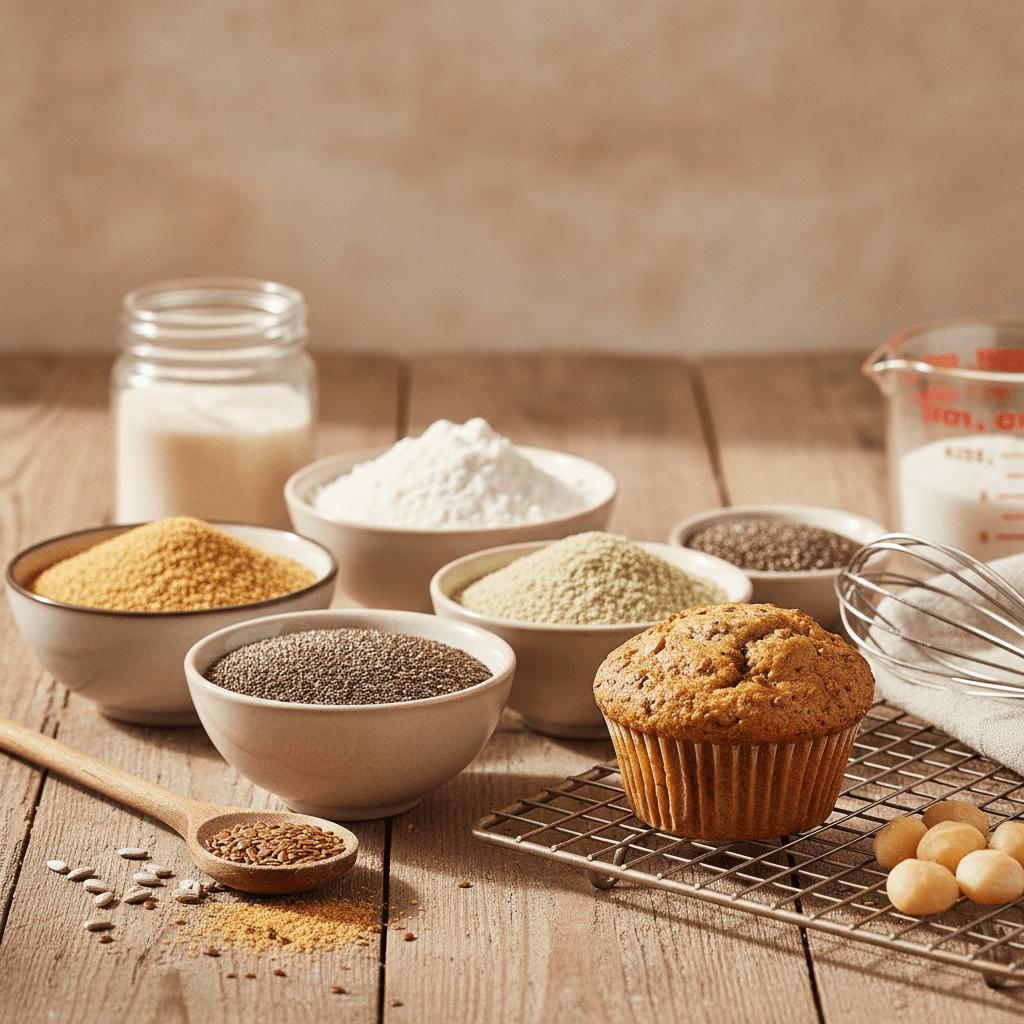
Exploring Binders Like Chia and Flax Seeds
Beyond xanthan gum, there are other natural binders we can play with, like chia seeds or flax seeds. These can add some great nutritional value and a slightly different texture. However, we've noticed that using them, especially in larger amounts, can sometimes lead to a denser loaf. We're still experimenting with how to best incorporate them for a lighter crumb, but they're definitely worth exploring if you're looking for alternatives or want to boost the fiber content of your bread. Some people even use psyllium husk, which can also create a dense but moist bread.
So, We Did It!
Whew, we made it through all those gluten-free bread texture woes! It can feel like a lot, right? We’ve talked about everything from gummy insides to loaves that just won’t rise. But honestly, after all this, we think you’ve got this. Remember, it’s all about paying attention to the little things, like your flour blend, how much liquid you’re using, and giving that bread enough time to cool. Don’t get discouraged if your first few tries aren’t perfect. We’ve all been there! Keep experimenting, keep learning, and pretty soon, you’ll be baking up amazing gluten-free bread that tastes just like the real deal. Happy baking!

Written by
Co-founder, BakingSubs
Co-founder of BakingSubs, where he turns the science of ingredient substitutions into tested, reliable guidance for home bakers.
Related Posts
Collagen Powder in Baking as Flour Supplement: Why It Mostly Fails (and 3 Ways to Make It Work)
6 Sunflower Seed Flour Substitutes for Keto Baking (and When Each One Actually Works)
Lupin Flour as a Low Carb Flour Substitute: 5 Things That Change (and 3 That Can Go Wrong)
Bake with Confidence
See all
Confident Gluten-Free Baker Toolkit
The science-based system that replaces gluten's seven invisible jobs so your baking turns out soft, fluffy, and foolproof — every time.

Gluten-Free Recipe Vault
Instant access to our complete library of proven gluten-free recipes — no waiting, no guesswork, just results that work tonight.

Fix Your Gluten-Free Bread
Learn the 3-step formula to make bread rise and stay soft, discover why your loaves collapse, and get a tested sandwich bread recipe that actually works.