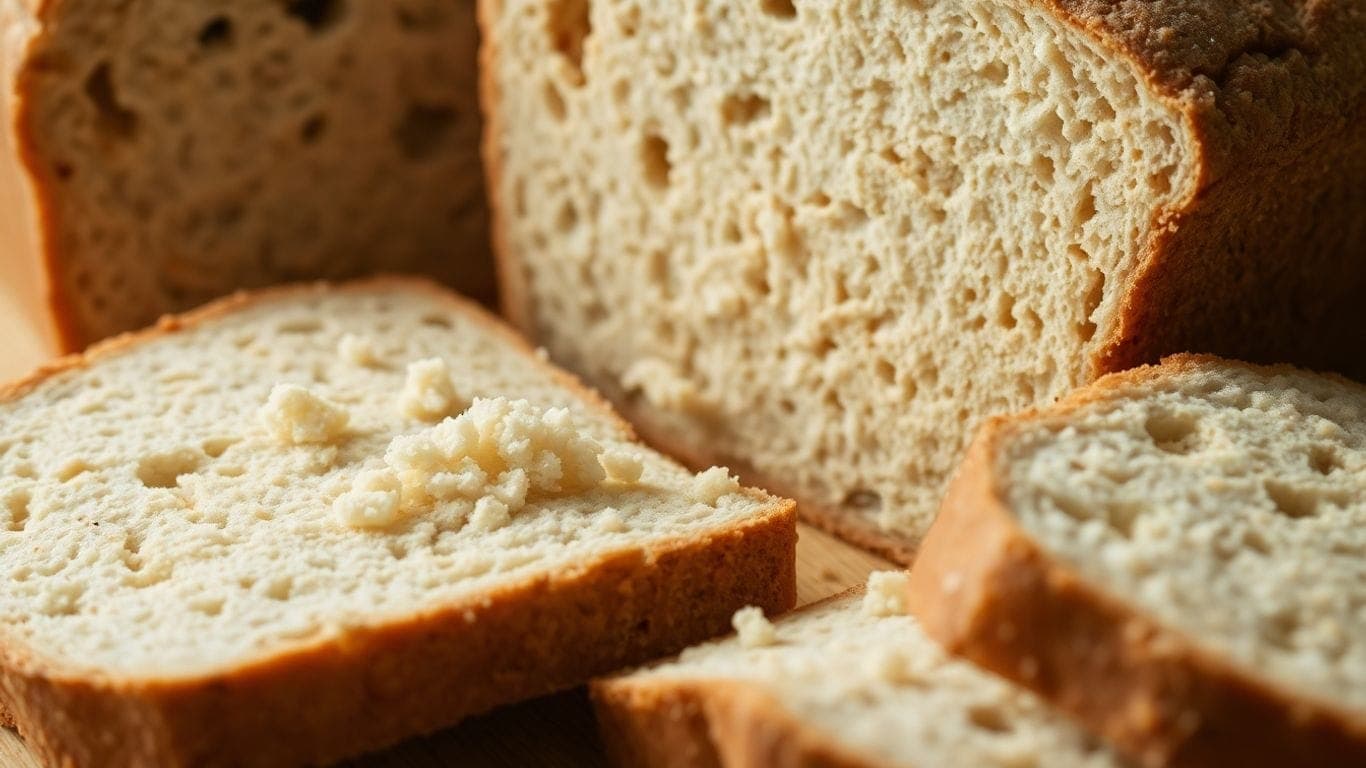
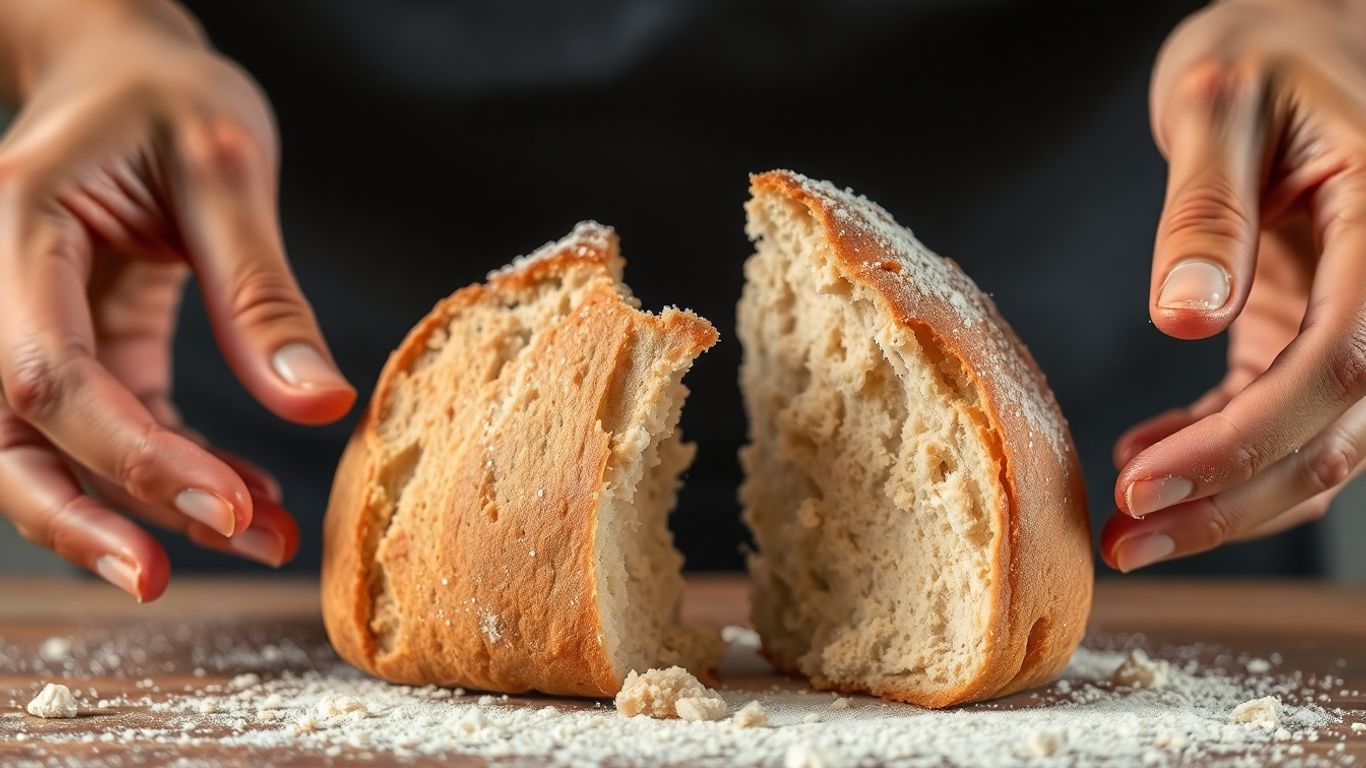
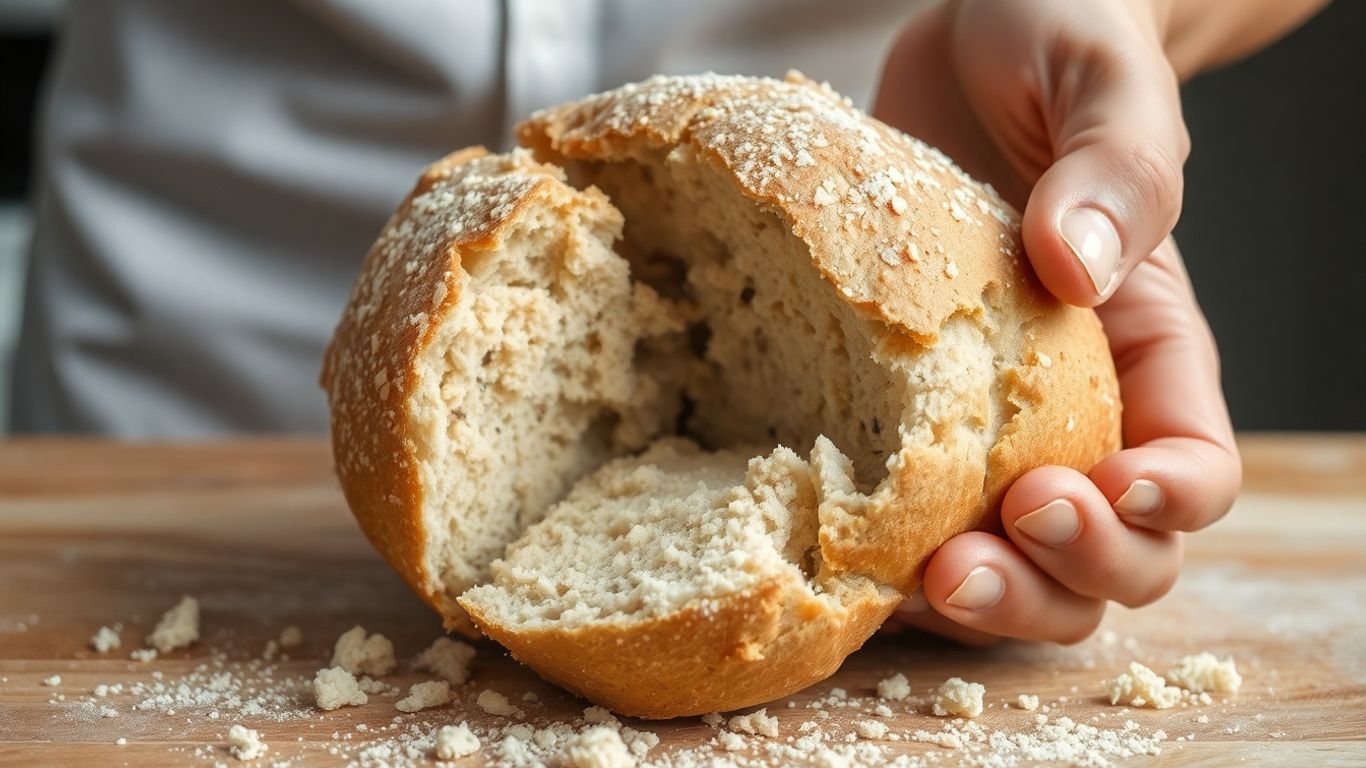
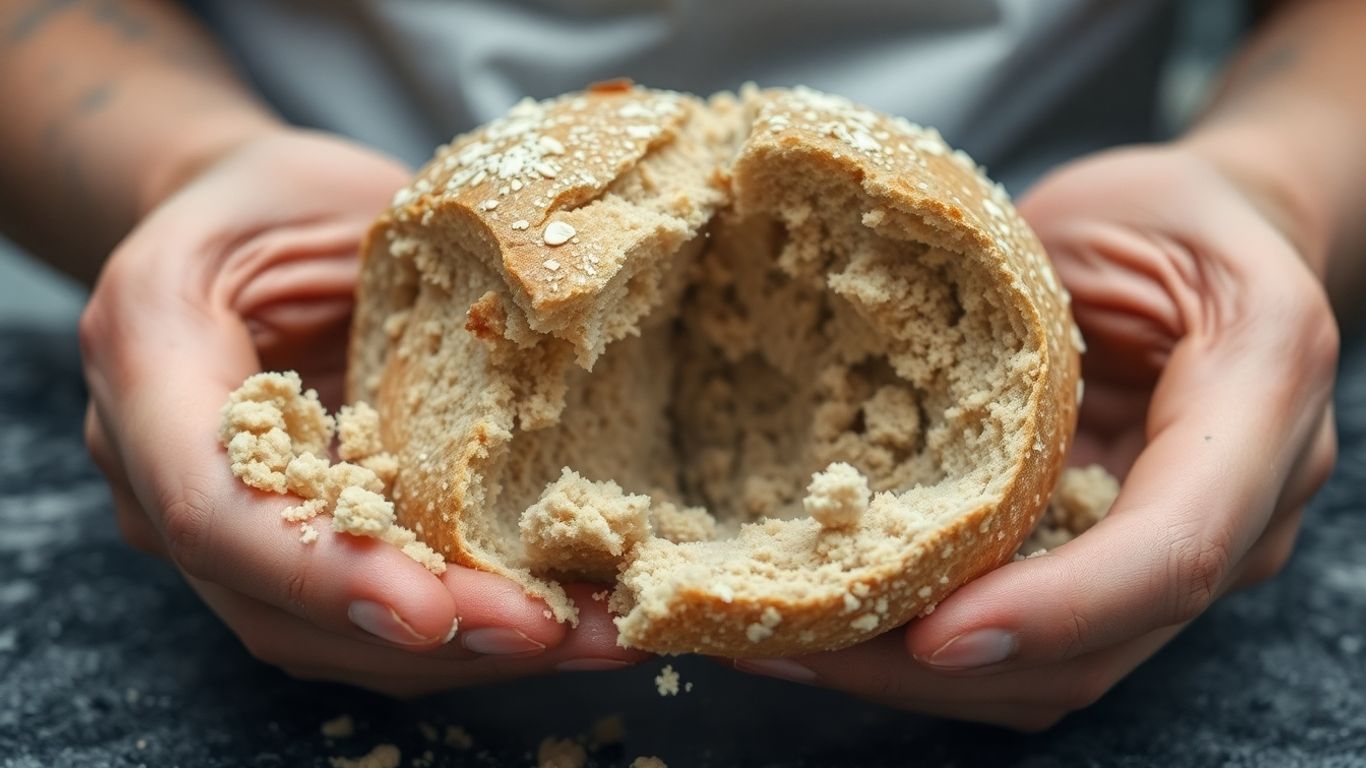
We’ve all been there. You spend hours mixing, kneading (or, you know, *not* kneading, because it’s gluten-free), and waiting for that beautiful loaf to bake. Then, you go to slice it, and… it just crumbles. It’s so frustrating when your gluten-free bread falls apart, right? It feels like all that effort went to waste.
But don't toss that crumbly creation just yet! We’ve figured out some common reasons this happens and, more importantly, how to fix it. Let’s get your bread holding together like it should.
Key Takeaways
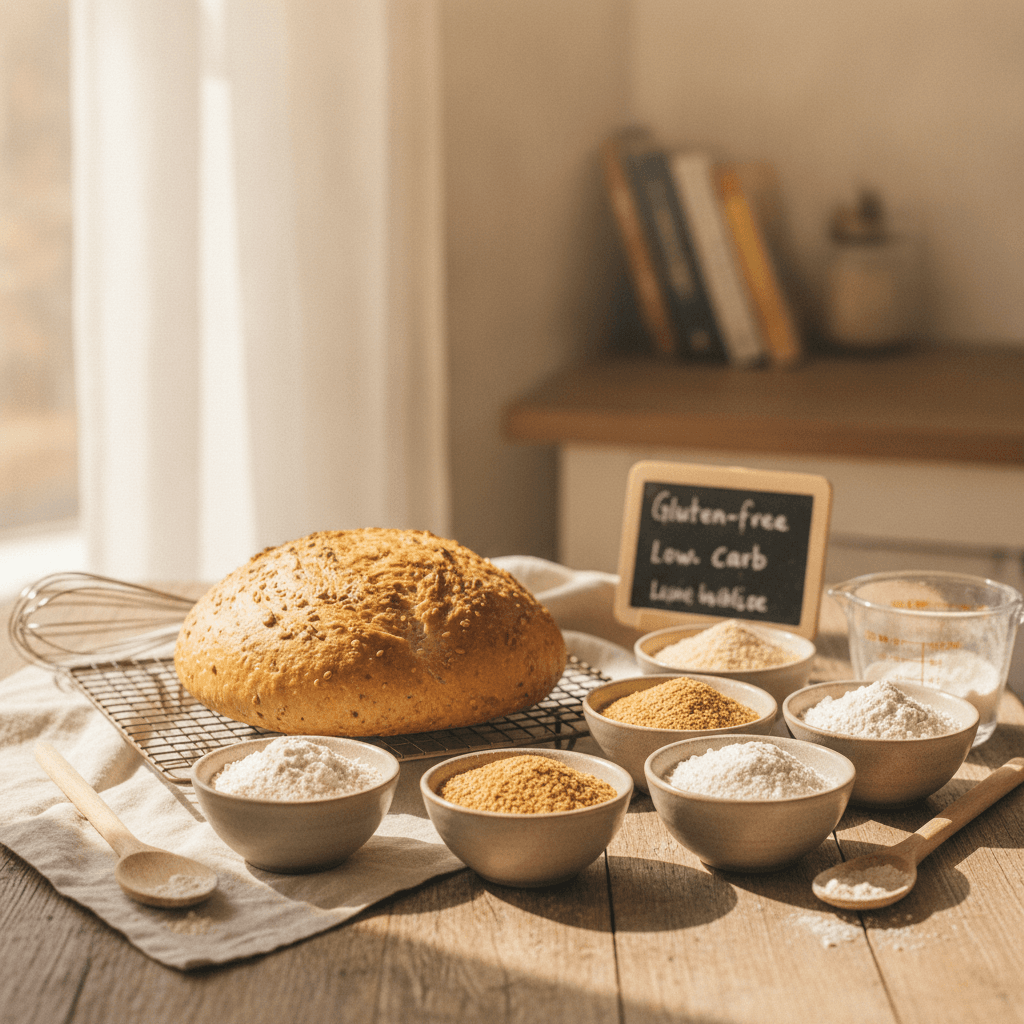
- Gluten acts like the glue in regular bread, providing structure. Without it, gluten-free bread needs binders like xanthan gum or psyllium husk to hold things together. Not using enough of these can lead to a crumbly loaf.
- The balance of flours in your blend matters. Too much starch and not enough protein or binding flours can make your bread dense and prone to falling apart.
- Measuring your ingredients, especially flour, by weight instead of volume is super important. Gluten-free flours have different densities, so using cups can lead to way too much or too little flour, affecting the bread's structure.
- Cutting into your gluten-free bread while it's still warm is a big no-no. It's still setting up as it cools, and slicing too early means it hasn't had time to firm up, leading to a gummy interior and a tendency to fall apart.
- Yeast needs the right conditions to work. If your yeast is old, the water is too hot or cold, or the dough isn't proofed in a warm enough spot, the yeast won't activate properly, leading to a weak structure that can't hold together.
1. Binder Agent Deficiency
Okay, let's talk about the glue that holds our gluten-free loaves together. When our bread falls apart, it's often because we're missing a key ingredient: a binder. Think about regular bread; gluten is the natural protein network that gives it structure and elasticity.
Without it, our gluten-free dough needs a little help to keep its shape and hold onto all those lovely air bubbles. If your bread crumbles like a sandcastle, it's a pretty good sign that your binder game is weak.
We need something to mimic that gluten structure. The usual suspects are xanthan gum, guar gum, and psyllium husk. Each has its own strengths:
- Xanthan Gum: This is probably the most common one you'll see. It's great for creating a lighter, airier texture and provides good structure. A general rule of thumb is about 1 teaspoon per cup of flour blend. It's super important to mix it with your dry ingredients first to avoid those annoying clumps.
- Psyllium Husk: This stuff is a powerhouse for structure and moisture retention. It forms a gel when mixed with liquid, which really helps hold things together, especially for crustier loaves. You'll typically use a bit more, maybe 1 to 2 teaspoons per cup of flour, and it's a good idea to let it hydrate for a few minutes before mixing everything else in.
- Guar Gum: It's similar to xanthan gum but can sometimes make things a bit gummy if you use too much. It's often used in smaller amounts, maybe 1/2 teaspoon per cup of flour, and sometimes works best when combined with other binders.
The sweet spot for binders is often around 1 teaspoon per cup of your flour blend, but this can vary. Don't be afraid to experiment a little! Sometimes, using a combination, like a bit of xanthan gum with some psyllium husk, gives you the best of both worlds – structure and moisture. Just remember, too little binder means a crumbly mess, but too much can lead to a gummy, dense loaf. It's all about finding that balance.
2. Flour Blend Imbalance
Okay, let's talk about the flour blend. This is a big one, and honestly, it's where a lot of us stumble when we first start baking gluten-free bread. Many store-bought blends are loaded with starches like rice flour or potato starch, and they're pretty light on the stuff that gives bread structure – you know, the proteins and binders. This can lead to a loaf that's just too dense, almost like a brick. It’s like trying to build a house with only drywall and no studs.
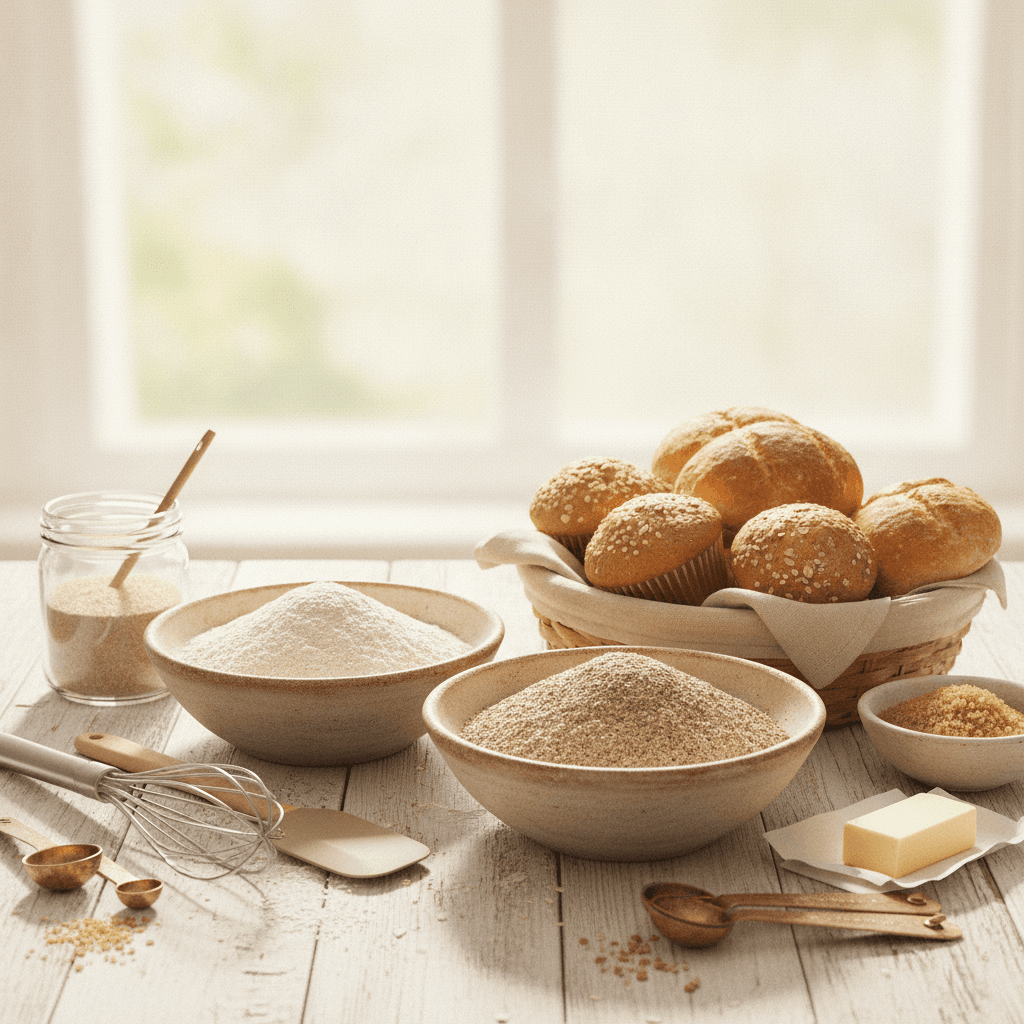
The secret is finding the right balance. We've found that a good starting point for a custom blend is roughly:
- 40% protein-rich flours (think almond, quinoa, or buckwheat)
- 40% starches (like rice, potato, or tapioca)
- 20% binding starches (sweet rice flour or arrowroot work well here)
This mix gives your bread the best chance at a good rise and a decent crumb. If you're using a pre-made blend, check the ingredients. If it seems heavy on just one or two starches, that could be your culprit. Sometimes, a blend just isn't formulated for yeast-leavened bread, and that's a whole other issue we'll get into later, but the ratio of starches to proteins is still super important for the final texture.
3. The Measurement Trap
Okay, let's talk about measuring. This is a big one, and honestly, it's where so many of us trip up without even realizing it. When we're baking with regular flour, a little extra here or there might not make a huge difference. But with gluten-free baking? It's a whole different ballgame. The ratios are super delicate, and messing them up can totally tank your loaf.
The biggest culprit here is often using volume measurements (like cups) instead of weight. Think about it: how packed is your cup of flour? Did you scoop it straight from the bag, or did you spoon it in? Even slight variations can mean you're adding way more flour than the recipe calls for.
I've definitely been guilty of this, ending up with a dough that's way too dry and crumbly. It’s like trying to build a house with too many bricks and not enough cement – it just won’t hold together.
Here’s what we usually find happens:
- Too Much Flour: This is the most common issue. Using cups can lead to packing too much flour in, making your dough stiff and your bread dense. It won't have the right structure to rise properly, and when it bakes, it'll just fall apart.
- Inaccurate Liquids: Just like flour, if you're not measuring your liquids precisely, you can throw off the whole balance. Too little liquid and your dough won't hydrate correctly; too much and it'll be a sticky mess that struggles to form a cohesive loaf.
- Forgetting Ingredients: It sounds silly, but in the rush of baking, it's easy to miss a teaspoon of xanthan gum or forget a pinch of salt. These small additions play important roles in texture and structure.
Seriously, if you're struggling, investing in a simple kitchen scale is probably the single best thing you can do. It takes the guesswork out of measuring and makes your gluten-free baking so much more consistent. It’s the difference between a bread that crumbles into dust and one that you can actually slice.
4. Cooling Too Soon
Okay, so we've all been there. You pull that beautiful golden loaf out of the oven, smelling amazing, and you just can't wait to slice into it. But hold on just a minute! If you cut into your gluten-free bread while it's still piping hot, you're practically asking for it to fall apart.
Think about it: the inside of the bread is still really moist and delicate. It needs time to set up properly. Cutting it too early is like trying to slice a cake right after it comes out of the oven – it's just going to be a gooey mess and likely crumble.
Here’s what we’ve learned makes a big difference:
- Patience is Key: Seriously, resist the urge! Let that loaf cool completely. We're talking at least two hours, sometimes even longer, depending on the size of your loaf and your kitchen's temperature.
- The Structure Needs Time: Gluten-free flours don't have gluten to give them that elastic structure that wheat flour does. The starches and binders need time to cool and firm up. This is what gives the bread its stability.
- Listen to Your Loaf: You'll know it's ready when it feels firm to the touch and doesn't have any soft, squishy spots. If you're unsure, give it another 30 minutes. It's better to wait a little longer than to end up with a crumbly disaster.
So, next time, try to be strong. Let it cool on a wire rack, and then slice. You'll be so glad you did when you get those clean, beautiful slices.
5. Over-Proofing Yeast
Okay, so we've talked about making sure our yeast is alive and kicking, but what happens if we let it go too long? Over-proofing is a real thing, and it can totally mess with the structure of our gluten-free loaves. When yeast works its magic, it produces gases that make the dough rise.
If it works for too long, those gases can actually weaken the dough's structure. Think of it like a balloon that's been inflated for days – it gets thin and might even pop.
Gluten-free dough is a bit more delicate than traditional wheat dough, so it's extra sensitive to this. If you let it proof for too long, especially in a warm spot, the structure can get so weak that when you bake it, it just collapses. It might look okay going into the oven, but then it deflates like a sad soufflé.
Here’s how to avoid this common pitfall:
- Watch the clock, but also watch the dough. Recipes give you a time frame, but your kitchen's temperature and humidity play a big role. Look for visual cues.
- The poke test is your friend. Gently poke the dough. If it springs back slowly, it's probably ready. If it springs back immediately, it needs more time. If your poke leaves a dent that doesn't spring back at all, you might have gone too far.
- Know your ideal proofing environment. We want it warm enough for the yeast to work, but not so hot that it overdoes it. Aim for around 78-82°F. Sometimes just the oven light on is enough, or you can create a mini-proof box with a pan of warm water.
If you do suspect you've over-proofed, don't despair! You can often gently deflate the dough, reshape it, and let it have a shorter second rise. It might not be perfect, but it's usually salvageable.
6. Insufficient Liquid
Okay, let's talk about liquid. It's super important for gluten-free bread, and honestly, it's one of the trickiest parts to get right. If you don't have enough liquid, your dough can end up too dry and crumbly, which is a recipe for disaster when it comes to holding its shape.
The dough should feel more like a thick batter than a traditional bread dough. Think of it like trying to build something with dry sand versus wet sand – the wet stuff sticks together much better!
Here's what to keep in mind:
- Gluten-free flours soak up liquid differently. Unlike wheat flour, they don't have gluten to create that stretchy network. So, you often need more moisture to get a cohesive dough.
- Start with less, add more. A good rule of thumb is to start with about 20-25% less liquid than the recipe calls for. Then, mix and see how it looks. You can always add more liquid, a tablespoon at a time, until you reach that thick, batter-like consistency.
- Observe your dough. Don't just blindly follow the measurements. Does it look like it's struggling to come together? Is it pulling away from the sides of the bowl in dry chunks? If so, it's probably thirsty. Add a little more liquid until it looks smooth and a bit glossy, like thick cake batter.
7. Incorrect Water Temperature
We've all been there, right? You're following a recipe, you add the water, and you're not really thinking about the temperature. But here's the thing: gluten-free dough can be a bit finicky, and water temperature plays a bigger role than you might think. If the water is too hot, it can actually kill the yeast before it even gets a chance to do its magic. That means less rise and a denser loaf.
On the flip side, if the water is too cold, the yeast just won't activate properly. It'll be sluggish, and your bread might not rise as much as you'd hoped.
So, what's the sweet spot? We're generally aiming for lukewarm water. Think about what feels comfortable on your wrist – not too hot, not too cold. A good range to aim for is usually between 105°F and 115°F (40°C to 46°C).
Here’s a quick rundown:
- Too Hot: Kills the yeast, leading to poor rise and a dense crumb.
- Too Cold: Slows down yeast activity, resulting in a weak rise.
- Just Right (Lukewarm): Activates the yeast, promoting a good, even rise and a better texture.
It might seem like a small detail, but getting that water temperature right is a simple step that can make a big difference in how your gluten-free bread turns out.
8. Improper Mixing
Okay, let's talk about mixing. This is where a lot of gluten-free bread recipes can go sideways, and honestly, it's super common. We've all been there, right? You're following the recipe, but the dough just isn't looking or feeling right. The way you mix your dough is just as important as the ingredients you use.
Gluten-free dough behaves differently from regular wheat dough. It doesn't develop gluten strands, so you're not looking for that elastic, stretchy texture. Instead, you're aiming for something more like a thick cake batter. If you're using a stand mixer, it's easy to get into trouble.
Sometimes the dough can climb up the beater, or it might not get mixed evenly. We've found that stopping the mixer a couple of times to scrape down the sides and bottom of the bowl really helps make sure everything is incorporated properly. It might seem like a pain, but it makes a big difference.
When we're mixing, we're looking for a few key things:
- Consistency: The dough should look smooth and a little shiny, kind of like thick batter. If you lift it with a spoon or beater, it should hold soft peaks.
- Evenness: All the ingredients should be fully combined. No dry pockets of flour or unmixed bits allowed!
- Hydration: The mixing process helps the flours and binders absorb the liquid. If it's not mixed enough, the dough might be too dry and crumbly, leading to a bread that falls apart.
If you're mixing by hand, you get a better feel for the dough's texture, which can be a real advantage. Just be prepared for a bit of a workout! Whichever method you choose, pay attention to how the dough looks and feels. It's your best clue to whether you're on the right track.
9. Flour Blend Incompatibility
Okay, so we've talked about a lot of things that can make our gluten-free loaves fall apart, but sometimes, the problem isn't with how we're baking, but with what we're baking with. Not all gluten-free flour blends are created equal, and honestly, some just don't play nice with yeast.
It's a real bummer when you follow a recipe to the letter and still end up with a crumbly mess. This usually happens because the ratio of starches to proteins in a blend just isn't right for bread. Many store-bought blends are heavy on starches, which is fine for cakes or cookies, but for bread, we need something that can give it structure and rise.
Think of it like this: different flour blends have different needs. Some soak up liquid like a sponge, while others barely absorb anything. If you're using a blend that's not designed for yeast bread, it might not have the right stuff to create that chewy texture and airy crumb we're after. The key is finding a blend that's formulated for bread baking.
Here's what we've learned can help:
- Check the label: Seriously, read the back of the bag or the brand's website. Some blends, like certain versions of Bob's Red Mill 1:1 or King Arthur Measure for Measure, are explicitly not recommended for yeast breads. They might work for quick breads or muffins, but not for that lovely loaf.
- Look for bread-specific blends: Brands like Authentic Foods, Steve's Gluten-Free Bread Blend, or Better Batter are often a safer bet because they're designed for yeast bread.
- Consider making your own: This sounds intimidating, I know! But once you get the hang of it, you can create a blend that's perfect for your favorite recipes. A good starting point often includes a mix of protein-rich flours (like almond or buckwheat) and starches (like rice, potato, or tapioca), plus your binder. We've found a blend with brown rice flour, sweet rice flour, potato starch, tapioca starch, and almond flour works wonders.
10. Environmental Factors
Okay, so we've talked about ingredients and how we measure them, but sometimes, the problem isn't even in our hands. Our kitchen environment can totally mess with our gluten-free bread.
Think about it: if it's super humid outside, our dough can get all sticky and weird, right? Or if our kitchen is a bit on the cooler side, that yeast might just decide to take a nap instead of doing its job. It's like trying to grow a plant in the wrong conditions – it just won't thrive.
Here are a few things that can throw your bake off track:
- Humidity: If it's muggy, your dough might absorb too much moisture. You might need to cut back on the liquid a bit, maybe by a tablespoon or two, or even add a tiny bit more binder like xanthan gum. It’s all about finding that balance.
- Temperature: Gluten-free dough is pretty sensitive. If it's too cold, it won't rise properly. If it's too warm, the structure can get weak. Aim for a cozy spot, around 78-82°F, for proofing. Sometimes, just turning on your oven light can create a nice little warm zone.
- Altitude: If you live way up high, like over 3,000 feet, you'll notice your dough acts differently. You might need less yeast and a bit more liquid. It's a bit of trial and error, but there are guides out there to help you adjust for your specific altitude.
So, What's the Takeaway?
We know how frustrating it can be when your gluten-free bread doesn't turn out quite right, especially when it crumbles apart. It feels like you followed all the steps, but something still went wrong. The good news is, it's usually not a lost cause!
By understanding how gluten-free baking works differently – think of it like building without a frame – and by paying attention to things like binders, proper cooling, and even how you measure your flour, we can get much closer to that perfect loaf. Don't give up! With these tips, we're confident you'll be enjoying delicious, sliceable gluten-free bread in no time.

Written by
Co-founder, BakingSubs
Co-founder of BakingSubs, where he turns the science of ingredient substitutions into tested, reliable guidance for home bakers.
Related Posts

Bake with Confidence
See all
Confident Gluten-Free Baker Toolkit
The science-based system that replaces gluten's seven invisible jobs so your baking turns out soft, fluffy, and foolproof — every time.

Gluten-Free Recipe Vault
Instant access to our complete library of proven gluten-free recipes — no waiting, no guesswork, just results that work tonight.

Fix Your Gluten-Free Bread
Learn the 3-step formula to make bread rise and stay soft, discover why your loaves collapse, and get a tested sandwich bread recipe that actually works.