
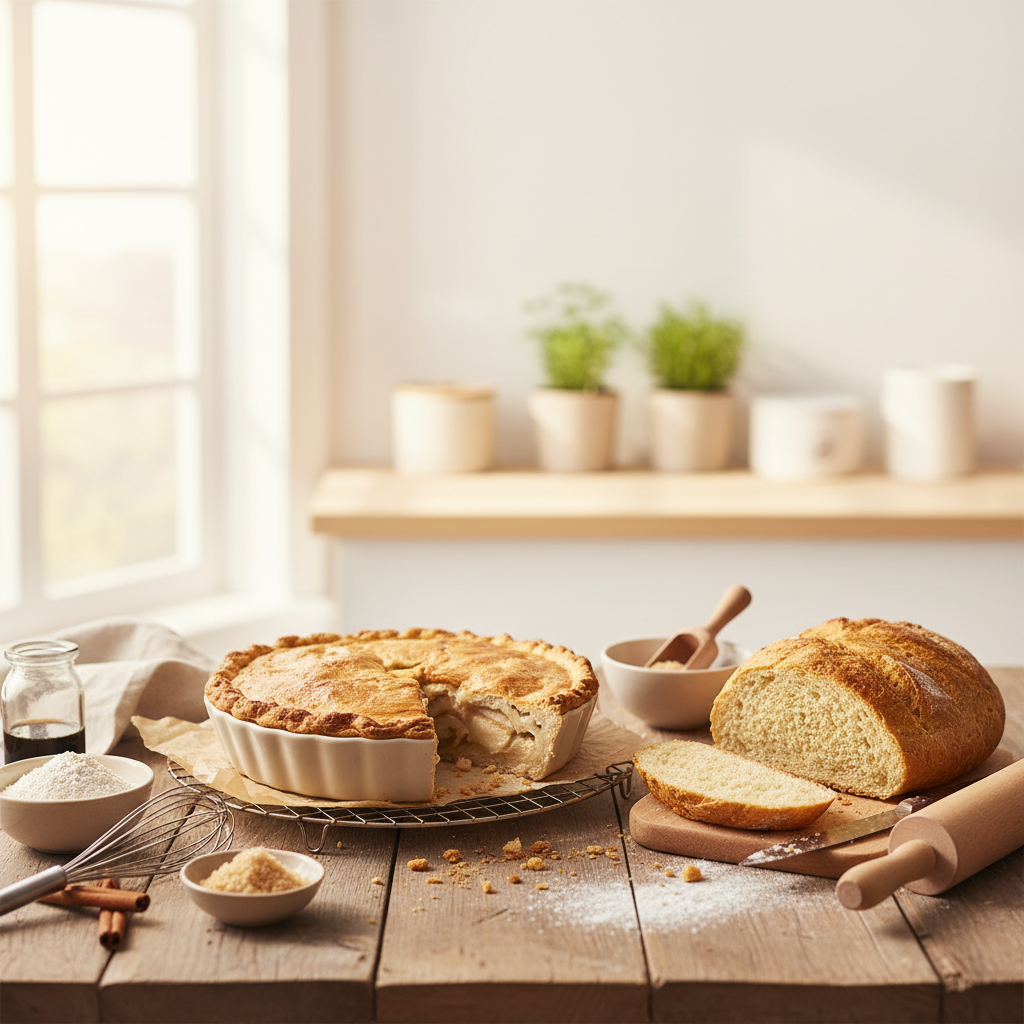
Getting a celiac diagnosis can feel overwhelming, especially when you realize that most of the recipes you love rely on gluten to work. The good news is that gluten-free baking absolutely can produce results that rival traditional baking — but only if you understand why things work differently and stop treating it like a simple flour swap.
Key takeaways for new gluten-free bakers
- Gluten performs 7 specific jobs in baking (structure, elasticity, gas retention, moisture retention, texture/chew, binding, and flexibility), and each one must be replaced intentionally — not with a single "gluten-free flour."
- A reliable all-purpose gluten-free flour blend uses a ratio of 60% superfine rice flour, 20% potato starch, and 20% tapioca starch — but different baked goods need different blends.
- Psyllium husk gel is the gold standard binder for gluten-free bread, xanthan gum works best for cookies and cakes, and eggs or aquafaba provide lift.
- Weighing ingredients with a kitchen scale is non-negotiable in gluten-free baking — cup measurements cause too much variation with alternative flours.
- Cross-contamination is a real safety concern for celiac bakers, not just a preference — dedicated equipment and certified gluten-free ingredients matter.
- Most gluten-free baking failures come from not understanding the science, not from bad recipes.
Why "just swap the flour" never works
This is the single biggest mistake newly diagnosed celiac bakers make, and it is not your fault. Every recipe blog, every well-meaning friend, and even some product labels imply that you can replace all-purpose wheat flour with a gluten-free blend at a 1:1 ratio and get the same result. You cannot.
Here is why: gluten is not just one thing. It is a protein network that forms when wheat flour meets water, and it performs seven distinct jobs in your baked goods. We call this the Gluten Replacement Protocol, and understanding it is the difference between dense, crumbly failures and baked goods your family fights over.
| Gluten's job | What happens without it | How to replace it |
|---|---|---|
| Structure | Baked goods collapse or stay flat | Protein-rich flours, eggs, starches |
| Elasticity | Dough tears instead of stretching | Psyllium husk gel, xanthan gum |
| Gas retention | Bread won't hold a rise | Psyllium husk gel, proper hydration |
| Moisture retention | Everything dries out fast | Extra fats, hydrocolloids, honey |
| Texture and chew | Gritty, sandy, or gummy results | Starch blends, proper ratios |
| Binding | Crumbles apart when sliced or handled | Xanthan gum, eggs, flax gel |
| Flexibility | Cracks, breaks, stales within hours | Tapioca starch, fats, psyllium |
When you look at it this way, it becomes obvious why a simple flour swap fails. You are removing a multi-functional protein network and replacing it with... just starch. No wonder the results are disappointing. The Gluten Replacement Protocol gives you a framework for addressing each of these jobs deliberately, so every recipe you adapt actually works.
If you want the complete framework with formulas, ratios, and troubleshooting guides all in one place, the Confident Gluten-Free Baker Toolkit walks you through every step — from understanding the science to building recipes that work on the first try.
How to build your first gluten-free flour blend
A good all-purpose gluten-free flour blend is your foundation, and making your own is cheaper and more reliable than most store-bought options. Our recommended all-purpose blend is:
- 60% superfine rice flour — provides the bulk and a neutral flavor
- 20% potato starch — adds moisture and lightness
- 20% tapioca starch — contributes chew and binding
This blend works well for pancakes, muffins, quick breads, and simple cakes. But here is the critical thing most resources will not tell you: different baked goods need different blends. A bread loaf needs more protein and stronger binding than a cookie. A delicate cake needs a lighter starch profile than a pizza crust.
That is why we also developed a dedicated Cake and Cookie blend and a Bread and Roll blend. Each one is tuned to replace the specific jobs gluten performs in that category of baking. You can explore these formulas and the science behind them in our toolkit.
Why superfine matters
If your gluten-free baking tastes gritty or sandy, the flour grind is almost always the culprit. Standard rice flour has a coarse particle size that never fully hydrates, leaving you with that telltale unpleasant texture. Superfine (sometimes labeled "extra fine") rice flour solves this completely. It is the single easiest upgrade you can make. For a deeper dive into fixing this, check out our guide on gritty texture in gluten-free baking.
The three binders every celiac baker needs to know
Binders replace gluten's structural and elastic roles, and choosing the right one for the right application is where most new bakers go wrong. Here is the breakdown:
Psyllium husk gel for bread
Psyllium husk powder mixed with water creates a gel that mimics gluten's gas-trapping network better than anything else available. It gives gluten-free bread dough the ability to stretch, hold carbon dioxide from yeast, and maintain structure during baking. For any yeasted bread — sandwich loaves, dinner rolls, pizza dough — psyllium husk gel is the gold standard. You will typically use about 1-2 tablespoons of psyllium husk powder per cup of flour blend, hydrated with water before adding to your dough.
Xanthan gum for cookies and cakes
For cookies, cakes, and quick breads, xanthan gum provides the binding and structure you need without the heaviness of psyllium. A little goes a long way — typically 1/4 to 1/2 teaspoon per cup of flour. Too much xanthan gum creates a gummy, slimy texture, which is one of the most common complaints from new gluten-free bakers. Our guide on gummy centers in gluten-free baking covers this in detail.
Eggs and aquafaba for lift
Eggs do heavy lifting in gluten-free baking — even more than in traditional baking. They provide structure, binding, moisture, and leavening all at once. Many successful gluten-free recipes use an extra egg compared to their wheat-based counterparts. If you are also egg-free, aquafaba (the liquid from canned chickpeas) whips into stiff peaks and provides remarkable lift and binding. Check out our guide to egg functions in baking to understand exactly what each egg is doing in a recipe before you try to replace it.
Essential equipment for gluten-free baking with celiac
A kitchen scale is the single most important tool for gluten-free baking. Gluten-free flours vary wildly in density — a cup of almond flour weighs completely differently than a cup of rice flour, and even scooping technique changes the amount by 20% or more. Weighing in grams eliminates this variable entirely. If you are serious about consistent results, a reliable food scale is your best investment.
Beyond a scale, you will also want:
- Dedicated baking equipment — Wooden spoons, cutting boards, and anything porous can harbor gluten. For celiac safety, either replace these or dedicate separate ones for gluten-free baking.
- A stand mixer — Gluten-free batters and doughs often need longer, more vigorous mixing to properly hydrate and activate binders. A stand mixer makes this much easier.
- Parchment paper and silicone mats — Gluten-free baked goods stick more aggressively than wheat-based ones. Always line your pans.
- An oven thermometer — Gluten-free baked goods are more sensitive to temperature variations. Verify your oven is accurate.
How to prevent cross-contamination in your kitchen
This section is specifically for those with celiac disease, not just gluten sensitivity. Cross-contamination can trigger an immune response even in amounts invisible to the eye — as little as 10-20 milligrams of gluten can cause intestinal damage.
Here are the non-negotiable steps:
- Buy certified gluten-free ingredients. Oats, for example, are naturally gluten-free but almost always contaminated during processing. Only use oats labeled "certified gluten-free." The same applies to flours, starches, and baking powder.
- Clean all surfaces thoroughly before gluten-free baking, especially if others in your household still use wheat flour. Wheat flour can remain airborne for hours.
- Use dedicated or thoroughly cleaned equipment. Toasters, colanders with small holes, and wooden utensils cannot be fully cleaned of gluten residue.
- Read every label, every time. Manufacturers change formulations without warning. "May contain wheat" warnings matter for celiac bakers.
- Store gluten-free flours separately and above wheat-containing products to prevent accidental contamination from spills.
Your first week of gluten-free baking: a practical plan
Do not try to recreate your grandmother's sourdough on day one. Start with recipes where gluten matters least and build your confidence gradually.
Days 1-2: start with naturally gluten-free recipes
Flourless chocolate cake, meringues, and macarons are all naturally gluten-free. Baking these first gives you early wins and builds confidence without any flour-blend learning curve.
Days 3-4: try simple quick breads and muffins
Muffins and banana bread are forgiving recipes that tolerate the slight variations you will make as a beginner. Use your all-purpose blend (60/20/20) plus 1/2 teaspoon xanthan gum per cup of flour. If your results come out dry and crumbly, you likely need more moisture — gluten-free flours absorb liquid differently than wheat.
Days 5-7: attempt cookies
Cookies are where you will really start to feel the difference. Gluten-free cookie dough often benefits from chilling for 30-60 minutes before baking — this lets the starches hydrate and the binders activate. Expect to adjust bake times down by 1-2 minutes compared to wheat recipes, since gluten-free cookies can go from done to overbaked quickly.
Common gluten-free baking problems and how to fix them
| Problem | Likely cause | Fix |
|---|---|---|
| Gritty or sandy texture | Coarse flour grind | Switch to superfine rice flour |
| Dense, heavy results | Not enough leavening or lift | Add an extra egg, increase baking powder slightly |
| Crumbles when sliced | Insufficient binding | Add xanthan gum or psyllium husk |
| Gummy or wet center | Too much starch or xanthan gum | Reduce starch ratio, check xanthan amount |
| Stales within hours | No moisture retention strategy | Add honey, extra fat, or wrap while warm |
| Won't rise properly | Binder not trapping gas | Use psyllium husk gel for bread, check yeast freshness |
For a deeper dive into each of these issues, our gluten-free troubleshooting guides cover every common failure with specific fixes.
Why weighing ingredients matters more in gluten-free baking
In wheat-based baking, the gluten network is forgiving enough to compensate for minor measurement errors. In gluten-free baking, you do not have that safety net. A tablespoon too much tapioca starch can make your bread gummy. A tablespoon too little rice flour can make your cake collapse.
Weighing in grams is the single fastest way to improve your gluten-free baking consistency. Every professional gluten-free baker we know weighs their ingredients, and you should too — even for simple recipes.
Stocking your gluten-free celiac-safe pantry
You do not need to buy everything at once. Here is a prioritized shopping list for your first month:
Buy first (essentials)
- Superfine white rice flour (certified gluten-free)
- Potato starch
- Tapioca starch
- Xanthan gum
- Psyllium husk powder (for bread)
- Gluten-free baking powder (some brands contain wheat starch)
- Baking soda
Buy second (expands your range)
- Almond flour — adds protein and moisture to cakes and cookies
- Buckwheat flour — despite the name, completely gluten-free and great for pancakes and rustic breads
- Sorghum flour — adds a mild, slightly sweet flavor
- Flax meal — works as an egg replacer and adds binding
For substitution details on any ingredient, BakingSubs.com/ingredients is your go-to resource with ratios, tips, and alternatives for every baking ingredient.
Frequently asked questions
Can I use a 1:1 gluten-free flour blend to replace regular flour?
You can, but results will be inconsistent. Commercial 1:1 blends are designed as a compromise that works "okay" in most recipes but excels in none. For reliable results, you need to understand which of gluten's seven jobs matter most in your specific recipe and address each one. Our all-purpose blend (60% superfine rice flour, 20% potato starch, 20% tapioca starch) plus the right binder will outperform any 1:1 blend.
Is gluten-free baking more expensive than regular baking?
Yes, gluten-free ingredients typically cost 2-3 times more than their wheat counterparts. This is exactly why understanding the science matters — wasting a batch of expensive almond flour because you did not use enough binder is frustrating and costly. Buying base ingredients like rice flour and starches in bulk and blending your own flour is significantly cheaper than buying pre-made gluten-free flour blends.
Do I need separate baking equipment if I have celiac disease?
For anything porous — wooden spoons, wooden cutting boards, silicone spatulas with cracks, and non-stick pans with scratches — yes. These items can trap gluten particles that survive normal washing. Stainless steel, glass, and new silicone can be shared if washed thoroughly. If your household still uses wheat flour, a dedicated set of gluten-free baking tools is the safest approach.
Why does my gluten-free bread not rise like regular bread?
Gluten-free bread dough cannot trap carbon dioxide the way a gluten network does. Without a proper binder like psyllium husk gel, the gas from yeast simply escapes through the batter. You also need higher hydration (more water) in gluten-free bread dough — it should look more like a thick batter than a traditional kneadable dough. Visit our guide on poor rise in gluten-free baking for step-by-step troubleshooting.
How long does it take to get good at gluten-free baking?
Most bakers who understand the underlying science — why things work, not just what to do — start getting consistently good results within 2-4 weeks of regular practice. The learning curve is steeper than traditional baking, but once you internalize the Gluten Replacement Protocol and know which binder to use for which application, it becomes second nature.
Start baking with confidence
A celiac diagnosis does not mean giving up the baked goods you love. It means learning a new system — one that is actually more precise and, once you get it, more rewarding than traditional baking. The key is understanding that gluten does seven jobs, and each one needs a deliberate replacement.
If you are tired of wasting expensive ingredients on recipes that fall apart, crumble, or taste like cardboard, the Confident Gluten-Free Baker Toolkit gives you the complete Gluten Replacement Protocol, our tested flour blend formulas for every category of baking, and troubleshooting guides that tell you exactly what went wrong and how to fix it. It is everything we wish someone had handed us on day one of our gluten-free baking journey.

Written by
Co-founder, BakingSubs
Co-founder of BakingSubs, where he turns the science of ingredient substitutions into tested, reliable guidance for home bakers.
Related Posts
How Much Does Bakery Insurance Actually Cost? Real Numbers From 6 Policy Types
How to Manage Rush Orders as a Home Baker (Without Wrecking Your Week or Your Margins)
How to Ship Baked Goods That Arrive Fresh: 9 Operator-Tested Methods That Cut Damage Claims by 80%
Bake with Confidence
See all
Confident Gluten-Free Baker Toolkit
The science-based system that replaces gluten's seven invisible jobs so your baking turns out soft, fluffy, and foolproof — every time.

Gluten-Free Recipe Vault
Instant access to our complete library of proven gluten-free recipes — no waiting, no guesswork, just results that work tonight.

Fix Your Gluten-Free Bread
Learn the 3-step formula to make bread rise and stay soft, discover why your loaves collapse, and get a tested sandwich bread recipe that actually works.