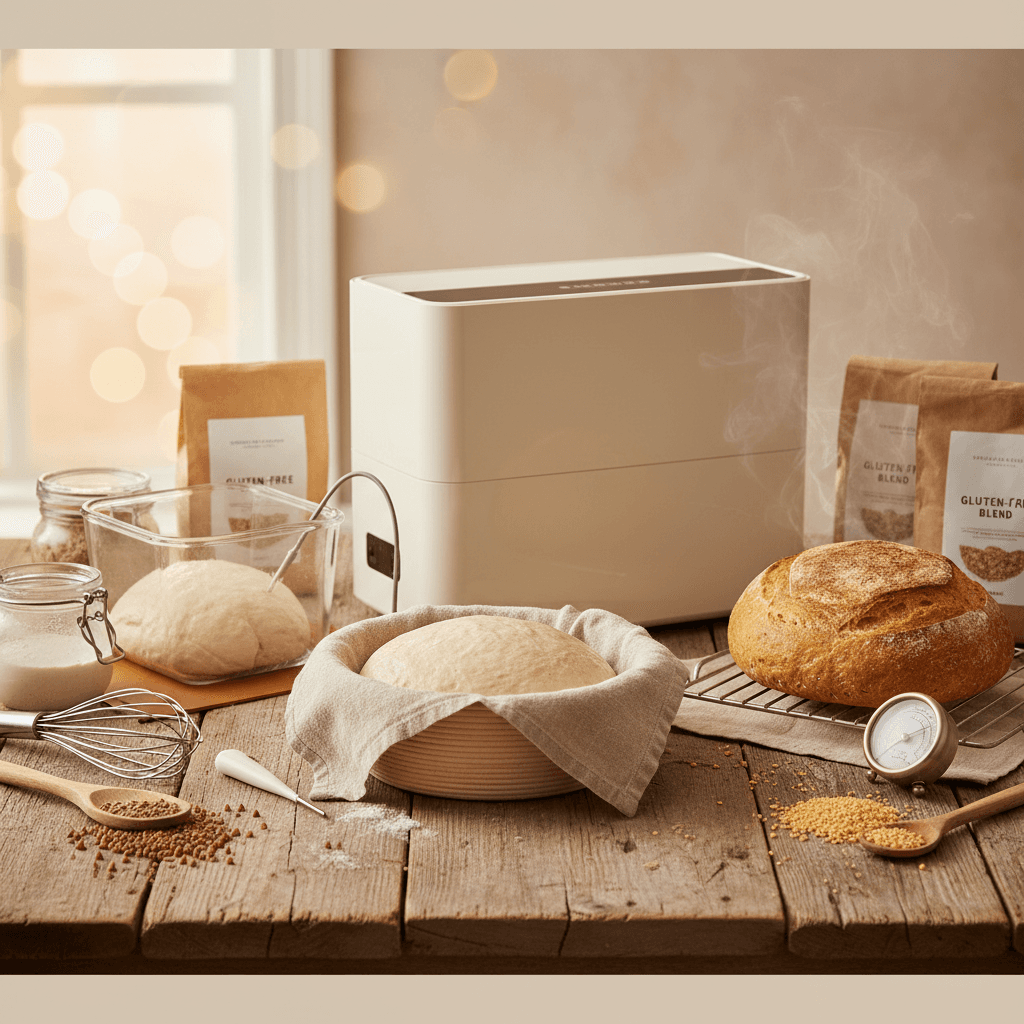
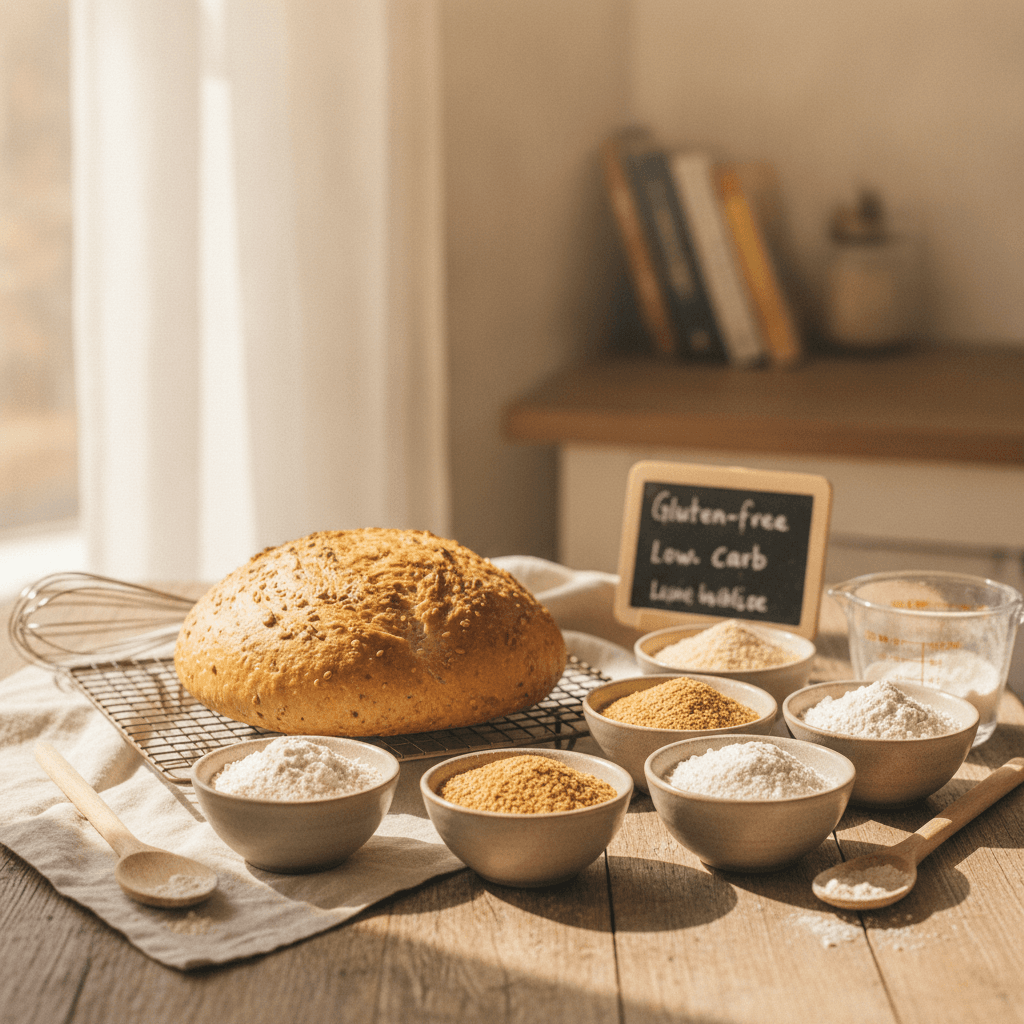
Gluten-free bread dough is far more sensitive to temperature swings than wheat dough, and an inconsistent proof is one of the top reasons for poor rise. A proofing box gives you precise, repeatable warmth so your dough rises fully every single time. Here are the six best options we recommend, plus what to look for before you buy.
Key takeaways
The Brod & Taylor Folding Proofer is the best overall proofing box for gluten-free bread, thanks to precise temperature control, a humidity tray, and a foldable design.
Gluten-free dough is more temperature-sensitive than wheat dough because binders like xanthan gum and psyllium husk are less forgiving than gluten.
The ideal proofing temperature for most gluten-free bread is 78-85 deg F, and going above 90 deg F risks collapse.
Budget options like seedling heat mats and DIY cooler setups can work, but they lack the precision that makes gluten-free proofing consistent.
Humidity control is just as important as temperature for gluten-free dough, which dries out and skins over quickly.
A proofing box is one of the highest-impact upgrades for anyone struggling with dense or inconsistent gluten-free bread.
Quick-pick summary: best proofing boxes for bread at a glance
Proofing box | Best for | Temp range | Price range |
|---|---|---|---|
Brod & Taylor Folding Proofer & Slow Cooker | Overall best for gluten-free bread | 70-195 deg F | $$$$ |
Brod & Taylor Sahara Folding Dehydrator | Dual-purpose dehydrating and proofing | 75-160 deg F | $$$$ |
Rcom Maru Bird Brooder (used as proofer) | Budget-friendly enclosed proofing | 77-104 deg F | $$ |
Ivation 10-Tray Dehydrator (used as proofer) | Proofing multiple batches at once | 95-158 deg F | $$$ |
Proofing Mat / Seedling Heat Mat | Tight kitchens and minimal setups | ~70-85 deg F (ambient boost) | $ |
DIY cooler + warm water setup | Zero-cost option to get started | Varies | Free |
What to look for when buying a proofing box for gluten-free bread
Before you spend any money, it helps to know exactly which features matter most for gluten-free dough. Wheat bakers can get away with a lot of temperature variation because gluten provides structural insurance. We don't have that luxury.
Precise, adjustable temperature control
This is the single most important feature. Gluten-free bread dough made with active dry yeast or instant yeast typically proofs best between 78-85 deg F. Too warm and the yeast overproduces gas that the weaker gluten-free structure can't hold. Too cool and you get an underproofed loaf that's dense and gummy. Look for a proofer that lets you dial in a specific temperature, not just "warm" and "warmer."
Humidity control or a water tray
Gluten-free doughs tend to form a dry skin quickly because they lack the elastic gluten network that traps moisture. A proofing box with a built-in water tray or humidity feature prevents that crust from forming, which means a better oven spring and a softer crumb.
Enough interior space for your pan
This sounds obvious, but many proofing setups are designed for round boules on a sheet pan. If you're baking gluten-free sandwich bread in a standard 9x5 loaf pan, make sure the interior dimensions accommodate it with room to spare for the dough to rise.
Even heat distribution
Hot spots are a problem. If one side of your dough is warmer than the other, it proofs unevenly. This is especially noticeable with gluten-free bread because the dough can't redistribute itself the way elastic wheat dough does. Enclosed boxes with circulating heat work best.
Storage and footprint
Dedicated proofing boxes can take up a lot of counter space. If your kitchen is small (especially if you've already set up a dedicated gluten-free baking station), a foldable design or a dual-purpose appliance is worth the premium.
If you're still building out your gluten-free baking setup, our Confident Gluten-Free Baker Toolkit walks you through every essential piece of equipment and ingredient you need, including how to choose the right tools for proofing and beyond.
1. Brod and Taylor Folding Proofer and Slow Cooker: best overall proofing box for gluten-free bread
The Brod & Taylor Folding Proofer & Slow Cooker is the gold standard for home bread proofing, and it's especially well-suited to gluten-free baking. It holds a precise temperature from 70 to 195 deg F in one-degree increments, which means you can dial in exactly the warmth your dough needs.
What makes it stand out for gluten-free bread is the combination of precise temperature control and the included water tray for humidity. We've found that gluten-free sandwich loaves proofed in this box rise 20-30% more consistently than dough proofed on the countertop under a towel. The interior fits a standard 9x5 loaf pan easily, and even a large Dutch oven for boule-style loaves.
When you're done, it folds flat to about 2 inches thick, which is a huge deal if counter space is at a premium.
Pros:
One-degree temperature precision from 70-195 deg F
Built-in water tray for humidity control
Folds flat for storage
Doubles as a slow cooker and yogurt maker
Fits standard loaf pans and most Dutch ovens
Cons:
Premium price point (typically $160-$190)
Only fits one pan at a time for most bread shapes
An aluminum rack can feel flimsy over time
2. Brod and Taylor Sahara Folding Dehydrator: best dual-purpose proofing and dehydrating
The Brod & Taylor Sahara Folding Dehydrator is the newer sibling of the original proofer, and it works beautifully for bread proofing while also functioning as a full dehydrator. Its temperature range starts at 75 deg F, which puts it right in the sweet spot for gluten-free dough proofing.
For gluten-free bakers specifically, the Sahara has more vertical space than the original proofer, which is helpful if you're proofing taller doughs like gluten-free cinnamon rolls in a deep pan. The airflow is gentle and even, which prevents the dry skin problem that plagues gluten-free doughs. And when you're not proofing, you can dehydrate fruits, vegetables, or even make your own dried herbs.
Pros:
Excellent temperature precision starting at 75 deg F
More interior height than the original proofer
Even, gentle airflow prevents dough skinning
Full dehydrator functionality justifies the price
Also folds flat for storage
Cons:
Higher price than the original proofer
Slightly louder fan than the original model
Dehydrator trays sold separately
3. Rcom Maru Bird Brooder: surprisingly effective budget proofing box
This is an unconventional pick, but the Rcom Maru Bird Brooder has become a cult favorite among home bread bakers. It's designed to keep baby birds warm, but its enclosed dome shape, precise thermostat (77-104 deg F), and compact size make it a surprisingly effective dough proofer.
For gluten-free bread, the temperature range is nearly perfect. Most gluten-free doughs proof best around 80-85 deg F, and the Rcom holds that temperature steadily. The dome shape also traps moisture naturally, which reduces the skinning problem. The main limitation is size. You can fit a small loaf pan or a bowl of dough inside, but not a large sheet pan.
Pros:
Precise thermostat in the ideal range for gluten-free proofing
Very affordable (typically $40-$60)
Dome shape traps humidity naturally
Compact and easy to store
Cons:
Limited interior space; won't fit large pans
Not designed for baking, so no accessories included
Looks a bit unusual on the counter
No water tray; humidity is passive only
4. Ivation 10-Tray Dehydrator: best for proofing multiple batches
If you bake gluten-free bread in volume, whether for meal prep or because your household goes through loaves quickly, the Ivation 10-Tray Food Dehydrator gives you something no dedicated proofer can: space for multiple doughs at once. With the trays removed, you have a large, enclosed, temperature-controlled cabinet.
The lowest temperature setting is 95 deg F, which is a touch warm for some gluten-free doughs. You'll want to monitor your first few proofs carefully and possibly crack the door slightly to bring the temperature down to the 80-85 deg F range. That said, once you dial in your technique, it works reliably. The rear-mounted fan circulates heat evenly, which is great for preventing hot spots.
Pros:
Huge interior fits multiple loaf pans simultaneously
Even heat distribution from rear fan
Doubles as a full-size dehydrator
Clear door lets you check proofing progress without opening
Cons:
The lowest setting (95 deg F) may be too warm for some gluten-free doughs
Large footprint; not ideal for small kitchens
No built-in humidity control
Requires some experimentation to find ideal settings
5. Seedling heat mat with a towel cover: best budget-friendly minimal setup
A seedling heat mat with a thermostat controller is the most affordable way to get consistent proofing temperatures. You place the mat on your counter, set your dough on top (in its pan or bowl), and drape a towel over everything to trap warmth and moisture.
For gluten-free bread, this works better than you might expect. The key is pairing the mat with a separate thermostat controller (usually sold together or as an add-on) so you can set a target temperature. Without the thermostat, the mat just runs at a fixed temperature that may be too warm. With it, you can hold a steady 80-82 deg F, which is ideal for most gluten-free bread recipes using gluten-free bread flour.
Pros:
Very affordable (typically $15-$30 for mat plus thermostat)
Takes up almost no storage space
Works with any pan or bowl size
Easy to move around or travel with
Cons:
No enclosed environment; humidity control is makeshift
Temperature is less precise than a dedicated proofer
Requires a separate thermostat controller for best results
Bottom of dough may be warmer than the top
6. DIY cooler and warm water method: best zero-cost option
If you're not ready to invest in equipment, a simple plastic cooler with a jar of warm water inside is the classic DIY proofing box. Place your dough (in its pan or bowl) inside the cooler alongside a mason jar filled with hot water, close the lid, and the trapped warmth creates a mini proofing environment.
For gluten-free bread, this method works in a pinch but has real limitations. The temperature drops over time as the water cools, which means your proof isn't truly consistent. Gluten-free doughs are more sensitive to this than wheat doughs because they can't compensate structurally for an uneven proof. You'll likely need to swap the water once or twice during a long proof. That said, it's a perfectly fine way to test whether controlled proofing improves your results before spending money on a dedicated box.
Pros:
Completely free if you already own a cooler
No electricity needed
Works with any size pan that fits in your cooler
Good way to test the concept before investing
Cons:
The temperature drops over time and requires refreshing
No precise temperature control
Humidity is inconsistent
Not practical for regular baking
Why gluten-free bread needs a proofing box more than wheat bread does
This is the part that surprises a lot of new gluten-free bakers. With wheat bread, the gluten network is strong enough to hold gas even if the proof is slightly uneven. Gluten-free doughs rely on xanthan gum, guar gum, or psyllium husk for structure, and these binders are much less forgiving.
If your kitchen is 68 deg F in winter and 78 deg F in summer, the same recipe will proof at completely different rates and give you completely different results. A proofing box eliminates that variable. You set 80 deg F, and your dough proofs at 80 deg F whether it's January or July. For anyone who's been frustrated by inconsistent gluten-free bread, this is often the single biggest improvement you can make.
We've seen this firsthand with our easiest gluten-free bread recipes. The same recipe that produced a dense, underproofed loaf on a cold countertop came out tall and airy in the Brod & Taylor proofer. The dough didn't change. The environment did.
How to proof gluten-free bread dough for the best results
Even with the best proofing box, technique matters. Here are the key principles for proofing gluten-free bread specifically.
Set the temperature between 78 and 85 degrees Fahrenheit
This is the sweet spot for most gluten-free bread doughs. Going higher than 90 deg F causes the yeast to produce gas faster than the binder structure can contain it, leading to a loaf that rises and then collapses. If your recipe uses gluten-free sourdough starter instead of commercial yeast, aim for the lower end (75-78 deg F) since wild yeast cultures prefer slightly cooler temperatures.
Always add humidity
Fill the water tray in your proofer, or place a small dish of warm water next to your dough. Gluten-free doughs dry out fast, and a dry surface resists expansion, which limits your rise.
Watch the dough, not the clock
Proofing times in gluten-free recipes are guidelines, not rules. Your dough is ready when it has risen by about 50-75% (not doubled, as with wheat bread). Overproofing is a bigger risk with gluten-free dough because the structure can't support an extended rise.
Frequently asked questions
Can you use a proofing box for gluten-free sourdough bread?
Yes, and it's actually one of the best uses for a proofing box. Gluten-free sourdough starters and doughs are especially sensitive to temperature fluctuations. Set your proofer to 75-78 deg F for sourdough, which is slightly cooler than the 80-85 deg F used for commercial yeast doughs. Check out our gluten-free sourdough guide for more details on timing and technique.
Is a proofing box worth it for gluten-free baking?
If you bake gluten-free bread regularly, a proofing box is one of the most impactful investments you can make. Inconsistent proofing temperature is one of the top causes of poor rise and gummy centers in gluten-free bread. A proofing box eliminates that variable completely.
What temperature should I proof gluten-free bread at?
Most gluten-free bread doughs proof best between 78 and 85 deg F. Avoid going above 90 deg F, as the yeast will produce gas faster than the gluten-free binder structure can hold, causing the loaf to collapse. For sourdough, aim for 75-78 deg F.
Can I use my oven as a proofing box for gluten-free bread?
You can, but it's not ideal. Most ovens with a "proof" setting run around 100 deg F, which is too warm for gluten-free dough. The oven light method (turning on just the light for gentle warmth) is better, but the temperature is inconsistent and depends on your specific oven. A dedicated proofing box gives you far more control.
Do I need humidity when proofing gluten-free bread?
Yes. Gluten-free doughs lack the elastic gluten network that helps wheat dough retain surface moisture. Without added humidity, a dry skin forms on top of the dough during proofing, which restricts the rise and can cause cracking. Always use a water tray, a damp towel, or plastic wrap to keep the surface moist.

Written by
Co-founder, BakingSubs
Co-founder of BakingSubs, where he turns the science of ingredient substitutions into tested, reliable guidance for home bakers.
Related Posts

Bake with Confidence
See all
Confident Gluten-Free Baker Toolkit
The science-based system that replaces gluten's seven invisible jobs so your baking turns out soft, fluffy, and foolproof — every time.

Gluten-Free Recipe Vault
Instant access to our complete library of proven gluten-free recipes — no waiting, no guesswork, just results that work tonight.

Fix Your Gluten-Free Bread
Learn the 3-step formula to make bread rise and stay soft, discover why your loaves collapse, and get a tested sandwich bread recipe that actually works.