
Sourdough Starter Feeding Schedule and Maintenance: 6 Mistakes That Kill Your Culture (and the Fixes)
Learn the right sourdough starter feeding schedule and maintenance routine. Fix 6 common mistakes that kill your culture, with schedules for daily and weekly bakers.

Malik
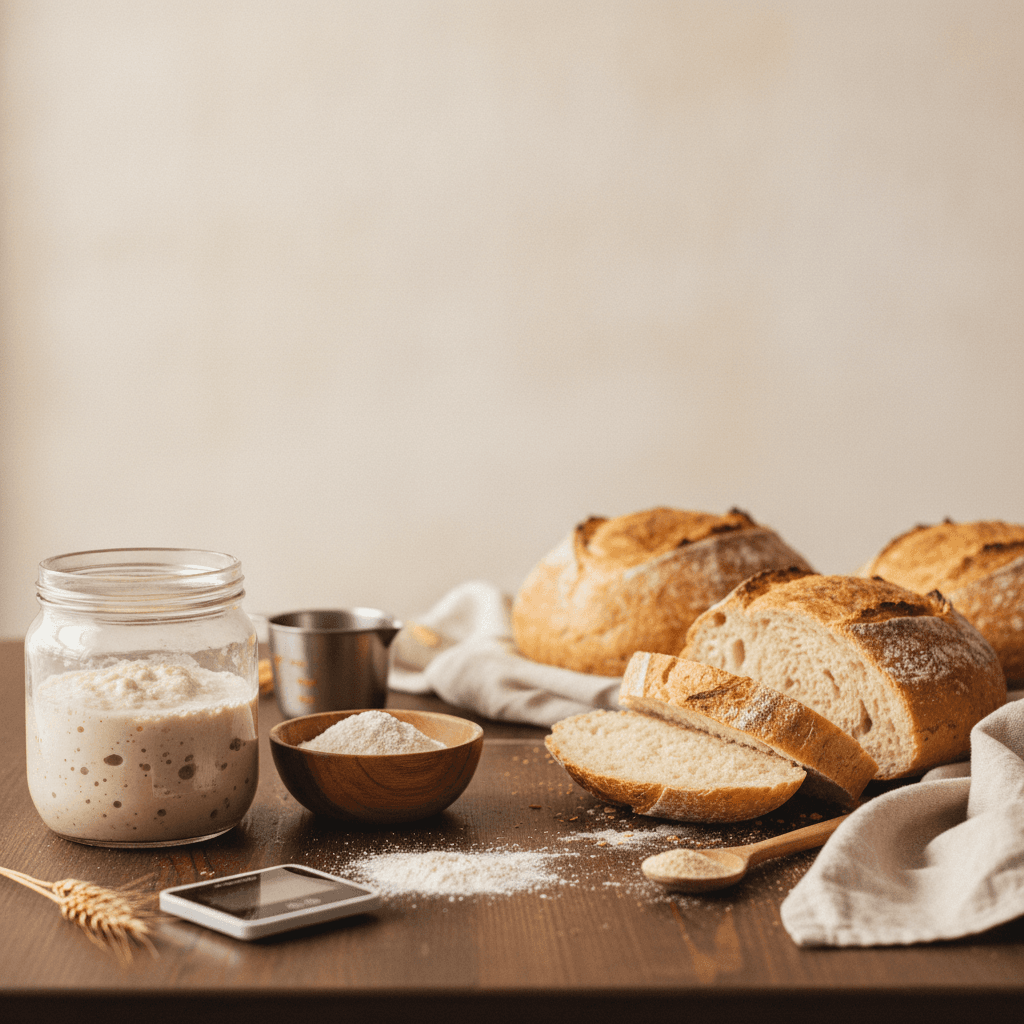
Your sourdough starter is a living colony of wild yeast and lactic acid bacteria, and it needs consistent feeding to stay active. Most starter failures come down to timing, temperature, or ratios — not bad luck. Here are the feeding schedules and maintenance practices that keep a starter reliably strong.
Key takeaways
A healthy, room-temperature sourdough starter needs feeding roughly every 12 hours at a 1:1:1 ratio (starter:flour:water by weight).
Refrigerated starters only need feeding once every 5–7 days, making them practical for bakers who don't bake daily.
Starter temperature matters more than clock time — at 75°F (24°C), fermentation peaks in about 4–6 hours, while at 65°F (18°C) it can take 10–12 hours.
Switching flour types changes the microbial balance; whole grain flours like rye or whole wheat ferment faster than white all-purpose flour.
A starter that smells like nail polish remover (acetone) is hungry, not dead — it typically recovers within 2–3 consistent feedings.
Using a kitchen scale instead of volume measurements reduces feeding inconsistency dramatically.
What a sourdough starter actually needs to stay alive
A sourdough starter is a symbiotic culture of wild yeast (primarily Saccharomyces cerevisiae and Kazachstania humilis) and lactic acid bacteria (mainly Lactobacillus species). These organisms eat the sugars in flour, produce carbon dioxide for rise, and generate organic acids that give sourdough its tang. When you "feed" a starter, you're replenishing the food supply and diluting waste products — mainly alcohol and acids — that would otherwise slow fermentation or kill the culture.
The three variables that matter most are the ratio of old starter to fresh flour and water, the type of flour, and the ambient temperature. Get those right and a starter can live for decades. Get them wrong and you'll see sluggish rises, off smells, or a layer of dark liquid (hooch) that signals starvation.
The standard feeding schedule at room temperature
At room temperature — roughly 68–78°F (20–26°C) — most bakers feed their starter every 12 hours using a 1:1:1 ratio by weight. That means if you keep 50g of starter, you add 50g of flour and 50g of water at each feeding. This ratio gives the organisms enough food to stay active without overproducing acids between feedings.
Some bakers prefer a 1:2:2 or even 1:5:5 ratio to slow fermentation down, which is useful if you can't feed exactly every 12 hours. A 1:5:5 ratio at 72°F typically takes 10–12 hours to peak, giving you a wider window. The tradeoff is that you use more flour per feeding — at 1:5:5 with 20g of starter, that's 100g of flour per feeding, or 200g per day.
How temperature changes the timeline
Temperature is the single biggest factor controlling fermentation speed. Here's a general reference for how ambient temperature affects peak time at a 1:1:1 ratio:
Ambient temperature | Approximate time to peak | Practical note |
|---|---|---|
65°F (18°C) | 10–14 hours | Slower rise, milder flavor, good for once-daily feeding |
72°F (22°C) | 6–8 hours | Standard for twice-daily feeding schedules |
78°F (26°C) | 4–6 hours | Fast activity, may need 3 feedings per day in summer |
85°F (29°C) | 3–4 hours | Very fast; risk of over-fermentation if not watched |
During summer months, a kitchen that hits 85°F can push a starter past its peak and into over-fermentation in just a few hours. If you notice your starter collapsing before you can use it, either increase the feeding ratio (try 1:3:3) or move it to a cooler spot. A north-facing counter, a basement, or even the interior of a closed oven (turned off) can drop the temperature a few degrees.
Refrigerator maintenance for bakers who don't bake daily
If you bake once a week or less, keeping your starter at room temperature wastes flour and time. The refrigerator — typically around 38°F (3°C) — slows fermentation to a crawl, meaning you only need to feed once every 5–7 days. Some bakers stretch this to 10–14 days, though the starter will be sluggish and may need 2–3 revival feedings before it's strong enough to leaven bread.
The process is simple: feed your starter at its usual ratio, let it sit at room temperature for about 1–2 hours until you see some initial activity (small bubbles forming), then cap it loosely and refrigerate. When you're ready to bake, pull it out, feed it, and let it peak at room temperature. For bread that needs a strong, predictable rise, plan on doing 2 feedings over 24 hours before mixing your dough.
Marcus, a home baker in Portland who sells sourdough at a weekend farmers market, keeps his starter refrigerated Monday through Thursday and pulls it out Friday morning for two feedings before his Saturday bake. He uses 25g of starter, 75g of bread flour, and 75g of water for each feeding — a 1:3:3 ratio that gives him a roughly 8-hour window to peak at his kitchen's 70°F temperature.
Which flour to use for feeding (and why it matters)
The flour you feed your starter directly affects how fast it ferments, how sour it tastes, and how vigorously it rises. All-purpose flour is the most common choice and produces a mild, predictable starter. But whole grain flours contain more nutrients and natural microorganisms, which accelerate fermentation.
Flour type | Fermentation speed | Flavor profile | Best for |
|---|---|---|---|
White all-purpose | Moderate | Mild, slightly tangy | General-purpose baking, predictable schedules |
Moderate | Mild | Stronger gluten development in the starter | |
Whole wheat | Fast | Nutty, more sour | Reviving sluggish starters, whole grain breads |
Very fast | Complex, earthy, tangy | Jump-starting new starters, boosting activity | |
Fast | Slightly sweet, mild | Heritage grain baking |
A common approach is to feed with a mix — say, 80% all-purpose and 20% whole wheat or rye. This gives the starter a nutrient boost from the whole grains without making fermentation so fast that it outpaces a 12-hour feeding schedule. If you're substituting different flours, keep in mind that switching entirely from white to whole grain will change your starter's behavior for 3–5 feedings before it stabilizes.
Can you maintain a gluten-free sourdough starter?
Yes, but it behaves differently. Gluten-free starters made with brown rice flour, buckwheat flour, or sorghum flour will still develop wild yeast and lactic acid bacteria. However, without gluten to trap gas, you won't see the same dramatic dome-shaped rise. Instead, look for lots of small bubbles throughout the mixture and a pleasantly sour smell. Gluten-free starters tend to ferment faster than wheat-based ones, so a 1:2:2 ratio is often more practical than 1:1:1.
The biggest challenge with gluten-free sourdough is the bread itself, not the starter. Issues like poor rise, gummy centers, and quick staling are common in gluten-free sourdough loaves and require specific techniques beyond just having an active starter.
6 common sourdough starter mistakes (and how to fix each one)
1. Feeding by volume instead of weight
A cup of flour can weigh anywhere from 120g to 160g depending on how you scoop it. That 40g difference — a 33% swing — means your starter gets wildly inconsistent food amounts. Use a digital kitchen scale and weigh everything in grams. A basic scale costs under $15 and eliminates the single biggest source of feeding inconsistency.
2. Using chlorinated tap water
Chlorine and chloramine in municipal water can inhibit the bacteria in your starter. This doesn't always kill a mature culture, but it can slow a new starter's development significantly. The fix is simple: use filtered water, or leave tap water in an open container for 24 hours to let chlorine off-gas. Note that chloramine (used in some municipal systems) doesn't off-gas as easily — a basic carbon filter handles it.
3. Keeping the jar sealed too tightly
Your starter produces carbon dioxide constantly. A tightly sealed jar builds pressure and can actually crack glass containers. More importantly, the anaerobic environment shifts the microbial balance toward bacteria that produce more acetic acid (vinegar-like sourness) rather than the milder lactic acid. Use a loose lid, a cloth secured with a rubber band, or a jar with a hinged lid that isn't latched.
4. Skipping the discard step
If you never discard before feeding, the volume of your starter doubles with each feeding. Within a week you'd have several pounds of starter. More practically, not discarding means the ratio of old, acidic starter to fresh flour is too high, which makes the environment too acidic for the yeast to thrive. Always remove starter down to your target amount (commonly 50g–100g) before adding fresh flour and water.
5. Panicking when hooch appears
Hooch is the dark liquid (sometimes gray, sometimes brownish) that collects on top of or within a neglected starter. It's mostly alcohol and water — a byproduct of fermentation when the starter has consumed all available sugars. It's not mold, and it doesn't mean your starter is dead. Simply pour it off or stir it back in (stirring it in adds a more sour flavor), then resume your normal feeding schedule. The starter typically bounces back within 2–3 feedings.
6. Giving up too early on a new starter
A brand-new starter often shows vigorous bubbling on days 2–3, then goes quiet for days 4–7. This is normal. The initial burst comes from leuconostoc bacteria (which produce gas but aren't the organisms you want long-term), and the quiet period happens as the environment acidifies and the desirable Lactobacillus and wild yeast populations establish themselves. Most starters take 10–14 days of consistent feeding to become reliably active. Elena, a baker in Minneapolis, nearly threw hers out on day 6 when it showed zero rise — by day 12, after sticking to a strict twice-daily feeding with a 50/50 mix of all-purpose and rye flour, it was doubling in 5 hours.
How to tell when your starter is ready to bake with
The most reliable test is the float test: drop a small spoonful of starter into a glass of room-temperature water. If it floats, the starter has enough gas trapped inside to leaven bread. If it sinks, it either hasn't peaked yet or has already passed its peak and started to deflate.
Other signs of a ready starter:
It has roughly doubled in volume since its last feeding
The surface is domed (not flat or collapsed)
It smells pleasantly sour and yeasty, not like acetone or alcohol
You can see a network of bubbles when you pull some up with a spoon — it should look stringy and web-like
Timing matters. A starter that peaked 2 hours ago has already started losing gas and leavening power. For best results, plan your bake so the dough mixing happens right around peak time. If your starter peaks in 6 hours after feeding at a 1:1:1 ratio, set an alarm.
Long-term storage: drying and freezing your starter
If you're going on vacation or just want a backup, you can dry your starter for long-term storage. Spread a thin layer of active, recently-fed starter on a piece of parchment paper and let it dry completely at room temperature — this takes 24–48 hours depending on humidity. Once it's brittle and flaky, break it into pieces and store in an airtight container. Dried starter can remain viable for months, possibly years.
To revive dried starter, dissolve a tablespoon of flakes in 50g of water, add 50g of flour, and feed on a normal schedule. Expect 3–5 days of consistent feeding before it's fully active again.
Freezing is another option, though less reliable. Some of the yeast and bacteria die during freezing, so revival takes longer — typically 5–7 days of twice-daily feedings. Drying is generally considered the more dependable backup method.
What to do with sourdough discard
Discard is unfed starter that you remove before each feeding. It's perfectly edible — it just doesn't have enough leavening power for bread. Many bakers use discard in pancakes, waffles, crackers, pizza dough, and quick breads where baking powder or baking soda provides the rise instead of the starter itself.
If you're looking to reduce waste, you can also reduce the amount of starter you maintain. Keeping just 25g of starter and feeding at 1:2:2 (25g starter, 50g flour, 50g water) means you only discard 25g per feeding — about a tablespoon. That's roughly 18g of flour wasted per feeding, or about 36g per day. At typical flour prices, that's less than $0.03 per day.
For bakers who sell sourdough, the discard can actually become a separate product line. Sourdough discard crackers and flatbreads are popular at farmers markets, and they cost almost nothing in ingredients since the discard is a byproduct you'd otherwise throw away. If you're selling at markets, you might find pricing your sourdough products easier when discard items offset your flour costs.
A contrarian take: you don't need to feed your starter every 12 hours
The twice-daily feeding schedule is the standard advice, and it works. But it's not the only way. Plenty of experienced bakers feed once a day at room temperature using a higher ratio (1:5:5 or even 1:10:10) and get perfectly good bread. The higher ratio gives the organisms more food to work through, extending the time to peak.
The real question is whether the starter is at or near its peak when you use it. A well-fed 1:10:10 starter at 72°F will take roughly 12–16 hours to peak — convenient for a once-daily schedule. The bread may taste slightly different (often more sour, since the bacteria have more time to produce acids), but the leavening power is comparable as long as you catch it at the right moment.
The rigid twice-daily schedule discourages a lot of people from maintaining a starter at all. If a more relaxed approach keeps you baking, it's better than a perfectly maintained starter that sits in the back of the fridge for months because the routine felt like too much work.
Frequently asked questions
How often should I feed my sourdough starter if I bake once a week?
Store it in the refrigerator and feed it once every 5–7 days. When you're ready to bake, pull it out and give it 2 feedings at room temperature over 24 hours to bring it back to full activity. This approach uses far less flour than maintaining it on the counter daily.
Can I use tap water to feed my sourdough starter?
It depends on your water supply. If your municipal water is treated with chlorine, letting it sit uncovered for 24 hours allows the chlorine to dissipate. If your system uses chloramine (check your local water report), a basic carbon filter removes it. Well water is generally fine unless it has high mineral content or sulfur.
Why does my sourdough starter smell like nail polish remover?
That acetone smell means your starter is hungry — it has consumed all available sugars and is producing excess acetic acid and ethanol. It's not ruined. Discard all but 25g–50g, feed at a 1:2:2 or 1:3:3 ratio, and repeat every 12 hours. The smell should resolve within 2–3 feedings as the microbial balance stabilizes.
What is the best flour for feeding a sourdough starter?
Unbleached all-purpose flour is the most common and produces consistent results. Many bakers add 10–20% whole wheat or rye flour to boost nutrient content and fermentation speed. Rye flour is especially effective for reviving sluggish starters because of its higher enzyme activity and mineral content.
How long does it take to create a sourdough starter from scratch?
A new starter typically takes 10–14 days of consistent twice-daily feedings to become reliably active. You'll often see a burst of activity on days 2–3 followed by a quiet period — this is normal and not a sign of failure. The starter is ready when it consistently doubles in volume within 4–8 hours of feeding and passes the float test.

Written by
Co-founder, BakingSubs
Co-founder of BakingSubs, where he turns the science of ingredient substitutions into tested, reliable guidance for home bakers.
Related Posts
Bran as Flour Supplement for High Fiber Baking: 5 Types Compared (and How Much You Can Actually Add)
Collagen Powder in Baking as Flour Supplement: Why It Mostly Fails (and 3 Ways to Make It Work)
Lupin Flour as a Low Carb Flour Substitute: 5 Things That Change (and 3 That Can Go Wrong)
Bake with Confidence
See all
Confident Gluten-Free Baker Toolkit
The science-based system that replaces gluten's seven invisible jobs so your baking turns out soft, fluffy, and foolproof — every time.

Gluten-Free Recipe Vault
Instant access to our complete library of proven gluten-free recipes — no waiting, no guesswork, just results that work tonight.

Fix Your Gluten-Free Bread
Learn the 3-step formula to make bread rise and stay soft, discover why your loaves collapse, and get a tested sandwich bread recipe that actually works.