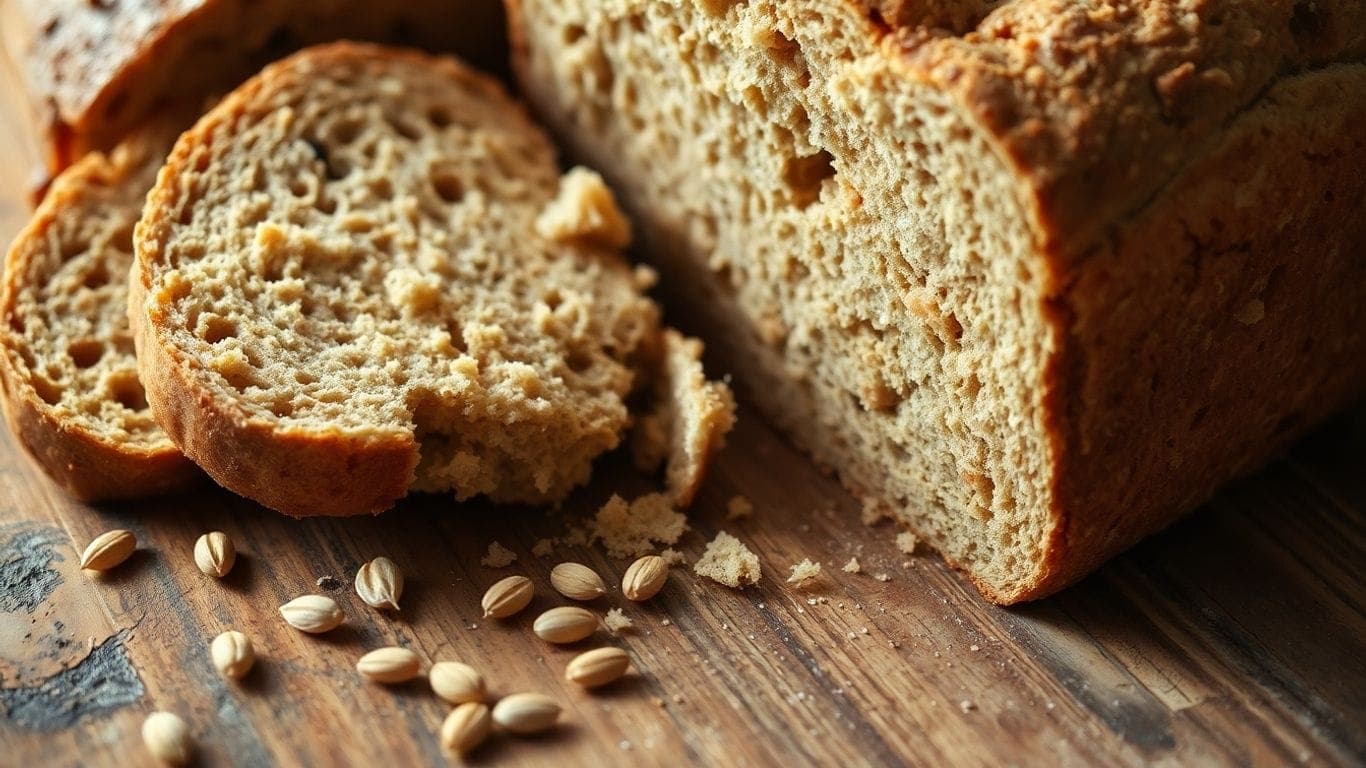
So, we've all been there, right? You spend ages mixing up a gluten-free dough, pop it in the oven, and out comes... well, something that looks like bread but crumbles if you even look at it funny. It’s super frustrating when your gluten free bread is too crumbly, especially after all that effort. We’ve been there too, and honestly, it’s a common problem. Let's figure out why this happens and how we can get you baking loaves that actually hold together.
Key Takeaways
- Gluten-free bread often crumbles because it lacks gluten, the natural binder in wheat flour. We need to add substitutes to give it structure.
- Using a mix of different gluten-free flours and starches is important. Some flours add moisture, while others provide structure.
- Binders like xanthan gum, guar gum, or psyllium husk are vital. They mimic gluten's job, holding the bread together.
- Don't be tempted to add too much extra flour if the dough looks wet; gluten-free batters are often stickier than wheat dough. Also, mix your dough thoroughly for at least three minutes.
- Letting your gluten-free bread cool completely before slicing is a must, and storing it properly helps it last longer than you might expect.
Understanding Why Gluten Free Bread Crumbles
So, you've baked a loaf of gluten-free bread, and it looks... well, a bit like a science experiment gone wrong. It's falling apart, right? We've all been there. It's super frustrating when you put in the effort and end up with something that crumbles before you even get a slice. Let's break down why this happens.
The Missing Glue: What Gluten Does
Think about regular bread. What makes it stretchy and hold its shape? It's gluten. When we mix flour and water, gluten proteins form a network. This network traps the gases from yeast, making the bread rise, and it gives the final product that chewy texture and structure. Without gluten, we lose that natural "glue." Our gluten-free flours just don't have this built-in binder, which is why structure becomes a big challenge.
Flour Power: The Role of Different Flours
Gluten-free baking isn't as simple as just swapping wheat flour for one type of alternative. Different gluten-free flours behave in really distinct ways. Some, like coconut flour, are super absorbent – they soak up a lot of liquid, which can lead to a dry, crumbly result if you're not careful. Others might be too starchy or not have enough substance on their own. Getting the right mix is key to mimicking the structure gluten provides.
The Importance of Binders
Since we don't have gluten, we need to add something else to hold our bread together. This is where binders come in. They act like the glue that gluten would normally provide. Without an adequate binder, the flour particles can't stick together properly, and the whole loaf just falls apart. It's like trying to build a house without cement – the bricks just won't stay put!
Mastering Your Gluten Free Flour Blend
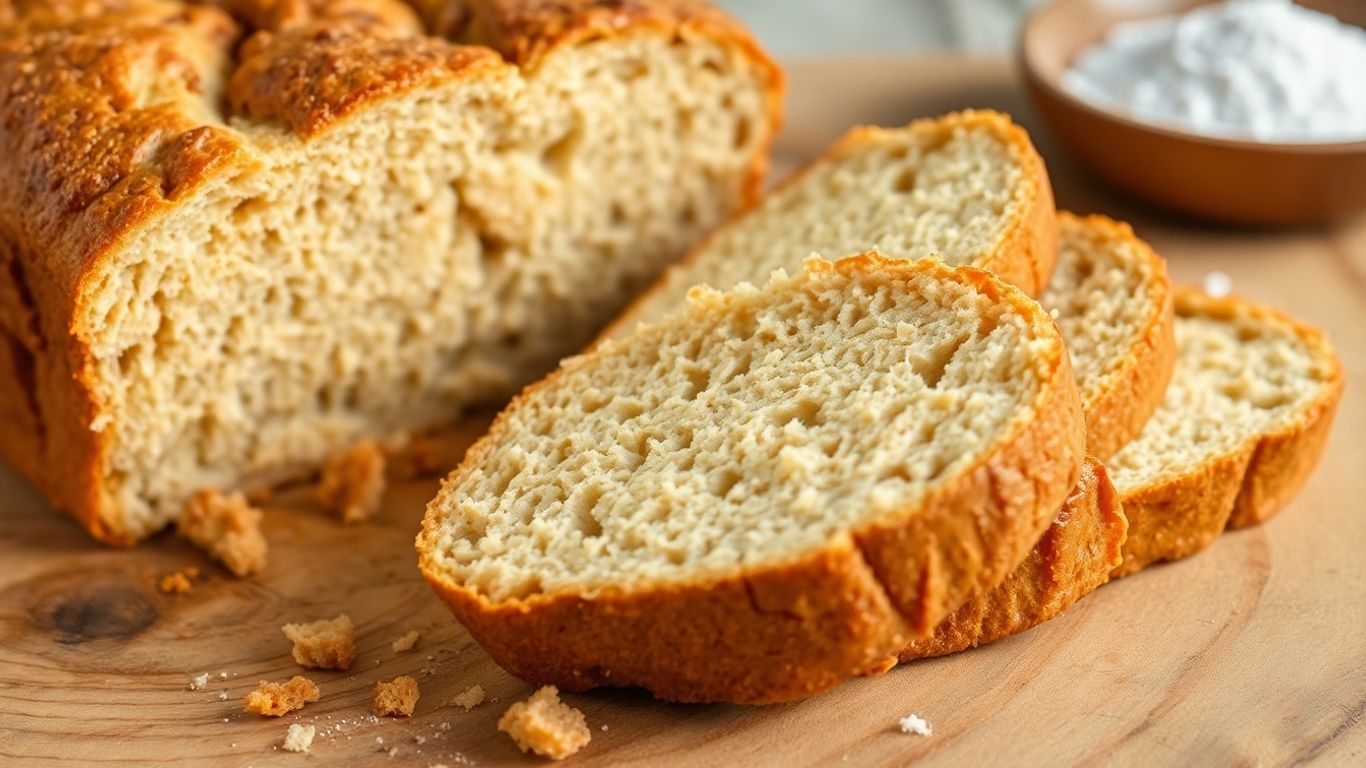
Okay, so we've talked about why gluten-free bread can get crumbly, and now it's time to get down to the nitty-gritty of flour blends. This is where the real magic happens, or where things can go a little sideways if we're not careful. Think of your flour blend as the foundation of your loaf – get it right, and everything else has a much better chance of working out.
Combining Flours for Structure and Moisture
When we bake with wheat, gluten does a lot of the heavy lifting, giving our bread that chewy texture and structure. Without it, we need to get creative. A good gluten-free flour blend isn't just one type of flour; it's usually a mix of different grains and starches. We want to combine flours that give us both structure and keep things moist. For example, using just rice flour can sometimes lead to a dry, crumbly result. But when we mix it with something like sorghum flour or even a bit of almond flour, we start building a better framework. The goal is to mimic that elasticity and moisture retention that gluten naturally provides.
The Essential Role of Starches
Starches are super important in gluten-free baking. They're what give our bread that tender crumb and help it hold together. Common starches we use include tapioca starch, potato starch, and cornstarch. These guys absorb liquid and help create that desirable soft texture. Without enough starch, our bread can end up dense and heavy. It's all about finding that right balance between the 'grainy' flours and the starches. Too much starch, and it might get gummy, but too little, and you're back to that crumbly problem.
Protein Powerhouses in Gluten Free Baking
While we're not looking for gluten, we do need some protein in our flour blend to help with structure. Flours like sorghum, buckwheat, and even oat flour (if you can tolerate it) bring a good amount of protein to the table. These aren't just for flavor; they contribute to the overall strength of the dough. When we combine these with our starches and other grain flours, we're building a more robust structure that's less likely to fall apart. It's like building with different types of bricks – some provide the main walls, while others fill in the gaps and add stability.
The Magic of Binders in Gluten Free Baking
Xanthan Gum: The Go-To Binder
When we first started baking gluten-free, xanthan gum felt like a bit of a mystery ingredient. But honestly, it's probably the most common binder you'll find in gluten-free flour blends, and for good reason. Think of it as the "glue" that regular flour has, but in a gluten-free world. It helps hold everything together, giving our bread that much-needed structure so it doesn't just fall apart. Without it, our loaves would be seriously crumbly. We usually use about 3/4 to 1 teaspoon per recipe, but it's always good to check your specific flour blend to see if it's already included.
Guar Gum and Psyllium Husk Alternatives
While xanthan gum is super popular, it's not the only player in town. Guar gum is another option that works similarly, though we haven't personally used it as much. Then there's psyllium husk. We've found psyllium husk to be fantastic, especially for bread. It not only helps bind but also does a great job of keeping moisture in, which is a big win for gluten-free baking. It forms a gel when mixed with water, giving the dough a nice pliability that makes it easier to handle and shape. For psyllium husk, we tend to use around 16-18 grams. It's a bit different from xanthan gum, and some people find it gives a better texture, especially if they've had issues with xanthan gum making their dough too gummy or causing it to collapse.
When More Binder is Needed
Sometimes, even with a binder in the mix, our bread can still be a bit too crumbly. This usually means we need to adjust the amount of binder. Here are a few things to consider:
- Check Your Flour Blend: Make sure your gluten-free flour mix actually contains a binder. Some might not, and if yours doesn't, you'll definitely need to add one.
- Dough Consistency: If your dough looks way too wet or soupy, resist the urge to add more flour! This is often the correct consistency for gluten-free bread batter. Adding more flour can make it dense. Instead, consider if you need a bit more binder to help it come together.
- Recipe Adjustments: If you're swapping out flours or making significant changes to a recipe, you might need to tweak the binder amount. Recipes that use less starch or have a higher hydration level might benefit from a little extra binding power.
Getting the binder right is key to a loaf that holds its shape.
Troubleshooting Your Gluten Free Dough
Sometimes, even when we follow a recipe to the letter, our gluten-free dough just doesn't behave the way we expect. It can be super frustrating when you're aiming for a lovely, airy loaf and end up with something dense or sticky. Let's talk about a few common dough dilemmas and how we can tackle them.
Resisting the Urge to Add More Flour
This is a big one. When gluten-free dough feels a bit wet or sticky, our first instinct is often to dump in more flour. We're so used to wheat doughs needing a certain consistency, and gluten-free ones can be tricky. However, adding too much extra flour can actually make your bread dry and crumbly later on. Gluten-free flours absorb liquid differently than wheat flour. If your dough seems a little too wet, try adding just a tablespoon of your gluten-free flour blend at a time, mixing it in gently. You're looking for a dough that's soft and maybe a little tacky, but not like cake batter. If you're using a specific blend, check if it's known to be more or less absorbent.
The Importance of Mixing Time
We might think that once everything is combined, we're done mixing. But with gluten-free dough, the mixing process is where a lot of the magic happens, especially when it comes to incorporating air and activating binders. Unlike wheat doughs that develop gluten with kneading, gluten-free doughs rely on thorough mixing to create structure. If you're using a stand mixer, make sure you're letting it run for the time specified in the recipe. Sometimes, the dough can climb up the beater, especially in larger mixers, so keep an eye on it and scrape down the sides as needed. A properly mixed dough will look smoother and more cohesive.
Room Temperature Ingredients Matter
This might seem like a small detail, but it can make a difference. Using cold ingredients, especially liquids like milk or water, can affect how your yeast activates and how your dough comes together. Cold liquids can slow down yeast activity, and they can also make your dough feel stiffer than it should be. We usually recommend having your liquids and even eggs at room temperature. This helps everything emulsify better and gives your yeast a warmer, more welcoming environment to get to work. If you forget to take things out of the fridge ahead of time, you can gently warm liquids by placing them in a bowl over warm water for a few minutes.
Baking Your Gluten-Free Loaf to Perfection
Baking Until Just Done: Temperature is Key
Okay, so we've mixed our dough, we've let it rise (or not, depending on the recipe!), and now it's time for the oven. This is where things can go a little sideways if we're not careful. Gluten-free bread often needs a longer bake time than traditional bread, and it can be tricky to know when it's really done. We want that beautiful golden crust, but more importantly, we want the inside cooked through. A dense, gummy center is the enemy here!
- Use an oven thermometer: Seriously, don't skip this. Ovens lie! Mine always runs a bit hot, and yours might do the same. Knowing the actual temperature helps you adjust your baking time. We're usually aiming for an internal temperature of around 205-210°F (96-99°C). An instant-read thermometer is your best friend for this.
- Don't rely solely on color: That lovely golden-brown color we associate with perfectly baked bread might not always happen with gluten-free loaves. Some recipes just don't brown as deeply. Focus on that internal temperature and how the loaf sounds when tapped.
- Listen for the hollow sound: When you tap the bottom of a properly baked loaf, it should sound hollow. If it sounds dull or thuddy, it likely needs more time in the oven.
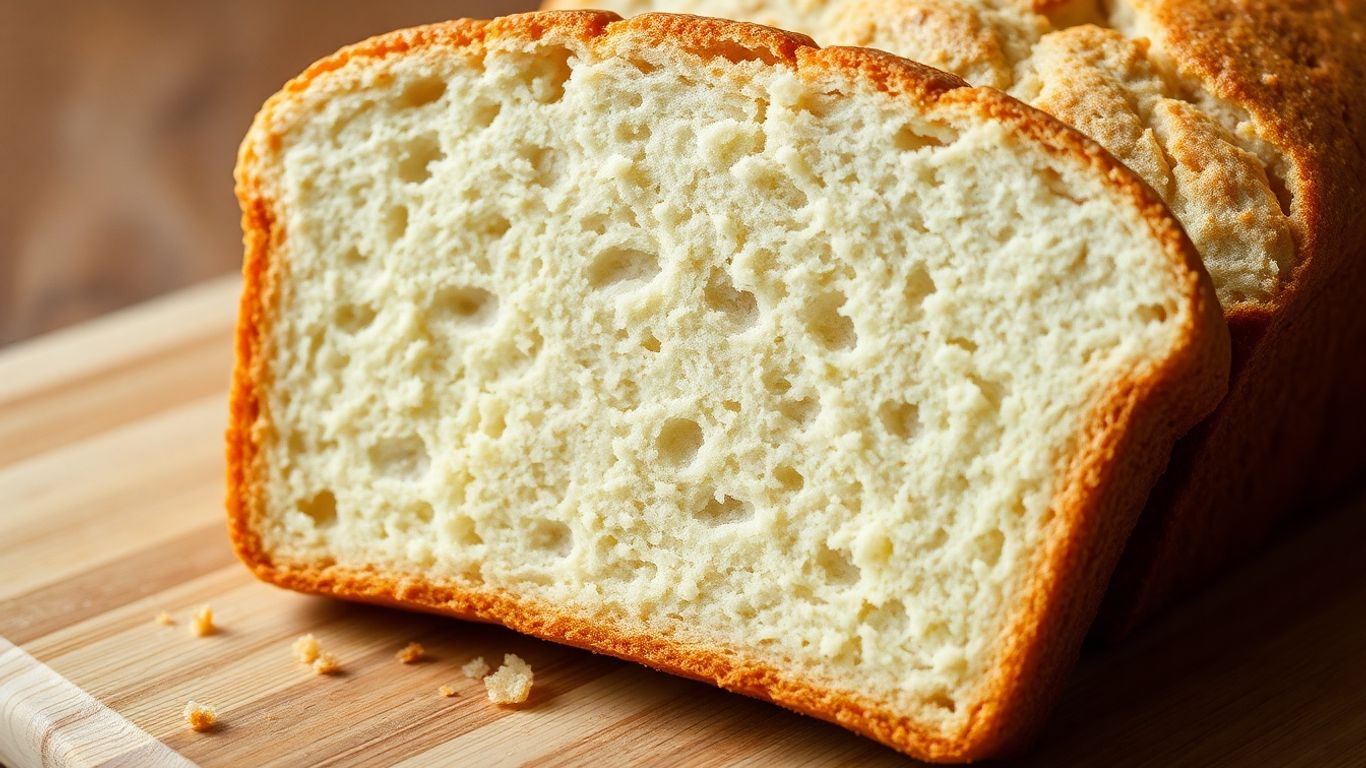
The Danger of Cutting Bread Too Soon
This is a tough one, I know. The smell of fresh bread is intoxicating, and you just want to slice into it. But with gluten-free bread, patience is a virtue. Cutting into a warm loaf is a recipe for a gummy, sticky disaster. The bread is still cooking and setting up as it cools. If you cut it too early, all that internal moisture and structure haven't finished developing, and you'll end up with a dense, unappealing texture. Give it at least a couple of hours, or even longer, to cool completely on a wire rack. Trust me, it's worth the wait!
Understanding Oven Spring in Gluten-Free Baking
Oven spring is that magical moment when your bread dramatically puffs up in the oven. For gluten-free bread, this can be a bit more subtle. Because we don't have gluten to trap gases, the rise might not be as dramatic. However, a good oven spring is still important for a lighter texture. Factors like the right binder, proper dough hydration, and a hot enough oven play a role. If your loaf seems to barely rise, it might be an issue with your binder, your flour blend, or even your oven temperature not being quite hot enough when the loaf goes in. Don't get discouraged if it's not a towering loaf; a modest rise is often a win in gluten-free baking!
Extending the Life of Your Gluten-Free Bread
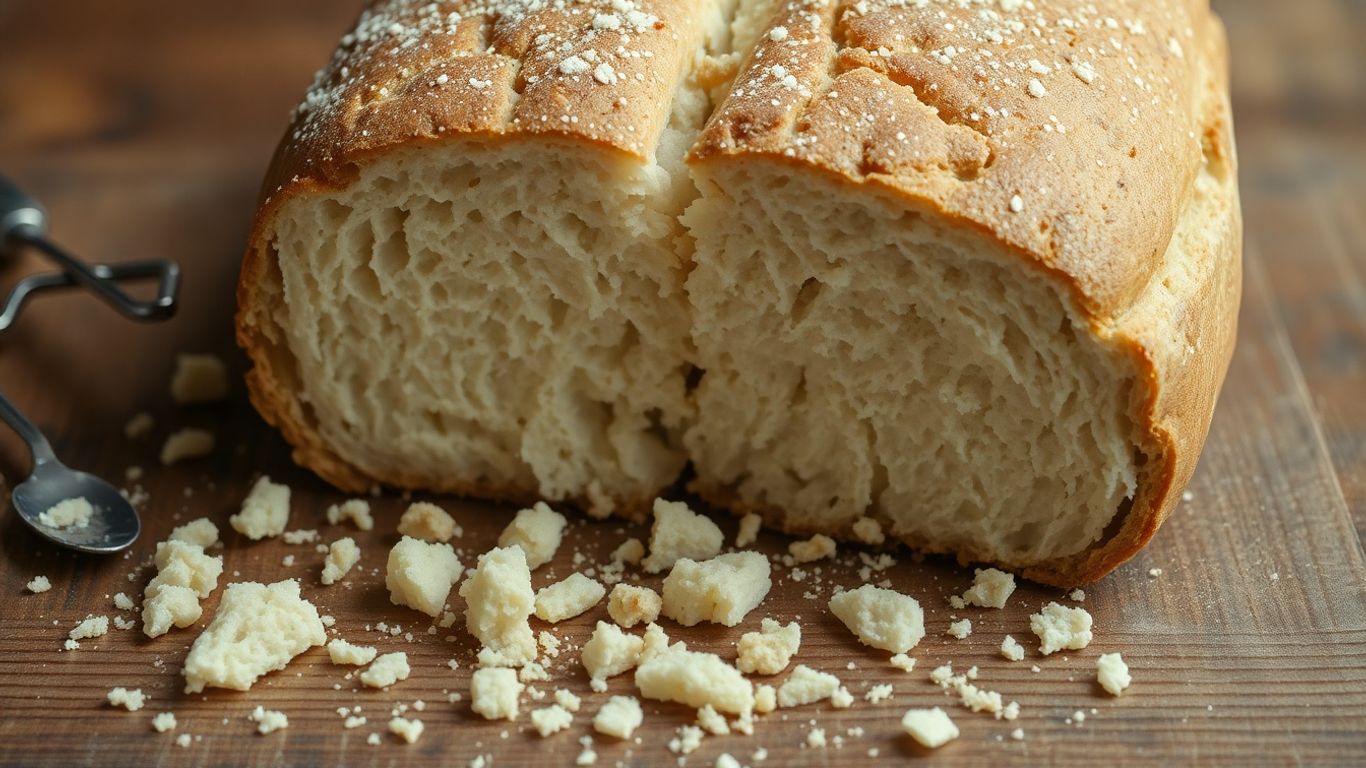
Why Gluten-Free Bread Dries Out Faster
So, we've all been there. You bake a beautiful loaf of gluten-free bread, and it's amazing for a day, maybe two. Then, it starts to get a little… well, sad. It’s a common frustration, but there’s a reason for it. Unlike regular bread that has gluten to help it hold onto moisture and keep its structure, gluten-free bread just doesn't have that natural staying power. It’s like it’s missing that internal scaffolding. This means it tends to lose moisture much faster, leading to that dreaded dryness and crumbliness we’re trying to avoid.
Smart Storage Solutions
To keep your delicious gluten-free loaves around for as long as possible, we need to be a bit strategic about how we store them. Here are a few things that have worked for us:
- Cool Completely: This is a big one. Make sure your bread is fully cooled before you even think about wrapping it up. While it’s still warm, it’s releasing steam, and trapping that moisture inside the wrapper can actually make the crust soggy or even encourage mold. Patience is key here!
- Airtight is Right: Once completely cool, wrap your bread up tight. We like using a good quality plastic wrap or a reusable beeswax wrap. For longer storage, you can even put the wrapped loaf into a sealed plastic bag or an airtight container.
- Consider the Fridge (with caution): Storing gluten-free bread in the refrigerator can extend its life, but it can also sometimes make it a bit drier. If you do refrigerate, make sure it's well-wrapped. Freezing is often a better bet for longer-term storage.
- Slice and Freeze: If you know you won't get through a whole loaf quickly, slice it before freezing. This way, you can just pop out a slice or two to toast or warm up whenever you need it, without having to thaw the whole thing.
Reviving Stale Gluten-Free Bread
Don't toss that slightly-less-than-fresh loaf just yet! There are definitely ways to bring it back to life. My favorite trick is simple:
- A Quick Toast: Slicing off a piece and popping it into the toaster is usually the easiest fix. It brings back a nice crispness and makes it taste almost fresh again.
- A Gentle Warm-Up: For a whole slice or two, you can wrap it in foil and pop it into a warm oven (around 300°F or 150°C) for about 5-10 minutes. This can help soften it up.
- French Toast or Bread Pudding: If it’s a bit beyond simple toasting, stale gluten-free bread is perfect for soaking up custards. French toast or bread pudding are fantastic ways to use up loaves that are a little past their prime.
So, Don't Give Up on Your Gluten-Free Loaves!
We know, figuring out why your gluten-free bread turns out crumbly can be a real bummer. It feels like you followed all the steps, and still, you end up with a loaf that falls apart. But hey, we've walked through some of the common culprits, from the flour mix to how you're baking it. Remember, gluten-free baking is a bit of a science experiment, and sometimes it takes a few tries to get it just right. Don't get discouraged! Keep these tips in mind, experiment a little, and soon enough, you'll be enjoying delicious, perfectly textured gluten-free bread. Happy baking!

Written by
Co-founder, BakingSubs
Co-founder of BakingSubs, where he turns the science of ingredient substitutions into tested, reliable guidance for home bakers.
Related Posts
Collagen Powder in Baking as Flour Supplement: Why It Mostly Fails (and 3 Ways to Make It Work)
6 Sunflower Seed Flour Substitutes for Keto Baking (and When Each One Actually Works)
Lupin Flour as a Low Carb Flour Substitute: 5 Things That Change (and 3 That Can Go Wrong)
Bake with Confidence
See all
Confident Gluten-Free Baker Toolkit
The science-based system that replaces gluten's seven invisible jobs so your baking turns out soft, fluffy, and foolproof — every time.

Gluten-Free Recipe Vault
Instant access to our complete library of proven gluten-free recipes — no waiting, no guesswork, just results that work tonight.

Fix Your Gluten-Free Bread
Learn the 3-step formula to make bread rise and stay soft, discover why your loaves collapse, and get a tested sandwich bread recipe that actually works.