Making your own gluten-free flour at home saves serious money and gives you total control over your blends. Here are the best food processors for milling gluten-free grains, plus everything you need to know to get a fine, consistent flour every time.
Key takeaways
- A powerful food processor (at least 10 cups and 600+ watts) can mill rice, oats, millet, and other gluten-free grains into usable flour at a fraction of the cost of store-bought blends.
- Motor wattage matters more than bowl size — underpowered processors overheat and leave you with gritty flour that ruins baked goods.
- You do not need a dedicated grain mill to start. A quality food processor handles most gluten-free grains and doubles as your everyday kitchen workhorse.
- Sifting after processing is essential. Even the best food processor will leave some coarser particles that need a second pass.
- Cross-contamination is a real concern if you share your processor with gluten-containing foods — dedicated equipment or thorough cleaning protocols are critical for celiacs.
- Weighing your freshly milled flour with a good kitchen scale is the only reliable way to get consistent results in recipes.
Why make your own gluten-free flour at home?
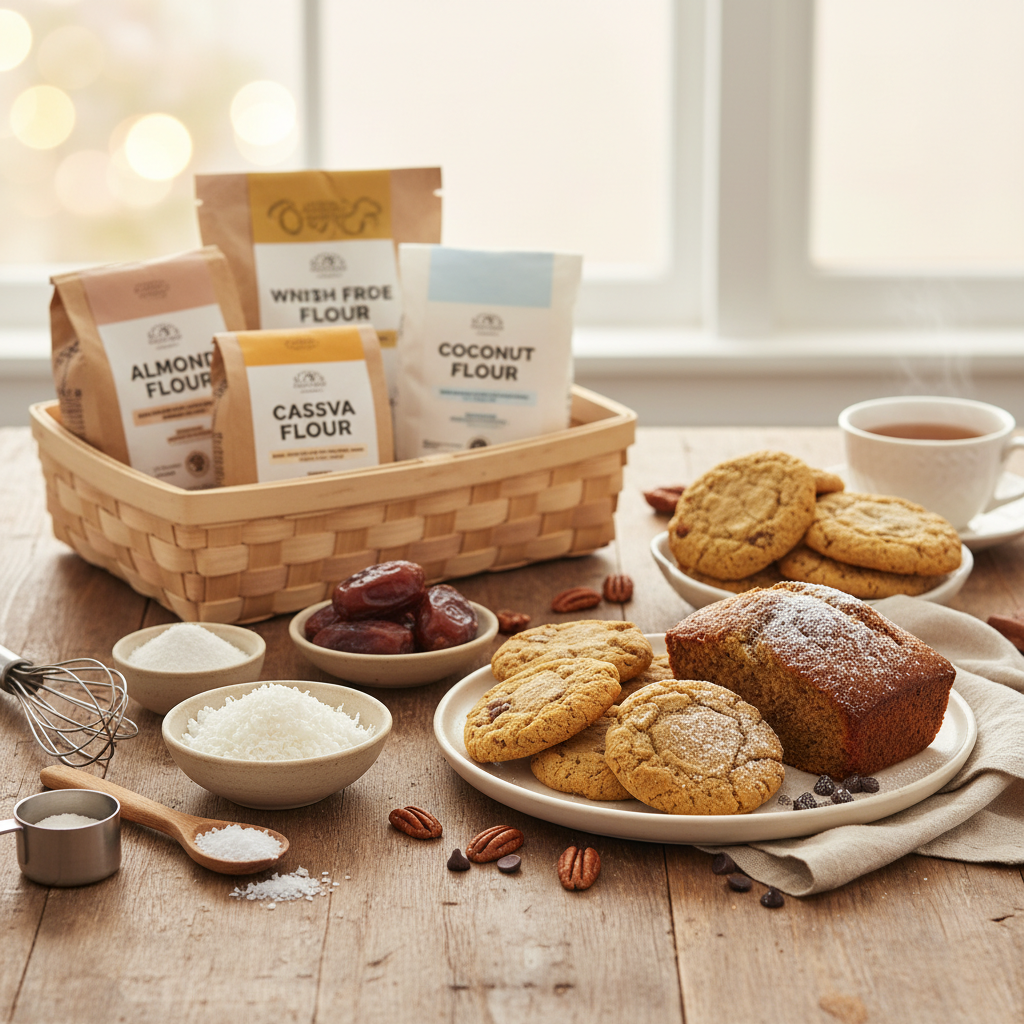
Commercial gluten-free flour blends are expensive — often $6 to $10 per pound, compared to buying whole grains in bulk for $1 to $3 per pound. When you bake frequently, those costs add up fast. But the savings are only part of the story.
Making your own flour means you control exactly what goes into your blends. You can adjust the ratio of brown rice flour to arrowroot powder to tapioca starch based on what you're baking. Want a higher-protein blend for bread? Add more buckwheat flour or sorghum. Need something lighter for cakes? Lean into white rice and tapioca. This kind of customization is what separates good gluten-free baking from great gluten-free baking.
If you're just getting started with gluten-free baking and want to build your toolkit the right way, our Confident Gluten-Free Baker Toolkit walks you through the essential equipment and techniques — including how to build custom flour blends that actually work.
What to look for in a food processor for milling gluten-free flour
Not every food processor can handle grain milling. Here are the features that actually matter when you're turning whole grains into fine flour.
Motor power (wattage)
You need at least 600 watts, and ideally 700 watts or more. Milling dry grains puts significantly more stress on a motor than chopping vegetables. A weak motor will overheat, stall, or produce inconsistently ground flour with gritty bits that cause gritty texture problems in your baked goods.
Bowl capacity
A 10- to 14-cup bowl is the sweet spot. Smaller bowls force you to work in tiny batches, which is tedious when you're milling several cups of flour. Larger bowls give the grains room to circulate and grind more evenly.
Blade quality
The standard S-blade that comes with most food processors works for grain milling. Some models include a dedicated dough blade, but for flour milling, the sharp metal S-blade is what you want. Look for stainless steel blades that are thick and sturdy.
Seal and lid design
Milling grains creates fine dust. A processor with a tight-fitting lid and good gasket keeps flour from escaping into your kitchen. This also matters for cross-contamination — if flour dust gets everywhere, it defeats the purpose of a dedicated gluten-free setup.
Pulse function
A reliable pulse button gives you control over the grind. You'll want to pulse first to break grains down, then let the processor run continuously for the final fine milling.
The 5 best food processors for making gluten-free flour
We evaluated these based on motor power, milling performance, durability, ease of cleaning, and overall value for gluten-free home bakers.
| Food processor | Capacity | Wattage | Best for | Price range |
|---|---|---|---|---|
| Cuisinart 14-Cup Food Processor (DFP-14BCWN) | 14 cups | 720W | Best overall for flour milling | $$ |
| Breville Sous Chef 12-Cup | 12 cups | 1000W | Best motor power | $$$ |
| KitchenAid 13-Cup Food Processor | 13 cups | 700W | Best for KitchenAid ecosystem users | $$ |
| Cuisinart Elemental 11-Cup (FP-11GM) | 11 cups | 550W | Best budget option | $ |
| Magimix 14-Cup Food Processor | 14 cups | 950W | Best for heavy-duty milling | $$$ |
Cuisinart 14-cup food processor (DFP-14BCWN)
The Cuisinart 14-Cup Food Processor is our top pick for most gluten-free home bakers. At 720 watts, it has enough power to handle rice, millet, oats, and sorghum without overheating. The 14-cup bowl means you can mill 3 to 4 cups of grain at a time, which is practical for building a flour stash. The tight-fitting lid keeps dust contained, and replacement parts are easy to find. It's also a fantastic all-around kitchen tool, so you're not buying a single-purpose appliance.
Breville Sous Chef 12-cup
The Breville Sous Chef brings a 1000-watt motor to the table, which is serious power for grain milling. It chews through harder grains like brown rice and buckwheat groats faster than any other processor we've tested. The build quality is excellent, and the processing bowl has measurement markings that are genuinely useful. The downside is the price — it's a premium appliance. But if you mill flour regularly, the extra power and durability justify the investment.
KitchenAid 13-cup food processor
The KitchenAid 13-Cup is a solid middle-ground option. At 700 watts, it handles most gluten-free grains well, though you may need to run it a bit longer for very hard grains. The externally adjustable slicing disc isn't relevant for flour milling, but it makes this a versatile kitchen tool overall. If you're already in the KitchenAid ecosystem and appreciate the brand's warranty and support, this is a natural choice.
Cuisinart Elemental 11-cup (FP-11GM)
If you're on a tighter budget, the Cuisinart Elemental 11-Cup gets the job done at a lower price point. The 550-watt motor is the minimum we'd recommend for flour milling — it works, but you'll need to process in smaller batches and give the motor rest breaks to avoid overheating. For bakers who mill flour occasionally rather than weekly, this is a sensible entry point.
Magimix 14-cup food processor
The Magimix 14-Cup is built like a commercial appliance. With a 950-watt motor and a 30-year motor warranty, this is the buy-it-for-life option. It produces the finest, most consistent flour of any food processor we've used. The price reflects the quality, but if you're serious about DIY flour milling as a long-term practice, the Magimix is hard to beat.
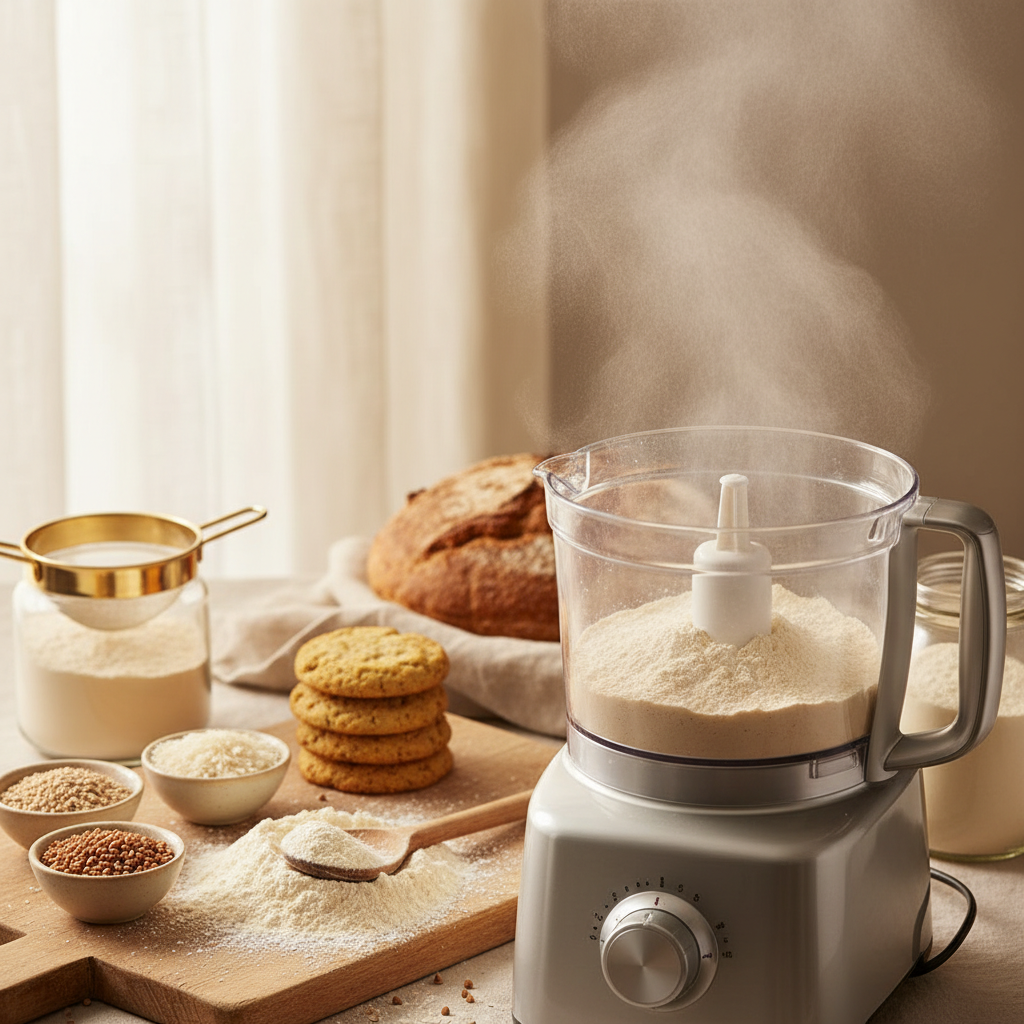
How to mill gluten-free flour in a food processor
Getting fine, usable flour from a food processor takes a bit of technique. Here's the process we use every time.
Step 1: Start with dry, room-temperature grains
Moisture is the enemy of good flour milling. Make sure your grains — whether rice, millet, sorghum, or oats — are completely dry. If you've stored them in the fridge or freezer, let them come to room temperature first. Any moisture will cause clumping and gum up your blade.
Step 2: Work in manageable batches
Fill the bowl no more than one-third to one-half full. Overcrowding prevents the grains from circulating past the blade, leaving you with a mix of fine powder and chunky pieces. For a 14-cup processor, that means about 2 to 3 cups of whole grains per batch.
Step 3: Pulse first, then process continuously
Start with 8 to 10 pulses to break the grains into smaller pieces. Then let the processor run continuously for 2 to 4 minutes, stopping to scrape down the sides once or twice. For harder grains like brown rice, you may need up to 5 minutes of total processing time.
Step 4: Sift and re-process
Pour your flour through a fine-mesh sieve. The particles that don't pass through go back into the processor for another 1 to 2 minutes. This sifting step is what separates decent homemade flour from truly fine flour that performs well in recipes. A fine-mesh stainless steel sifter is essential for this.
Step 5: Weigh and store
Always weigh your finished flour rather than measuring by volume. Freshly milled flour is fluffier than commercial flour, so cup measurements will be wildly inaccurate. Our guide to measuring baking ingredients covers why this matters so much. Store milled flour in airtight containers in a cool, dark place — or in the freezer for longer shelf life.
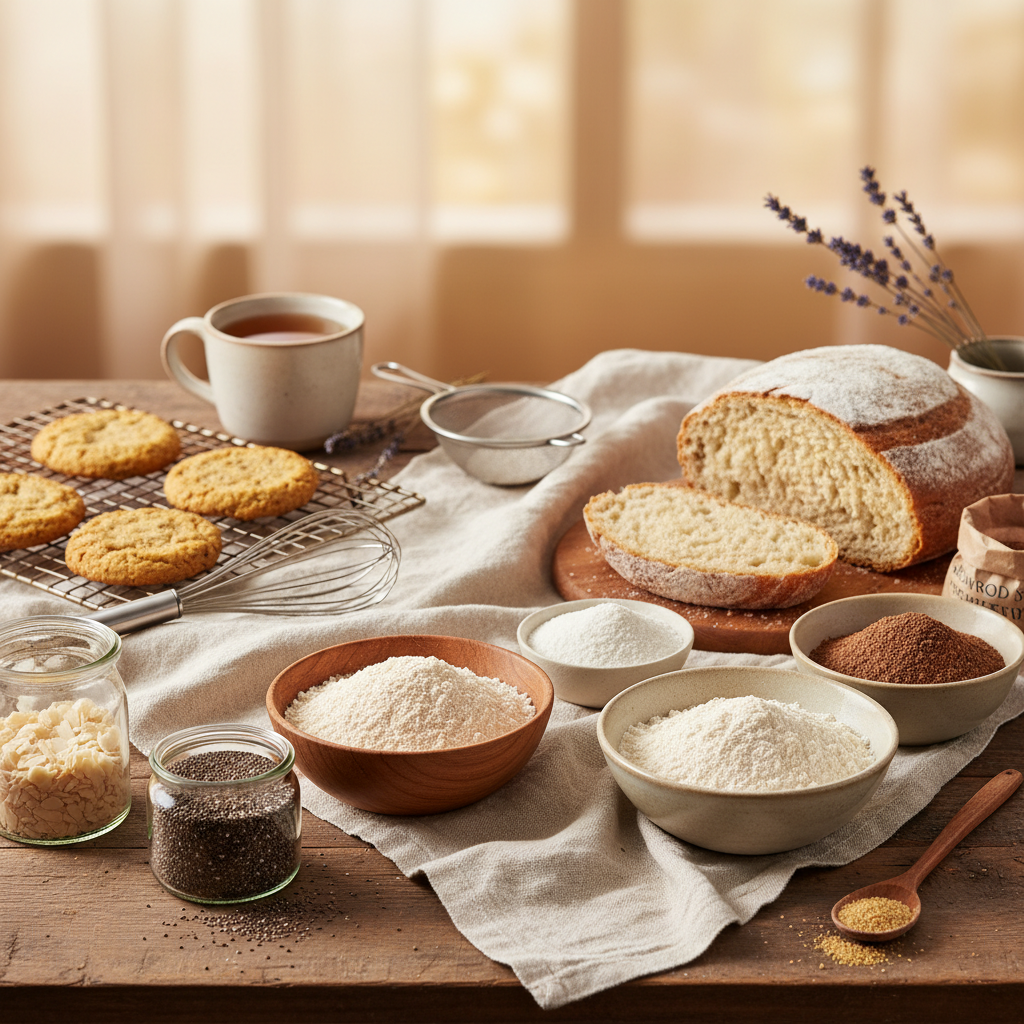
Best grains to mill into gluten-free flour at home
Not all grains mill equally well in a food processor. Here's what works best and what to expect from each.
| Grain | Difficulty to mill | Flavor profile | Best used for |
|---|---|---|---|
| White rice | Easy | Neutral, mild | All-purpose blends, cakes, cookies |
| Brown rice | Moderate | Nutty, slightly sweet | Bread, muffins, hearty baked goods |
| Millet | Easy | Mild, slightly sweet | Bread, pancakes |
| Sorghum | Moderate | Mild, slightly sweet | All-purpose blends, bread |
| Buckwheat groats | Moderate | Earthy, robust | Pancakes, hearty breads, pasta |
| Oats (certified GF) | Easy | Mild, oaty | Cookies, muffins, quick breads |
| Amaranth | Easy | Earthy, grassy | Added to blends for protein and nutrition |
For a versatile homemade all-purpose blend, we like a ratio of 2 parts white rice flour, 2/3 part potato starch, and 1/3 part tapioca starch. You can learn more about how different flours work together in our guide to substituting all-purpose flour in gluten-free baking.
Food processor vs. grain mill vs. high-speed blender for making flour
A food processor is the most versatile option, but it's not the only way to mill flour at home. Here's how the three main options compare.
| Feature | Food processor | Dedicated grain mill | High-speed blender |
|---|---|---|---|
| Flour fineness | Good (with sifting) | Excellent | Very good |
| Versatility | High — chops, slices, mills | Low — flour only | High — smoothies, soups, flour |
| Batch size | 2-4 cups | Continuous feed | 1-2 cups |
| Price | $100-$400 | $150-$500+ | $200-$500 |
| Noise level | Moderate | Loud | Very loud |
| Best for | Occasional to regular milling | Frequent, high-volume milling | Small batches, multi-use |
If you're milling flour a few times a month, a food processor gives you the best balance of performance and versatility. If you're milling multiple pounds per week, a dedicated grain mill becomes worth the investment. High-speed blenders work well for small batches but can overheat with larger quantities.
Avoiding cross-contamination when milling gluten-free flour
This is critical for anyone with celiac disease or serious gluten sensitivity. Even trace amounts of gluten can cause a reaction, and flour dust is incredibly difficult to fully clean out of equipment.
The safest approach is to dedicate your food processor exclusively to gluten-free use. If that's not possible, disassemble the processor completely after any contact with gluten-containing foods — remove the blade, gasket, lid, and bowl — and wash everything thoroughly with hot soapy water. Pay special attention to the center shaft and any crevices where flour can hide.
We also recommend processing a small batch of rice through the machine and discarding it as an extra precaution. For more on building a safe gluten-free kitchen, check out our essential gluten-free baking equipment list.
Tips for getting the finest flour from your food processor
Even with a great processor, technique makes a big difference in flour quality. Here are the tips that have made the biggest impact for us.
- Toast grains lightly before milling. A quick 5-minute toast in a dry skillet removes surface moisture and makes grains easier to grind. It also adds a subtle depth of flavor.
- Don't skip the sifting step. We cannot stress this enough. Unsifted homemade flour will give you gritty textures in cakes and cookies.
- Let the motor rest. If your processor feels hot after 2 to 3 minutes of continuous running, stop and let it cool for a few minutes. Pushing through will shorten the motor's lifespan.
- Store flour in the freezer for freshness. Freshly milled whole-grain flour contains natural oils that can go rancid. The freezer extends shelf life to 3 to 6 months.
- Label everything. When you're milling multiple types of flour, label your containers with the grain type and milling date. Trust us — brown rice flour and sorghum flour look nearly identical once milled.
Frequently asked questions
Can you make gluten-free flour in a regular food processor?
Yes, a regular food processor with at least 600 watts of motor power can mill most gluten-free grains into usable flour. You'll need to process in small batches and sift the flour afterward to remove coarser particles. It won't be quite as fine as commercially milled flour, but with proper technique it works well for most baking applications.
What is the best grain to mill at home for gluten-free baking?
White rice is the easiest and most versatile grain to mill at home. It produces a neutral-flavored flour that works in almost any recipe. For a more nutritious option, brown rice and sorghum are excellent choices that add flavor and protein to your blends.
Is it cheaper to make your own gluten-free flour?
Significantly cheaper. Buying whole grains in bulk typically costs $1 to $3 per pound, while pre-made gluten-free flour blends range from $6 to $10 per pound. If you bake regularly, a food processor can pay for itself within a few months of DIY flour milling.
How fine can a food processor grind flour?
A food processor produces flour that's slightly coarser than commercial flour, but sifting and re-processing brings it close. For recipes where ultra-fine flour matters — like delicate cakes — you may want to sift twice. For bread, muffins, and cookies, single-sifted food processor flour works perfectly. If you're troubleshooting texture issues, our gluten-free bread texture guide can help.
Do you need a special blade to mill flour in a food processor?
No. The standard stainless steel S-blade that comes with virtually every food processor is what you want for flour milling. Dough blades and slicing discs are not suitable. Just make sure the S-blade is sharp and in good condition — a dull blade will struggle with hard grains and produce uneven results.

Written by
Co-founder, BakingSubs
Co-founder of BakingSubs, where he turns the science of ingredient substitutions into tested, reliable guidance for home bakers.
Related Posts
Bake with Confidence
See all
Confident Gluten-Free Baker Toolkit
The science-based system that replaces gluten's seven invisible jobs so your baking turns out soft, fluffy, and foolproof — every time.

Gluten-Free Recipe Vault
Instant access to our complete library of proven gluten-free recipes — no waiting, no guesswork, just results that work tonight.

Fix Your Gluten-Free Bread
Learn the 3-step formula to make bread rise and stay soft, discover why your loaves collapse, and get a tested sandwich bread recipe that actually works.