

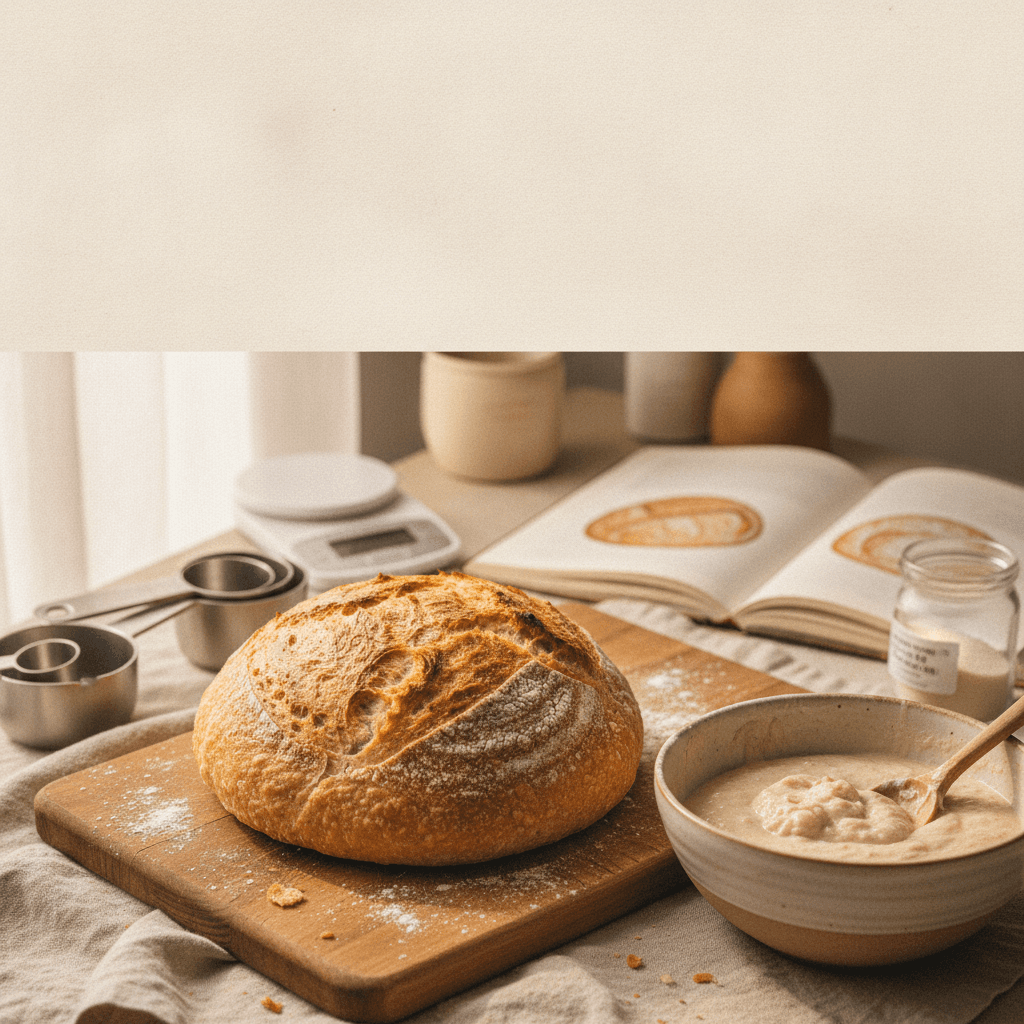
Knowing when your sourdough is done proofing is the single biggest variable between a loaf with an open, airy crumb and a dense brick — or a flat, over-fermented pancake. Here are six reliable tests you can use right now, what each one actually tells you, and why the "poke test" alone is not enough.
Key takeaways
The poke test is useful but unreliable on its own — combine it with at least one volume-based check for accuracy.
Bulk fermentation and final proof require different indicators; conflating them is the most common timing mistake.
Dough temperature matters more than clock time. A 4-hour bulk at 78°F (25.5°C) can equal a 7-hour bulk at 68°F (20°C).
Under-proofed sourdough is far more common than over-proofed, especially for bakers who follow recipe timelines written for warmer kitchens.
Gluten-free sourdough proofs faster and shows different visual cues than wheat-based dough — the poke test barely works without gluten's elasticity.
A $12 instant-read thermometer aimed at your dough can replace guesswork about ambient temperature.
Why clock time is the worst proofing indicator
Most sourdough guides say something like "bulk ferment 4–6 hours." That range exists because fermentation speed depends on variables no recipe can control: your starter's strength, the flour's enzyme activity, your kitchen temperature, and how much salt you used. A baker named Rosa in Phoenix reported her summer bulk taking 3 hours flat, while the same formula took over 8 hours in her friend's 62°F basement kitchen in Minnesota. Same starter, same flour, wildly different timelines.
The fix is to watch the dough, not the clock. Every test below gives you a physical signal that fermentation has reached the right stage, regardless of how long it took to get there.
Test 1: the volume increase (most reliable for bulk fermentation)
During bulk fermentation, you want the dough to increase in volume by roughly 50–75% for most sourdough formulas. Some high-hydration or enriched doughs may go a bit further, but 50–75% is the safe zone for a standard country loaf.
The easiest way to track this is to use a straight-sided, clear container with a rubber band or piece of tape marking the starting level. When the dough reaches 50% above that mark, you are in the window. At 75%, you are at the upper edge and should shape promptly.
Going beyond 75–80% during bulk is where trouble starts. The dough may still look puffy and alive, but the gluten network is weakening, and you will lose oven spring. Under 50%, the crumb will be tight and the flavor underdeveloped.
Most popular sourdough creators online push for a full doubling during bulk. I'd argue against it. For most home bakers using moderate-strength starters, a full double during bulk means the dough is already over-fermented before it hits the banneton. The 50–75% range is more forgiving and produces a better crumb for the majority of home ovens.
How this changes for gluten-free sourdough
If you are working with brown rice flour, buckwheat flour, or other gluten-free blends, volume increase is still your best friend — but the target is different. Gluten-free doughs typically reach their peak at a 30–50% increase because there is no gluten network to trap large amounts of gas. Push past that and the batter-like dough collapses rather than holding structure. If your gluten-free loaves keep coming out with poor rise, over-proofing during bulk is one of the first things to rule out.
Test 2: the poke test (useful for final proof, not bulk)
Press a lightly floured finger about half an inch into the dough. What happens next tells you where you are:
Dough response | What it means | Action |
|---|---|---|
Springs back immediately and fully | Under-proofed — gluten is still tight | Continue proofing |
Springs back slowly, leaving a slight indent | Properly proofed — gas and gluten in balance | Bake now (or refrigerate) |
Does not spring back at all | Over-proofed — gluten is degraded | Reshape and proof again (short proof), or bake immediately and accept a denser crumb |
The poke test works best on shaped dough during final proof. During bulk, the dough is often too slack (especially at high hydration) to give a clear reading. That is why the volume test above is more reliable for bulk.
One caveat: the poke test is nearly useless on gluten-free doughs. Without gluten's elastic snap-back, even a perfectly proofed gluten-free loaf will leave an indent. For gluten-free bakers, rely on volume increase and the jiggle test below instead. If your gluten-free bread tends to be gummy in the center, it may actually be under-proofed rather than over-baked — a common misdiagnosis.
Test 3: the jiggle test
Give your banneton or proofing container a gentle side-to-side shake. Properly proofed dough jiggles like set gelatin — it moves as a unified mass with a slight wobble. Under-proofed dough feels stiff and dense when you shake it. Over-proofed dough jiggles loosely, almost like liquid, and may visibly deflate at the edges.
This test is quick, non-invasive (you do not have to touch the dough surface), and works well for both wheat and gluten-free sourdough. It is especially handy when you have a cold-retarded loaf straight from the fridge and do not want to wait for it to warm up before poking it.
Test 4: the dome and edge check
Look at the top of your dough in its proofing vessel from the side. A properly proofed loaf will have a gently domed top that sits slightly above the rim of the banneton. The edges where the dough meets the basket will look smooth and slightly rounded.
If the dome is still sharply peaked and the dough has not relaxed outward, it needs more time. If the dome is flat or slightly concave, and the edges look like they are pulling away from the basket walls, you have likely gone too far.
For bakers who cold-retard overnight in the refrigerator, check the dome before you went to bed and again in the morning. If it has not changed much, your fridge may be cold enough (around 36–38°F / 2–3°C) that fermentation has essentially paused, and you can bake directly from cold. If it has risen noticeably and the dome is flat, your fridge may be running warmer than you think — a $12 fridge thermometer solves this permanently.
Test 5: the float test (for your starter, not the dough)
This one is technically a pre-proofing test, but it belongs here because using an under-active starter is the number one reason sourdough under-proofs. Drop a small spoonful of your starter into a glass of room-temperature water. If it floats, the starter has enough gas production to leaven your dough. If it sinks, feed it again and wait.
The float test is not perfect. Very wet, high-hydration starters (above 125% hydration) sometimes sink even when active because they are too thin to trap enough gas to float. For those starters, look for visible bubbles on the surface and a clearly domed top in the jar instead.
If you are using active dry yeast alongside a sourdough starter for a hybrid approach, the float test still applies to the starter portion — but the yeast will pick up slack if the starter is sluggish, so proofing times will be shorter.
Test 6: aroma and surface bubbles
Your nose is a surprisingly good fermentation gauge. Properly proofed sourdough smells mildly tangy and yeasty — like yogurt mixed with fresh bread. If it smells sharply acidic, almost like nail polish remover (that is ethyl acetate from acetic acid bacteria), fermentation has gone too long or too warm.
Surface bubbles are another visual cue during bulk. Small, scattered bubbles across the top of the dough indicate active fermentation. Large, irregular bubbles that pop and leave craters suggest the dough is past its peak.
During final proof, you will see fewer surface bubbles because the dough has been shaped and the surface tension is higher. That is normal. Focus on the poke test, jiggle test, and dome check for final proof instead.
How temperature changes everything
If you take away one thing from this post, let it be this: measure your dough temperature. An instant-read thermometer inserted into the center of your dough after mixing tells you the desired dough temperature (DDT), which is the single best predictor of how long fermentation will take.
Most sourdough formulas are written for a DDT around 75–78°F (24–25.5°C). At that range, a standard bulk fermentation takes roughly 4–5 hours with a moderately active starter. But here is how that shifts:
Dough temperature | Approximate bulk time | Notes |
|---|---|---|
65°F (18°C) | 8–12 hours | Very slow; good flavor development but easy to under-proof if you get impatient |
70°F (21°C) | 6–8 hours | Moderate pace; common in air-conditioned kitchens |
75°F (24°C) | 4–5 hours | The "standard" most recipes assume |
80°F (27°C) | 3–4 hours | Fast; risk of over-proofing if you walk away |
85°F (29°C) | 2–3 hours | Very fast; acetic acid builds quickly, sharp sour flavor |
These times are approximate and vary with starter strength, flour type, and hydration. The point is not to memorize them but to understand why your 4-hour recipe might need 7 hours in your kitchen — or only 3.
A baker named Derek in Portland started logging his dough temperatures and bulk times in a notebook. After 15 bakes, he could predict within 30 minutes when his dough would hit the 50–75% volume mark. No fancy equipment, just a thermometer and a pencil.
What to do if you have over-proofed
It happens. You got busy, forgot about the dough, and now it is a bubbly, slack mess. Here are your options:
Mild over-proof (dough is slack but still has some structure): Shape it gently, give it a very short final proof (30–45 minutes at room temperature or skip final proof entirely), and bake. You will lose some oven spring, but the bread will still be edible and flavorful.
Severe over-proof (dough smells like acetone, collapses when touched): You can try degassing it, reshaping, and giving it a full new final proof. The crumb will be tighter and the flavor more acidic than intended, but it is better than throwing away flour. Some bakers repurpose severely over-proofed dough as pizza dough or flatbread, where a tight crumb and tangy flavor are actually desirable.
If you are baking with gluten-free flours, over-proofed dough is harder to rescue because there is no gluten network to reshape. Your best bet is to bake it immediately in a loaf pan and accept a denser result.
What to do if you have under-proofed
Under-proofing is more forgiving than over-proofing because you can simply give the dough more time. If you have already shaped and realize the dough is under-proofed, leave it in the banneton longer. If you have already scored and are about to load the oven, you can still bake — but expect a tighter crumb, less open holes, and possibly a "blowout" where the bread tears along the side or bottom because the interior pressure has nowhere to go through the score.
Consistent under-proofing across multiple bakes usually points to one of three root causes: a weak starter that needs more regular feeding, a kitchen that is colder than you think, or a flour with lower enzyme activity than the recipe assumed. If you are using bread flour with a protein content above 13%, the dough may feel "ready" structurally (tight and strong) while actually needing more fermentation time for flavor and gas development.
Cold retard: proofing in the fridge overnight
Many bakers do their final proof in the refrigerator for 8–16 hours. This slows fermentation dramatically, develops more complex sour flavors, and lets you bake on your own schedule. But it introduces a new question: how do you know when a cold-retarded loaf is done?
The answer is that most of the proofing should happen before the dough goes into the fridge. Shape your dough, let it proof at room temperature for 30–60 minutes (until you see the first signs of rise and the poke test shows slow spring-back), then refrigerate. The fridge slows things down but does not stop them entirely, so the dough continues to develop slowly overnight.
In the morning, you can bake straight from the fridge — cold dough actually scores better because the surface is firm. If your loaf looks like it barely moved overnight, your fridge is doing its job. If it looks puffy and the dome is flat, either your fridge is too warm or you let it proof too long at room temperature before refrigerating.
Proofing sourdough with alternative flours
If you are working with low-carb flour alternatives or high-fiber flours, proofing behaves differently. Almond flour and coconut flour do not ferment in the same way wheat does because their starches and sugars are different. A sourdough culture can still produce gas in these doughs, but the rise will be modest and the visual cues are subtler.
For gluten-free sourdough specifically, the jiggle test and volume increase are your most reliable indicators. The poke test and dome check are less useful because the dough structure is fundamentally different without gluten. Expect a 20–40% volume increase rather than 50–75%, and proof for shorter periods — gluten-free doughs tend to hit their peak faster and collapse more abruptly once they pass it.
A simple proofing checklist you can tape to your fridge
Rather than memorizing everything above, here is a quick-reference checklist:
Record your dough temperature after mixing.
Mark the starting dough level on your container.
Check volume every hour. Target 50–75% increase for bulk (30–50% for gluten-free).
After shaping, use the poke test every 30 minutes during final proof.
Confirm with the jiggle test and dome check before scoring.
If cold retarding, proof 30–60 minutes at room temperature first, then refrigerate.
That is it. Six steps, no guesswork. The more bakes you log, the faster you will recognize what "done" looks and feels like in your specific kitchen with your specific starter.
Frequently asked questions
How long does sourdough need to proof at room temperature?
It depends entirely on your dough temperature and starter activity, but a typical final proof at 75°F (24°C) takes 2–4 hours. Use the poke test and volume increase rather than relying on a timer. If your kitchen is below 70°F, expect final proof to take 4–6 hours or longer.
Can you over-proof sourdough in the fridge?
Yes, though it takes much longer than at room temperature. If you leave shaped dough in the fridge for more than 24–36 hours, or if your fridge runs above 40°F (4°C), the dough can over-ferment. Signs include a flat or concave top, a sharp acetone-like smell, and dough that collapses when turned out of the banneton.
Does the poke test work for gluten-free sourdough?
Not reliably. Without gluten's elasticity, gluten-free dough will leave an indent regardless of proofing stage. For gluten-free sourdough, rely on volume increase (30–50%), the jiggle test, and surface bubble observation instead.
What does under-proofed sourdough look like after baking?
Under-proofed sourdough typically has a dense, gummy crumb with few or no large holes. The crust may tear or "blow out" along the sides or bottom where pressure escaped. The flavor will be less developed and less sour than a properly proofed loaf. If this sounds familiar, try extending your bulk fermentation next time and checking your dough temperature to make sure it is in the 75–78°F range.
Is it better to slightly under-proof or over-proof sourdough?
Slightly under-proofing is generally more forgiving. An under-proofed loaf will have a tighter crumb and less oven spring than ideal, but it will still hold its shape and taste like bread. An over-proofed loaf risks collapsing entirely, producing a flat, dense result with an overly sour or alcoholic flavor that is harder to fix. When in doubt, err on the side of less fermentation — especially if you are baking sourdough to sell, where consistency matters.

Written by
Co-founder, BakingSubs
Co-founder of BakingSubs, where he turns the science of ingredient substitutions into tested, reliable guidance for home bakers.
Related Posts
Collagen Powder in Baking as Flour Supplement: Why It Mostly Fails (and 3 Ways to Make It Work)
Lupin Flour as a Low Carb Flour Substitute: 5 Things That Change (and 3 That Can Go Wrong)
Bran as Flour Supplement for High Fiber Baking: 5 Types Compared (and How Much You Can Actually Add)
Bake with Confidence
See all
Confident Gluten-Free Baker Toolkit
The science-based system that replaces gluten's seven invisible jobs so your baking turns out soft, fluffy, and foolproof — every time.

Gluten-Free Recipe Vault
Instant access to our complete library of proven gluten-free recipes — no waiting, no guesswork, just results that work tonight.

Fix Your Gluten-Free Bread
Learn the 3-step formula to make bread rise and stay soft, discover why your loaves collapse, and get a tested sandwich bread recipe that actually works.