How to batch bake efficiently for big orders: a complete system for scaling up without burning out
Learn how to batch bake efficiently for big orders with a proven system for scheduling, scaling recipes, maximizing oven time, and keeping gluten-free quality high.
Malik
When you're baking for a crowd — whether it's a holiday cookie exchange, a fundraiser, or a stack of orders that all landed on the same weekend — winging it doesn't work. Here's a complete system for batch baking efficiently so you can handle big orders without sacrificing quality or your sanity.
Key takeaways
- Batch baking efficiently starts with grouping recipes by shared ingredients, oven temperatures, and technique — not by product type.
- A written production schedule with time blocks prevents bottlenecks and keeps you moving through multiple recipes without downtime.
- Prepping all dry mixes and measured ingredients the day before ("mise en place at scale") can cut your active baking day by 30-40%.
- Gluten-free batters and doughs are especially time-sensitive, so understanding how your leaveners and binders behave in bulk is critical.
- Cooling, packaging, and labeling need their own dedicated time blocks — they always take longer than you think.
- Investing in duplicate pans and sheet trays is the single fastest way to increase throughput in a home kitchen.
Why batch baking is different from just "baking more"
Batch baking isn't about doubling every recipe and hoping for the best. It's a production mindset: you plan your workflow so that while one thing bakes, you're mixing the next, and while that cools, you're already packaging something else. The goal is to eliminate dead time.
This matters even more in gluten-free baking. Many gluten-free batters rely on baking powder or baking soda that start reacting the moment they hit liquid. If you mix a triple batch and then wait 20 minutes to get it into pans, your rise is already compromised. Understanding how your leaveners affect rise at scale is what separates a smooth batch day from a frustrating one.
Someone Just Asked Your Price — and You Froze?
Going from "I made this for you" to "that'll be $45" is a big leap. Guess too low and you're baking for free. Guess too high and you lose the order.
Most home bakers undercharge by 40–60% because they forget overhead, packaging, and their own time. The math is harder than it looks — and doing it in your head mid-text message is a recipe for resentment.
The free Home Bakery Pricing Calculator does the math for you. Plug in ingredients, batch time, and overhead — see exactly what it costs to make and what to charge for a real profit.
Get the free Home Bakery Pricing Calculator
Stop guessing your prices. Plug in ingredients, time, and overhead — see exactly what to charge.
Step 1: Group your recipes strategically
The first thing to do when facing a big order is sort your recipes into logical groups. Don't just go alphabetically or by what was ordered first. Instead, group by these three factors:
Shared oven temperature
If three recipes all bake at 350 degrees F, those should run back-to-back so you're not constantly adjusting and waiting for your oven to recalibrate. Every temperature change costs you 10-15 minutes.
Shared base ingredients
If you're making muffins and a quick bread that both use the same gluten-free flour blend, mix the dry ingredients for both at the same time. One mess, one cleanup, two products ready to go.
Hands-on vs. hands-off time
Pair recipes that need a lot of active mixing or shaping with recipes that have long, unattended bake times. While your bread is in the oven for 50 minutes, you can be scooping cookie dough or assembling cake layers.
If you're working toward handling orders like this regularly, the free Home Bakery Pro masterclass walks you through building a sustainable system for consistent orders — worth watching even if you're just starting to bake at this scale.
Step 2: Build a production schedule with time blocks
A production schedule is the backbone of efficient batch baking. Write it out — on paper, on a whiteboard, in a spreadsheet, whatever works. Here's what a basic time-blocked schedule looks like for a Saturday bake day:
| Time block | Task | Notes |
|---|---|---|
| Friday evening | Mise en place: measure all dry mixes, portion butter, prep pans | Label every container clearly |
| 7:00 - 7:30 AM | Preheat oven, mix first batter (longest bake item) | Get the slowest item in first |
| 7:30 - 8:15 AM | First item bakes; mix second batter | Use this overlap every cycle |
| 8:15 - 9:00 AM | Pull first item, load second; start third mix | Rotate pans if needed |
| 9:00 - 10:30 AM | Continue bake rotation | Stay 1 mix ahead of the oven |
| 10:30 - 11:30 AM | Cooling, cleanup between batches | Never rush cooling for GF bakes |
| 11:30 AM - 12:30 PM | Packaging, labeling, storage | Allocate more time than you think |
The key principle: always stay one mix ahead of the oven. When something goes in to bake, you should already be working on what's next.
Step 3: Scale recipes correctly (and know when not to)
Not every recipe scales linearly. Doubling a cookie recipe usually works fine. Tripling a delicate gluten-free cake? That's where things get risky. Here's a general guideline:
| Recipe type | Safe to scale | Watch out for |
|---|---|---|
| Drop cookies | 2x - 3x | Overmixing large batches |
| Bar cookies / brownies | 2x - 4x | Pan size adjustments, bake time changes |
| Muffins / cupcakes | 2x - 3x | Leavener timing — mix and pan immediately |
| Quick breads | 2x max | Center may underbake in larger pans |
| Layer cakes | Make separate batches | Emulsion can break in large volumes |
| Yeast breads | 2x max | Kneading capacity, proofing consistency |
For gluten-free recipes specifically, binders like xanthan gum and guar gum don't always scale perfectly. When doubling, use the full double amount. When tripling, try using about 2.75x instead of 3x — too much gum makes things gummy and dense.
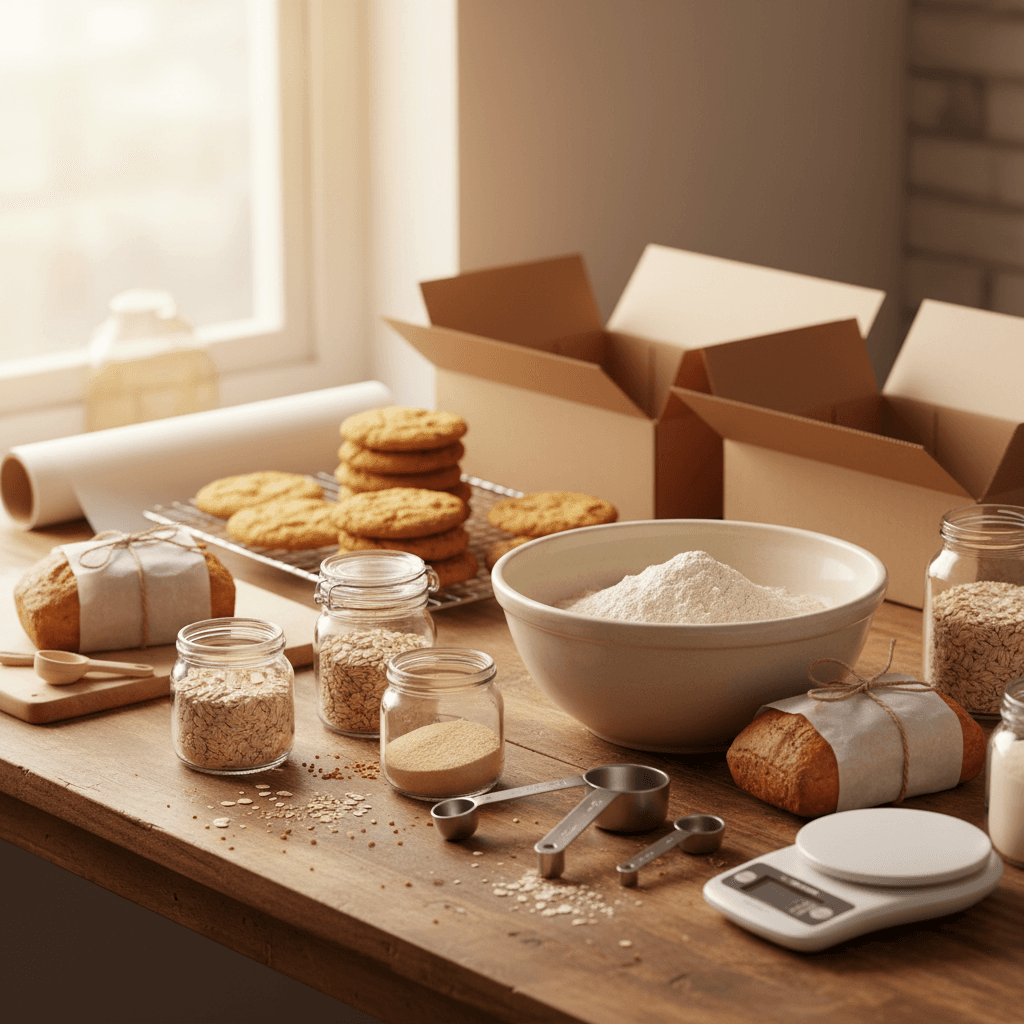
Step 4: Prep your mise en place the day before
This is the single biggest time-saver in batch baking, and it's the step most people skip. The night before your big bake day, do everything that doesn't involve combining wet and dry ingredients:
- Measure and bag all dry mixes. If you're making four different products, you should have four labeled bags or containers of pre-measured dry ingredients ready to dump into a bowl.
- Portion fats. Cut butter, measure oil, weigh out coconut oil — whatever your recipes call for.
- Prep pans. Grease, line with parchment, or spray every pan you'll use. Stack them ready to go.
- Crack and measure eggs (if using the same day — store covered in the fridge). If you're baking vegan, prepare your egg substitutes so they're ready to grab.
- Toast nuts, zest citrus, chop chocolate. Any add-ins that can be prepped ahead should be.
This prep work usually takes 45-60 minutes the night before, but it can save you 2-3 hours of fumbling around on bake day.
Step 5: Maximize your oven with duplicate pans
The oven is always the bottleneck in a home kitchen. You can mix faster, but you can't bake faster. The solution is to fill every rack every time the oven is on.
If you're making three dozen muffins, having two muffin tins means you bake 24 at once instead of 12. That's one oven cycle instead of three. The same logic applies to cookie sheets — having three or four means you can rotate them through the oven continuously while scooping dough onto cooled sheets.
Rotate pans halfway through baking (swap top and bottom racks, turn 180 degrees) for even browning. This is especially important with gluten-free bakes, which can be more sensitive to hot spots.
Step 6: Handle cooling and packaging like a pro
Cooling is not optional, and it's not something you can rush. Gluten-free baked goods are particularly fragile when warm — they firm up as they cool, and cutting or packaging too early leads to crumbling, condensation, and soggy textures.
Set up a dedicated cooling station with wire racks. If you're short on counter space, use a clean table or even a cleared-off desk. You need enough room that nothing is stacked or touching while it cools.
Packaging timeline for common items
- Cookies: Cool completely (at least 30 minutes), then package. They can be stacked with parchment between layers.
- Muffins and cupcakes: Cool 10 minutes in the pan, then transfer to a rack. Package once fully cool — at least 45 minutes.
- Bread and cakes: These need the longest cooling time. A loaf of gluten-free bread should cool for at least 1-2 hours before slicing. Cakes should cool completely before frosting or wrapping.
If you're dealing with quick staling (a common gluten-free problem), wrap items tightly in plastic wrap once cool and store at room temperature. Don't refrigerate unless the recipe specifically requires it — refrigeration accelerates staling in most baked goods.
Step 7: Clean as you go (seriously)
This isn't glamorous advice, but it's the difference between finishing your bake day energized and finishing it buried under a mountain of dishes. Follow the "one in, one out" rule: when something goes into the oven, wash the bowl and utensils you just used. By the time you're pulling the last item from the oven, your kitchen should be mostly clean already.
Keep a bus tub or large basin of hot soapy water on the counter. Drop dirty utensils in as you go. Wipe down your work surface between each recipe. This prevents cross-contamination between flavors and keeps your workspace functional.
Common batch baking mistakes to avoid
Even experienced bakers fall into these traps when scaling up:
- Mixing everything at once and letting batters sit. Gluten-free batters with chemical leaveners need to get into the oven quickly. Mix, pan, bake — in that order, every time.
- Skipping the scale. Measuring by volume is fine for a single batch, but errors compound when you're multiplying. Weigh your flour and other dry ingredients for consistency.
- Not accounting for oven recovery time. Every time you open the oven door, the temperature drops. Give it 5 minutes to recover before starting your timer.
- Trying new recipes on a big bake day. Batch day is for proven recipes only. Test new ones on a small scale first, then add them to your rotation. If you're still building your recipe foundation, our complete beginner's guide to gluten-free baking is a good place to start.
- Forgetting to label. When you have six different items cooling at once, they can look surprisingly similar. Label everything as it comes out of the oven.
Frequently asked questions
Can you double or triple gluten-free baking recipes?
You can safely double most gluten-free recipes, including cookies, muffins, and bar cookies. Tripling works for simpler recipes like drop cookies and brownies, but delicate items like layer cakes should be made in separate batches. When scaling, be cautious with binders — reduce xanthan or guar gum slightly (about 2.75x instead of 3x) to avoid gummy textures.
How far in advance can you batch bake for a large order?
Most cookies and bars can be baked 3-5 days ahead if stored in airtight containers at room temperature. Muffins and quick breads are best within 2-3 days. Cakes can be baked, wrapped tightly, and frozen up to 2 weeks ahead, then thawed and frosted the day before delivery. Gluten-free baked goods tend to stale faster, so freezing early and thawing close to the delivery date often gives better results than baking days ahead and storing at room temperature.
What equipment do you need for batch baking at home?
The most impactful investment is duplicate pans — multiple cookie sheets, muffin tins, and cake pans so you can keep the oven running continuously. Beyond that, a kitchen scale for accurate measuring, a stand mixer (or at least a powerful hand mixer), plenty of wire cooling racks, and a stack of parchment paper will make your bake day dramatically smoother.
How do you keep gluten-free baked goods fresh when batch baking?
Cool everything completely before packaging to avoid condensation. Wrap items tightly in plastic wrap or store in airtight containers at room temperature. For items baked more than a day ahead, freezing is usually better than refrigerating — the fridge accelerates staling in most baked goods. Learn more about preventing this in our guide on quick staling in gluten-free baking.
How do you prevent cross-contamination when batch baking multiple products?
Clean your work surface and utensils between each recipe, especially if you're baking for people with different allergens. Label every container of prepped ingredients and every finished product as it comes out of the oven. If you're baking both gluten-free and conventional items (which we don't recommend), always bake gluten-free first when the kitchen is cleanest.

Written by
Co-founder, BakingSubs
Co-founder of BakingSubs, where he turns the science of ingredient substitutions into tested, reliable guidance for home bakers.
Related Posts
Protein Powder as Flour Replacement in Baking: Why It Fails (and 5 Fixes That Actually Work)
Almond Flour vs Coconut Flour for Keto Baking: 5 Differences That Actually Change Your Results
Monk Fruit Sweetener for Baking: 5 Mistakes That Ruin Texture (and How to Fix Each One)
Bake with Confidence
See all
Confident Gluten-Free Baker Toolkit
The science-based system that replaces gluten's seven invisible jobs so your baking turns out soft, fluffy, and foolproof — every time.

Gluten-Free Recipe Vault
Instant access to our complete library of proven gluten-free recipes — no waiting, no guesswork, just results that work tonight.

Fix Your Gluten-Free Bread
Learn the 3-step formula to make bread rise and stay soft, discover why your loaves collapse, and get a tested sandwich bread recipe that actually works.