Home bakery food photography tips: how to take scroll-stopping photos that actually sell your baked goods
Learn home bakery food photography tips that turn browsers into buyers. Free lighting setups, phone camera techniques, and editing workflows for home bakers.
Malik
Great baked goods with mediocre photos will always lose to average baked goods with stunning photos. If you're running a home bakery, your phone camera is one of the most powerful sales tools you own — and learning to use it well costs nothing but a little practice.
Here's everything you need to know to take professional-looking food photos that convert browsers into paying customers.
Key takeaways
- Natural window light is the single biggest factor in food photography quality — no expensive lighting equipment required.
- Shooting during the "golden hours" (the first and last hour of daylight) or near a north-facing window gives you soft, even light that makes baked goods look irresistible.
- A consistent visual style across your social media and website builds brand recognition and trust, which directly translates to repeat orders.
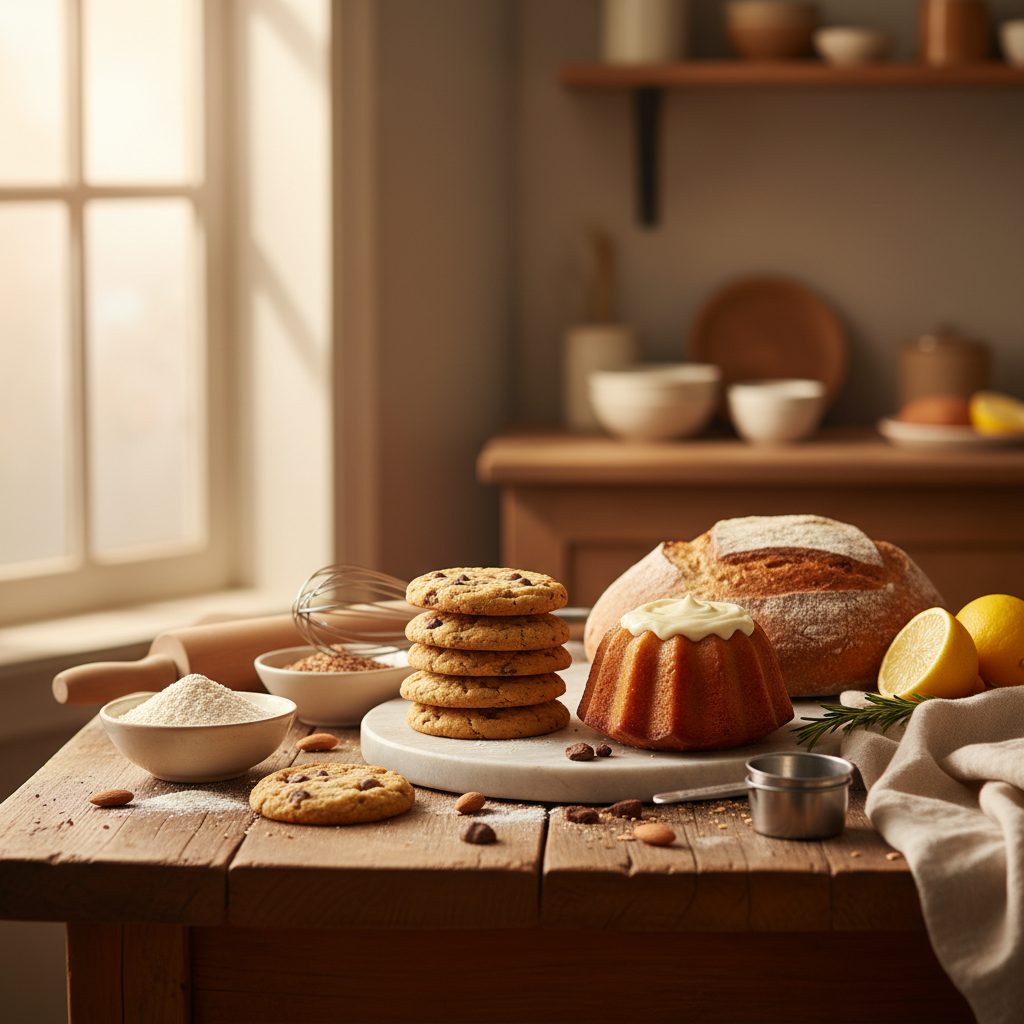
- Simple backgrounds (a wooden cutting board, parchment paper, a marble slab) outperform cluttered setups every time.
- Editing apps like Snapseed and Lightroom Mobile are free and can elevate a decent photo to a professional one in under 60 seconds.
- Batch-shooting your products during one well-lit session saves hours compared to trying to photograph each order individually.
Why food photography matters more than most home bakers think
Your photos are doing the selling before you ever talk to a customer. On Instagram, a potential buyer decides whether to keep scrolling or stop and look in roughly 1.3 seconds. On your website or order form, photos are the closest thing a customer has to tasting your product before they commit.
Home bakers who invest time in better photography consistently report 20-40% increases in order inquiries after upgrading their social media images. That's not a guess — we've heard it from dozens of bakers in the community. When you consider that better photos cost zero dollars and a bit of practice, the return is enormous.
If you're still building out your home bakery, our complete guide to starting a home bakery business covers the full picture, but photography is one of those skills that pays dividends from day one.
Want to build a more sustainable home bakery overall? Check out our free Home Bakery Pro masterclass on getting consistent orders and building a business that doesn't burn you out. It pairs perfectly with the photography skills you'll learn here.
How to set up natural lighting for home bakery photos
Natural light is the single most important element in food photography, and it's completely free. The best setup is a table positioned near a large window where indirect sunlight comes in from one side.
The ideal window light setup
Place your baked goods on a table about 2-3 feet from a window. You want the light coming from the side (not directly behind or in front of you). This creates gentle shadows that give your cookies, cakes, and breads dimension and texture. A north-facing window is ideal because it provides consistent, diffused light throughout the day without harsh direct sun.
If your window gets direct sunlight, hang a white bedsheet or tape a piece of parchment paper over the window to diffuse it. This costs essentially nothing and mimics a professional softbox.
What to do when natural light isn't available
If you're baking at night or your kitchen doesn't have good windows, a single daylight-balanced LED panel (5000-5500K color temperature) positioned to the side works well. You can find decent ones for $25-40. Avoid overhead kitchen lights — they cast unflattering downward shadows and often have a yellow tint that makes food look unappetizing.
| Lighting scenario | Quality | Cost | Best for |
|---|---|---|---|
| North-facing window, indirect light | Excellent | $0 | All baked goods |
| Any window with white sheet diffuser | Very good | $0-5 | Bright or sunny rooms |
| Daylight LED panel, side-positioned | Good | $25-40 | Evening/night baking |
| Overhead kitchen fluorescents | Poor | $0 | Nothing — avoid this |
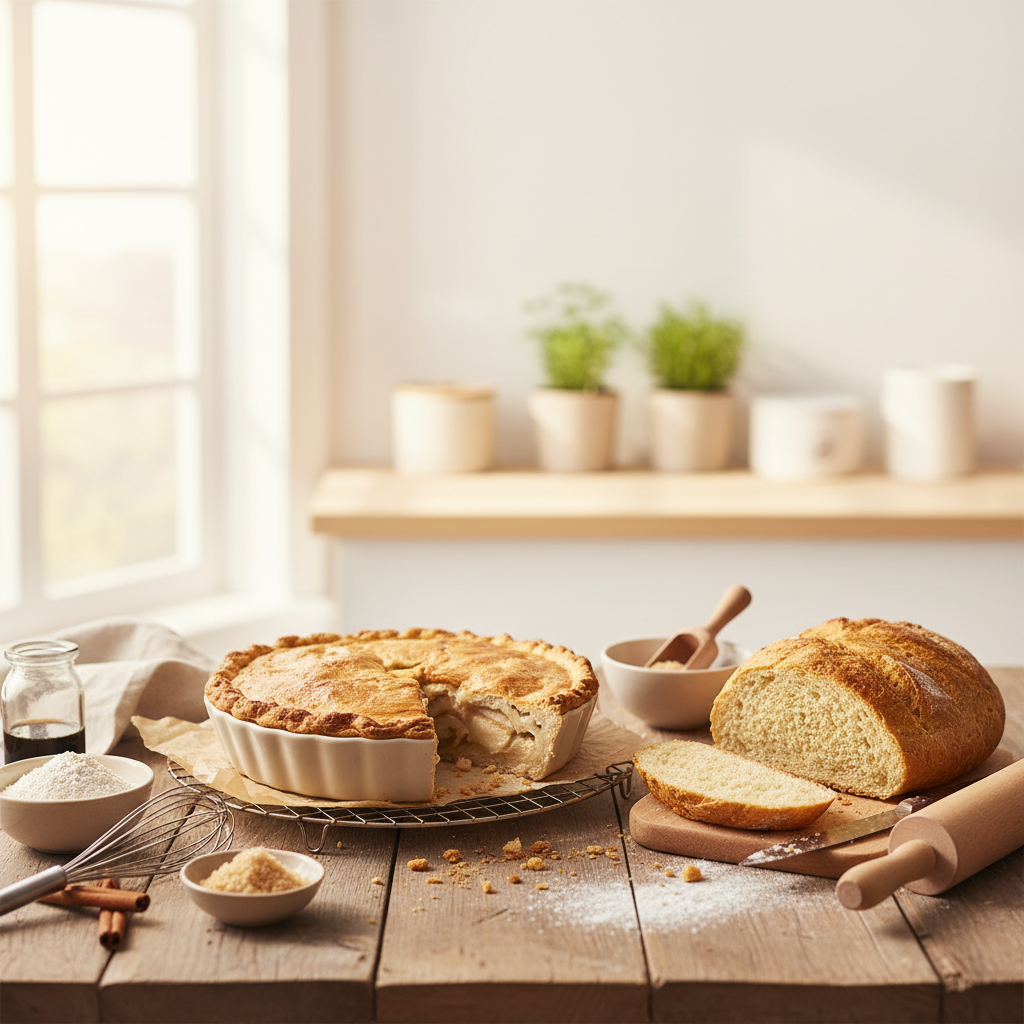
Best backgrounds and surfaces for photographing baked goods
Simple, neutral backgrounds let your baked goods be the star. You don't need to buy expensive photography backdrops — most home bakers already have great surfaces in their kitchen.
Surfaces that work well
- Wooden cutting boards or butcher blocks — warm, rustic feel that works beautifully with breads, cookies, and pies
- Parchment paper — clean, professional, and you already have it in your kitchen
- Marble or granite countertop — elegant and cool-toned, great for pastries and cakes
- Simple white plates or platters — classic and versatile for any product
- Dark slate or dark wood — creates dramatic contrast, especially with lighter-colored baked goods
Surfaces to avoid
- Busy patterned tablecloths or placemats
- Reflective stainless steel
- Cluttered countertops with visible appliances or clutter in the background
If you want a dedicated photography surface, a 2x3 foot piece of vinyl backdrop (available for $15-25 online) gives you a consistent look. Many home bakers keep two — one light, one dark — and switch based on the product.
Speaking of looking professional, your labels and branding should match the visual style of your photos. Consistency across photos, packaging, and labels builds the kind of trust that turns first-time buyers into regulars.
How to compose and style your home bakery photos
Composition is what separates a snapshot from a photo that makes someone stop scrolling and place an order. Here are the techniques that work best for baked goods.
The rule of thirds
Turn on the grid overlay in your phone's camera settings. Place your main subject at one of the intersecting points rather than dead center. This creates a more dynamic, visually interesting image that draws the eye naturally.
Shooting angles that sell
| Angle | Best for | Why it works |
|---|---|---|
| Overhead (flat lay) | Cookies, decorated cakes, pies, spreads of multiple items | Shows patterns, decorations, and full layouts |
| 45 degrees | Most baked goods — the versatile default | Mimics how we naturally look at food on a table |
| Straight on (eye level) | Layer cakes, stacked cookies, tall breads | Shows height, layers, and cross-sections |
Styling tips that make a real difference
- Show a slice or bite taken out. This lets customers see the interior texture — crumb structure in bread, layers in cake, gooey centers in cookies. Interior shots sell.
- Add 1-2 simple props, no more. A linen napkin, a few scattered ingredients (vanilla beans, chocolate chips, fresh berries), or a cup of coffee. Keep it minimal.
- Create depth. Place one item in sharp focus in the foreground and let background items blur naturally. Most phone cameras do this automatically in portrait mode.
- Photograph fresh. Baked goods look their best within the first 30-60 minutes out of the oven. Steam, shine, and texture are all at their peak.
If you're photographing products for your home bakery website, aim for at least 3 photos per product: one overhead, one at 45 degrees, and one detail/close-up shot showing texture.
Phone camera settings and techniques for better food photos
You do not need an expensive DSLR camera. Modern smartphones take incredible food photos when you know which settings to use.
Essential phone camera settings
- Turn off flash. Always. Built-in flash creates harsh, flat light that makes food look terrible.
- Lock focus and exposure. On most phones, tap and hold on your subject to lock focus. Then slide your finger up or down to adjust brightness. Slightly underexposing (making the image a touch darker) often looks better than overexposing.
- Use portrait mode selectively. It's great for single items where you want background blur, but it can create weird artifacts around irregular shapes like crumbly cookies or decorated cakes.
- Shoot in the highest resolution available. You can always crop down, but you can't add pixels back.
- Clean your lens. Seriously. A quick wipe with a soft cloth before shooting removes the flour-dusted fingerprints that create hazy, soft images.
The burst technique for action shots
Want to capture that perfect "cheese pull" moment with a fresh roll, or the crumble of a cookie being broken in half? Hold down the shutter button to shoot in burst mode, then pick the best frame. Action shots like these consistently get 2-3x more engagement on social media than static product shots.
How to edit food photos quickly without looking over-processed
Editing is where good photos become great, but the goal is enhancement — not transformation. Customers who show up expecting the product in your photo need to see the same thing in person.
The 60-second editing workflow
Using a free app like Snapseed or Lightroom Mobile, follow this order every time:
- Straighten and crop. Make sure horizons are level and remove any distracting elements at the edges.
- Increase brightness slightly (10-15%). Food should look bright and inviting.
- Bump up contrast a touch (5-10%). This adds definition without looking harsh.
- Increase warmth slightly (5-10%). A tiny warm shift makes baked goods look more appetizing. Don't overdo it — your chocolate cake shouldn't look orange.
- Sharpen slightly (15-25%). This brings out texture in crusts, crumbs, and toppings.
- Increase saturation minimally (5% max). A little goes a long way. Over-saturated food photos are the number one sign of amateur editing.
Save these adjustments as a preset in your editing app. Now you can apply the same look to every photo in seconds, which builds the visual consistency your brand needs.
How to build a consistent visual brand for your home bakery
Consistency is what separates home bakers who look professional from those who look like they're winging it. When every photo on your Instagram grid or website has a cohesive look, customers perceive higher quality — and they're willing to pay more for it.
Creating your visual style
- Pick 2-3 background surfaces and use them consistently.
- Choose a color palette that matches your branding. If your logo and packaging are warm and earthy, your photo backgrounds should complement that.
- Use the same editing preset on every photo.
- Develop a signature prop or styling element. Maybe it's always a sprig of rosemary, or your branded sticker visible in the corner, or a specific linen you use in every shot.
Batch shooting saves hours
Instead of photographing each order separately, set aside 1-2 hours on a day with good light to photograph multiple products. Bake a batch of your top sellers, set up your station, and shoot everything at once. Most successful home bakers we know shoot once a week or every two weeks and build up a library of images they can pull from for social media, their website, and order forms.
This approach also means you always have fresh content ready. No more scrambling to photograph a cake at 9 PM under kitchen lights before posting.
How to photograph specific baked goods for maximum appeal
Different products have different photography needs. Here's what works best for the most common home bakery items.
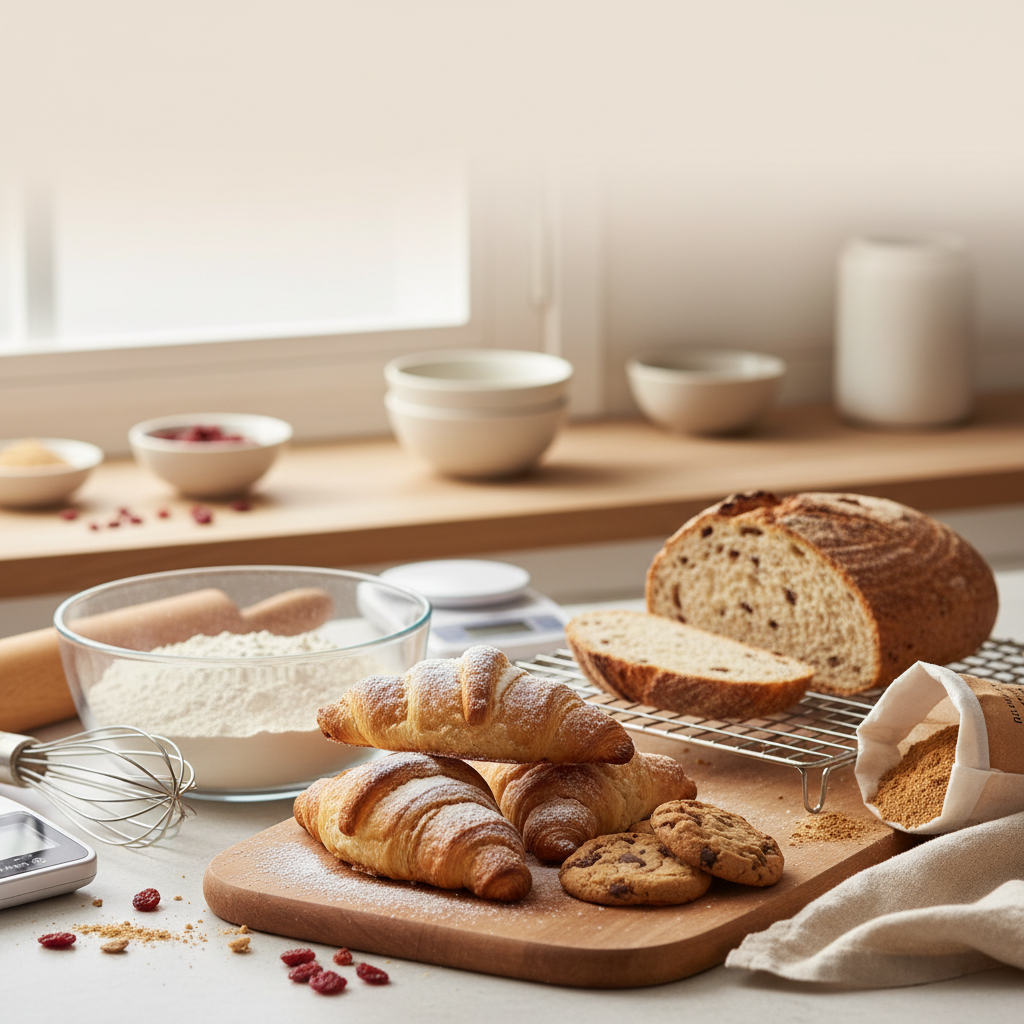
Cookies
Stack 2-3 cookies with one leaning against the stack. Break one in half to show the interior. Overhead flat lays of a full batch on a cooling rack or parchment paper also perform well. If you're selling cookies as a home business, these photos are your storefront — invest the time here.
Bread
Always show a cross-section. Customers want to see the crumb structure. Photograph the whole loaf first, then slice it and shoot the interior at a 45-degree angle with side lighting to emphasize texture. A bread knife and a few crumbs scattered on the cutting board add authenticity.
Cakes
Shoot the whole cake first, then cut a slice and pull it slightly away to show layers and filling. Side-on shots at eye level are essential for layer cakes. For decorated cakes, overhead shots show off the top design while 45-degree angles capture the overall shape.
Pastries and pies
Pies look best overhead or at a slight angle. Always show a slice removed so customers can see the filling. For pastries, get close enough to capture flaky layers and any glaze or topping detail.
Using your photos to actually drive orders
Taking great photos is only half the battle. You need to deploy them strategically across every customer touchpoint.
Where your best photos should live
- Your website or online order form — every product should have at least 2-3 photos. If you're using a website builder for your home bakery, make sure it displays images prominently.
- Instagram and Facebook — your primary marketing channels. Post consistently (3-5 times per week) with a mix of styled product shots, behind-the-scenes baking content, and customer order photos.
- Google Business Profile — add your best photos here. When someone searches for a home baker in your area, these images show up and heavily influence click-through rates.
- Printed materials — if you do farmers markets or local events, a small portfolio of printed photos on your table is a powerful sales tool. Check out our guide on the best items to sell at farmers markets for more on that strategy.
The before-and-after test
Here's a simple exercise: pull up your last 9 Instagram posts and look at them as a grid. Do they look cohesive? Would a stranger immediately understand what you sell and perceive it as high quality? If not, reshoot your top 3-5 products using the techniques in this post and replace those images. The difference in engagement will be immediate.
Better photos also support better pricing. When your products look premium, customers expect to pay premium prices — and they do so happily. Our guide on how to price gluten-free baked goods higher covers the psychology behind this in detail.
Common home bakery food photography mistakes to avoid
These are the errors we see most often, and they're all easy to fix.
- Using overhead kitchen lights as your main light source. This creates unflattering shadows under and around your products. Always use side light from a window or LED panel.
- Cluttered backgrounds. If there's a blender, a stack of mail, or a dirty dish visible in your photo, it undermines the professional image you're trying to build.
- Over-editing. Heavy filters, extreme saturation, and HDR effects make food look fake. Customers want to see what they're actually going to receive.
- Inconsistent style. Every photo looking different — different backgrounds, different lighting, different editing — makes your brand feel scattered and unprofessional.
- Only photographing finished products. Process shots (dough being shaped, batter being poured, items coming out of the oven) build connection and trust. Mix them in with your product shots.
- Waiting too long to photograph. Baked goods start losing their visual appeal quickly. Photograph within 30-60 minutes of baking whenever possible.
Frequently asked questions
What phone is best for home bakery food photography?
Any smartphone made in the last 3-4 years takes excellent food photos. iPhones (12 and newer) and Samsung Galaxy S series are popular choices, but the camera matters far less than your lighting and composition. Spend your money on your bakery equipment instead — your current phone is almost certainly good enough.
Do I need a professional camera for my home bakery?
No. The vast majority of successful home bakers use only their smartphones. A DSLR or mirrorless camera can produce marginally better results, but the learning curve is steep and the cost ($500-2,000+) is hard to justify when phone cameras are this good. Master phone photography first.
How often should I post food photos for my home bakery?
Aim for 3-5 posts per week on Instagram or Facebook. Consistency matters more than frequency — posting 3 high-quality photos per week beats 7 mediocre ones. Batch shooting makes this sustainable without eating into your baking time. Our guide on how to get customers for a home bakery covers social media strategy in more detail.
What free apps are best for editing home bakery food photos?
Snapseed (by Google) and Adobe Lightroom Mobile are the two best free options. Snapseed is simpler and great for quick edits. Lightroom Mobile offers more control and lets you save presets for a consistent look across all your photos. Both are available for iPhone and Android.
How do I photograph baked goods in packaging without it looking boring?
Photograph the product both in and out of packaging. For packaged shots, angle the package slightly and use the same side lighting you'd use for unpackaged products. Include one or two loose items next to the package so customers can see what's inside. Good packaging supplies with clear windows make this much easier since the product is visible through the packaging itself.

Written by
Co-founder, BakingSubs
Co-founder of BakingSubs, where he turns the science of ingredient substitutions into tested, reliable guidance for home bakers.
Related Posts
How Much Does Bakery Insurance Actually Cost? Real Numbers From 6 Policy Types
How to Manage Rush Orders as a Home Baker (Without Wrecking Your Week or Your Margins)
How to Ship Baked Goods That Arrive Fresh: 9 Operator-Tested Methods That Cut Damage Claims by 80%
Bake with Confidence
See all
Confident Gluten-Free Baker Toolkit
The science-based system that replaces gluten's seven invisible jobs so your baking turns out soft, fluffy, and foolproof — every time.

Gluten-Free Recipe Vault
Instant access to our complete library of proven gluten-free recipes — no waiting, no guesswork, just results that work tonight.

Fix Your Gluten-Free Bread
Learn the 3-step formula to make bread rise and stay soft, discover why your loaves collapse, and get a tested sandwich bread recipe that actually works.