Nothing is more deflating than spending hours baking something beautiful only to have it arrive at its destination as a box of crumbs. Whether you're sending cookies to a friend across the country or fulfilling orders for customers, the packing method matters just as much as the recipe. Here's exactly how to ship baked goods without them breaking, step by step.
Key takeaways
- Dense, low-moisture baked goods like cookies, brownies, and quick breads ship the best — delicate items like layer cakes and cream-filled pastries are much harder to ship safely.
- Cooling baked goods completely before wrapping is non-negotiable; residual heat creates condensation that leads to soggy, crumbly results.
- Individual wrapping with plastic wrap or wax paper prevents items from knocking into each other and absorbing moisture from neighbors.
- A snug double-box method with cushioning between the inner and outer box is the gold standard for preventing breakage in transit.
- Shipping early in the week (Monday or Tuesday) avoids packages sitting in warehouses over the weekend, which matters for freshness and temperature control.
- Gluten-free baked goods are often more fragile than their wheat-based counterparts, so extra cushioning and tighter packing are essential.
Which baked goods ship well (and which ones don't)
The best baked goods for shipping are dense, sturdy, and low in moisture. Cookies, brownies, biscotti, quick breads, pound cakes, and bars all travel well because their structure can handle some jostling. Items with frosting, whipped cream, custard fillings, or delicate layers are much harder to ship safely and often arrive damaged regardless of your packing method.
Gluten-free baked goods can be trickier because they tend to be more crumbly and fragile than wheat-based versions. If you're working with almond flour or other nut-flour-heavy recipes, the resulting texture can be more delicate. Adding binders like xanthan gum or guar gum to your recipe helps create a more cohesive crumb that holds up better during shipping.
| Ships well | Ships with extra care | Avoid shipping |
|---|---|---|
| Drop cookies | Decorated sugar cookies | Layer cakes with buttercream |
| Brownies and blondies | Cupcakes (unfrosted) | Cream-filled pastries |
| Biscotti | Muffins | Meringue-topped pies |
| Pound cake and loaf cakes | Cinnamon rolls (unfrosted) | Cheesecake (unless frozen solid) |
| Bars and squares | Scones | Anything with whipped cream |
| Quick breads | Bread loaves | Delicate laminated pastries |
If you're regularly baking at volume and want to make sure your foundational recipes are solid before shipping them out, the Confident Gluten-Free Baker Toolkit walks you through building recipes that hold together — which is half the battle when it comes to shipping.
Someone Just Asked Your Price — and You Froze?
Going from "I made this for you" to "that'll be $45" is a big leap. Guess too low and you're baking for free. Guess too high and you lose the order.
Most home bakers undercharge by 40–60% because they forget overhead, packaging, and their own time. The math is harder than it looks — and doing it in your head mid-text message is a recipe for resentment.
The free Home Bakery Pricing Calculator does the math for you. Plug in ingredients, batch time, and overhead — see exactly what it costs to make and what to charge for a real profit.
Get the free Home Bakery Pricing Calculator
Stop guessing your prices. Plug in ingredients, time, and overhead — see exactly what to charge.
How to cool and prep baked goods for shipping
Always cool your baked goods completely before wrapping. This is the single most important prep step. Wrapping anything warm creates condensation inside the packaging, which makes items soggy and weakens their structure during transit.
For most cookies and bars, cooling on a wire rack for at least one hour is sufficient. For denser items like pound cakes and quick breads, give them two to three hours or even overnight. If you're dealing with gluten-free items that stale quickly, wrap them tightly as soon as they're fully cooled to lock in moisture.
Flash freezing for extra protection
One of the best tricks for shipping fragile baked goods is to flash freeze them before packing. Place individual items on a sheet pan in the freezer for one to two hours until they're firm but not frozen solid. This makes them much sturdier during the packing process and gives them a head start on staying fresh during transit. By the time they arrive, they'll have thawed to a perfect texture.
How to wrap individual baked goods for shipping
Every single item should be individually wrapped. This prevents items from sticking together, transferring moisture, or breaking each other during movement. Here's how to handle different types:
- Cookies: Wrap each cookie or stack of two to three cookies in plastic wrap or place them in small cellophane bags. For decorated cookies, use a piece of parchment or wax paper between each one.
- Brownies and bars: Cut into portions, then wrap each piece individually in plastic wrap. These are some of the easiest items to ship because they're dense and forgiving.
- Quick breads and loaf cakes: Wrap the entire loaf tightly in two layers of plastic wrap, then a layer of aluminum foil. You can also slice first and wrap individual slices if you prefer.
- Muffins and scones: Wrap each one individually in plastic wrap. These are more fragile, so they'll need extra cushioning in the box.
For gluten-free baked goods specifically, a tight wrap is even more important. Without gluten's structural network, these items are more prone to crumbling. If your recipe uses psyllium husk or flaxseed as a binder, the crumb will generally be more resilient than recipes without any binder at all.
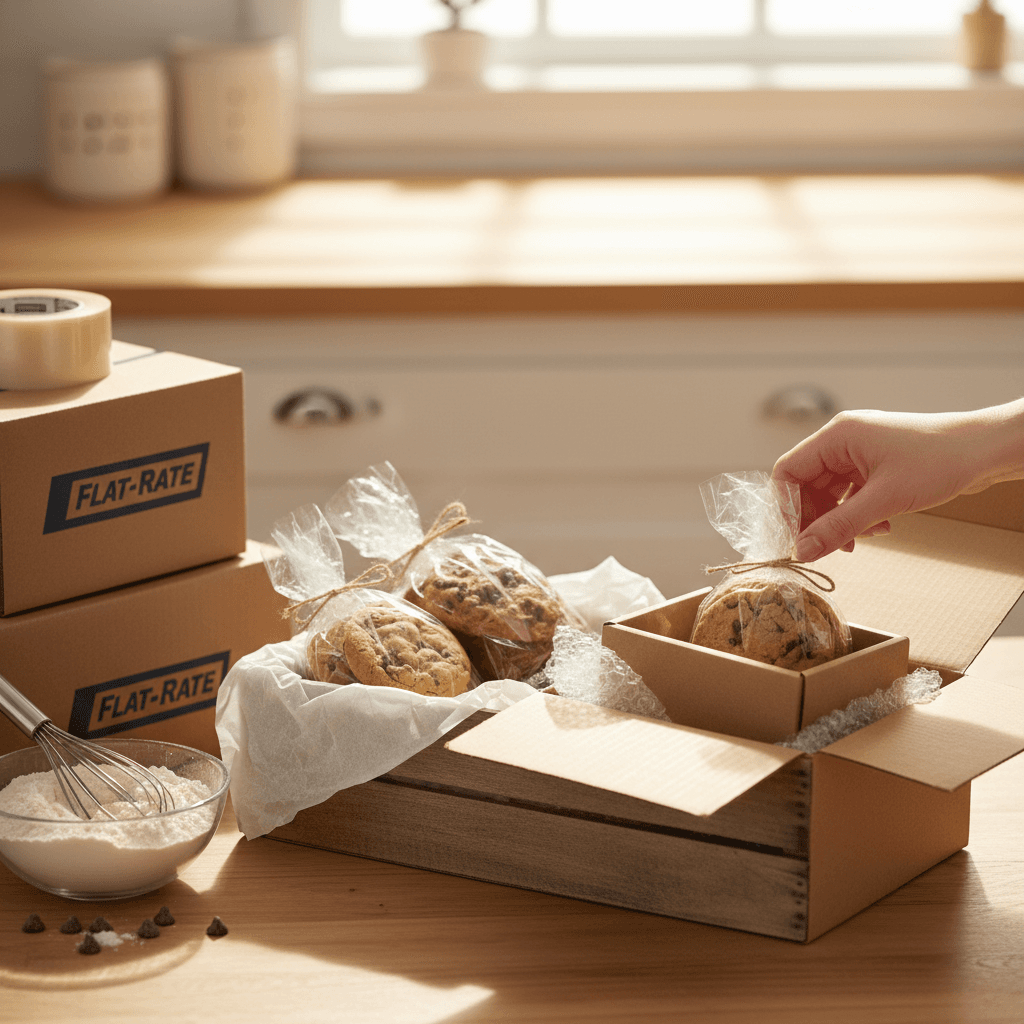
The double-box packing method that actually works
The double-box method is the standard for shipping baked goods safely. It creates a cushioned buffer zone that absorbs impacts during transit. Here's the process:
- Choose your inner container. This can be a tin, a smaller cardboard box, or a rigid plastic container. Place your individually wrapped baked goods inside, filling any gaps with crumpled parchment paper, wax paper, or food-safe tissue paper. Items should not be able to shift around at all.
- Choose your outer shipping box. It should be at least two inches larger than the inner container on all sides. A new, sturdy corrugated box works best — don't reuse a flimsy box.
- Add cushioning between the boxes. Fill the bottom of the outer box with two inches of cushioning material (bubble wrap, packing peanuts, crumpled kraft paper, or air pillows). Place the inner container on top, then fill all remaining space around and above it with more cushioning.
- Seal and label. Tape the outer box securely with packing tape on all seams. If you're shipping anything that could be affected by temperature, add a "Fragile" and "This Side Up" label.
The key principle: nothing should move when you shake the box. If you can hear or feel shifting, add more cushioning material.
Best packaging materials for shipping baked goods
You don't need anything fancy, but you do need the right materials. Here's what works:
| Material | Best use | Notes |
|---|---|---|
| Plastic wrap | Individual wrapping | Creates airtight seal, prevents moisture loss |
| Cellophane bags | Cookies, small items | Great for presentation if sending to customers |
| Wax or parchment paper | Separating layers, gap filling | Food-safe and prevents sticking |
| Bubble wrap | Cushioning between boxes | Best impact protection, not food-safe (keep away from direct contact) |
| Crumpled kraft paper | Gap filling, cushioning | Eco-friendly option, works well in double-box method |
| Corrugated cardboard box | Outer shipping container | Use new boxes for structural integrity |
| Rigid tins or containers | Inner container for cookies and bars | Adds an extra layer of crush protection |
Avoid using newspaper directly against food (ink can transfer) and avoid loose packing peanuts if the inner container isn't fully sealed, since they can work their way inside.
How to choose the right shipping speed and timing
Shipping speed matters more than most people realize. Baked goods are perishable, and every extra day in transit is a day closer to stale, dry, or spoiled results.
- Two-day or overnight shipping is ideal for most baked goods. Yes, it costs more, but it dramatically improves the quality of what arrives.
- Ground shipping (3-5 days) can work for very shelf-stable items like biscotti, certain cookies, and heavily wrapped quick breads, but it's risky for anything that stales quickly.
- Ship early in the week. Monday or Tuesday shipments avoid the risk of packages sitting in a warehouse over the weekend. A package shipped on Thursday via ground could easily sit for two extra days.
- Watch the weather. In summer months, chocolate-based items and anything with butter-heavy frostings can melt. Consider adding an insulated liner or cold pack if temperatures will be above 80 degrees F during transit. In winter, freezing temperatures can damage some items too.
Special considerations for gluten-free baked goods
Gluten-free baked goods have a few unique challenges when it comes to shipping. Because gluten provides structure and elasticity in traditional baking, its absence means your shipped goods may be more prone to crumbling and drying out.
Here are some specific tips:
- Choose recipes with built-in moisture. Recipes that include ingredients like applesauce, brown sugar, or honey tend to stay moist longer in transit. Dry, crumbly recipes are a recipe for disaster — literally.
- Use binders generously. If your recipe doesn't already include xanthan gum, guar gum, or arrowroot powder, consider adding a small amount to improve cohesion. Check our guide to fixing dry, crumbly gluten-free bakes for ratios and techniques.
- Wrap tighter and cushion more. Because gluten-free items break more easily, use extra layers of wrapping and more cushioning material than you would for wheat-based goods.
- Consider shipping frozen. Frozen gluten-free baked goods actually ship better than room-temperature ones. They're sturdier, they don't stale during transit, and they thaw beautifully. Pack them with cold packs or dry ice (check your carrier's rules for dry ice shipments).
Common shipping mistakes that cause breakage
Even experienced bakers make these mistakes. Here's what to avoid:
- Packing items while still warm. Condensation is the enemy. Always cool completely first.
- Using a box that's too big without enough filler. Empty space means movement, and movement means breakage.
- Stacking heavy items on top of light ones. Put heavier items like brownies on the bottom and lighter cookies on top.
- Skipping individual wrapping. Even if items look sturdy, they'll knock into each other and chip, crack, or crumble.
- Reusing old, weakened boxes. A box that's been shipped once has already lost structural integrity. Use a new one.
- Shipping on Friday. Your package will likely sit somewhere over the weekend, adding days to transit time and reducing freshness.
A step-by-step packing checklist
Here's a quick reference you can follow every time you ship baked goods:
- Bake your items and cool them completely (one to three hours depending on density).
- Optional: flash freeze items for one to two hours for extra sturdiness.
- Wrap each item individually in plastic wrap, cellophane bags, or wax paper.
- Place wrapped items snugly in a rigid inner container (tin, small box, or plastic container). Fill all gaps with crumpled parchment or wax paper.
- Line the bottom of your outer shipping box with two inches of cushioning material.
- Place the inner container inside and fill all remaining space with cushioning. Nothing should shift.
- Seal the outer box with packing tape on all seams.
- Add "Fragile" and "This Side Up" labels.
- Ship early in the week using two-day or overnight service when possible.
- Send the recipient a tracking number so they can bring the package inside promptly.
If you're shipping regularly — whether to friends, family, or customers — having a consistent system like this saves time and prevents heartbreak. And if you're thinking about turning your baking into something more structured, the free Home Bakery Pro masterclass covers how to get consistent orders and build a sustainable home bakery, including the logistics side of things like shipping and delivery.
Frequently asked questions
What is the best way to ship cookies without them breaking?
Wrap each cookie individually in plastic wrap or place them in cellophane bags, then pack them snugly in a rigid tin or small box with crumpled parchment paper filling any gaps. Use the double-box method with cushioning between the inner and outer containers. Sturdier cookies like drop cookies and shortbread ship better than thin, crispy varieties.
Can you ship gluten-free baked goods safely?
Yes, but gluten-free baked goods require extra care because they tend to be more fragile and crumbly. Flash freezing before packing helps significantly, and using recipes with good binders like xanthan gum or guar gum creates a more cohesive crumb that holds up during transit. Wrap tightly and use generous cushioning.
How far in advance should you bake before shipping?
Bake no more than one day before shipping for the freshest results. Bake in the evening, cool overnight, pack in the morning, and ship the same day. If you need to bake further in advance, freeze your items and ship them frozen with cold packs — they'll thaw during transit and arrive fresh.
What shipping service is best for baked goods?
USPS Priority Mail, UPS 2nd Day Air, and FedEx 2Day are all reliable options for shipping baked goods. Two-day shipping is the sweet spot between cost and freshness for most items. Overnight shipping is worth the investment for very perishable goods or during hot summer months.
Do you need to refrigerate baked goods before shipping?
Refrigeration isn't usually necessary for shelf-stable items like cookies, brownies, and quick breads. However, flash freezing for one to two hours before packing makes items sturdier and extends freshness during transit. For items with perishable fillings or frostings, ship frozen with cold packs and clearly label the package so the recipient knows to refrigerate upon arrival.

Written by
Co-founder, BakingSubs
Co-founder of BakingSubs, where he turns the science of ingredient substitutions into tested, reliable guidance for home bakers.
Related Posts
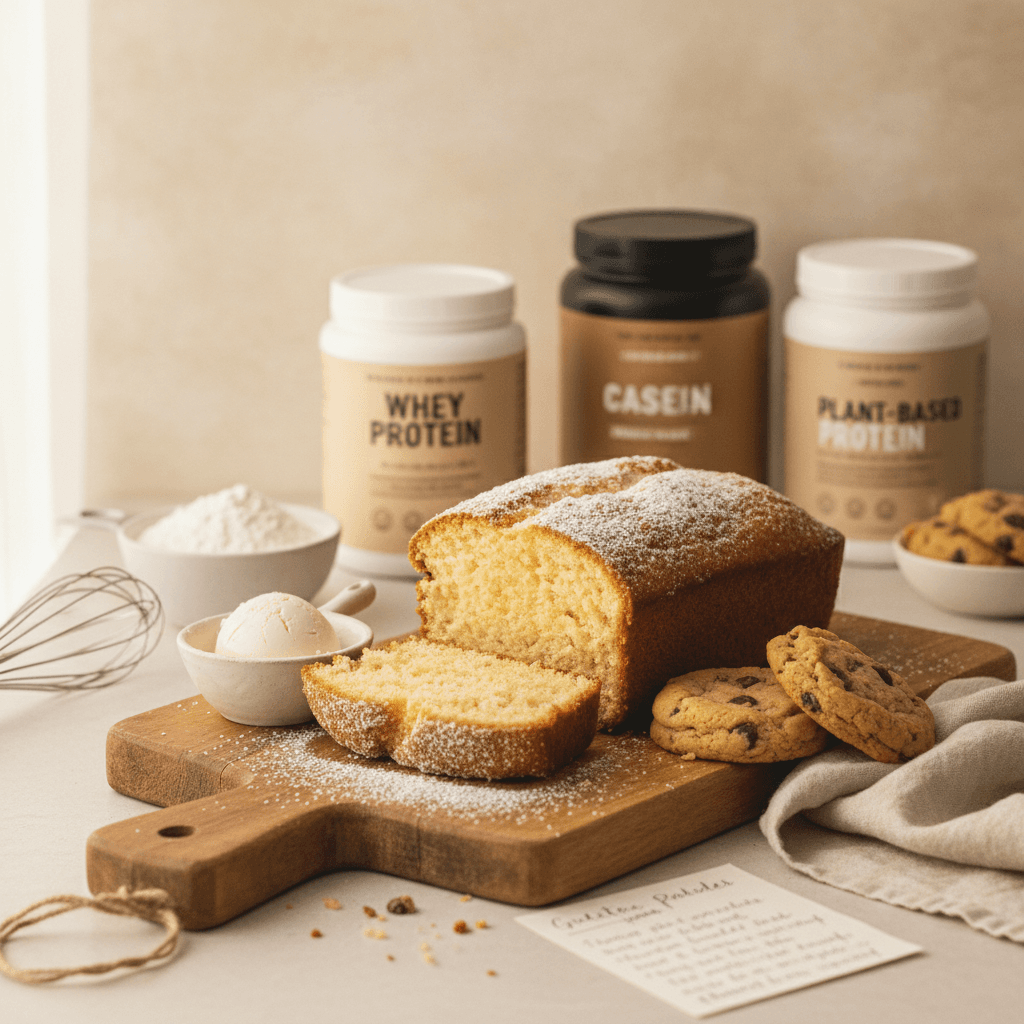
Protein Powder as Flour Replacement in Baking: Why It Fails (and 5 Fixes That Actually Work)
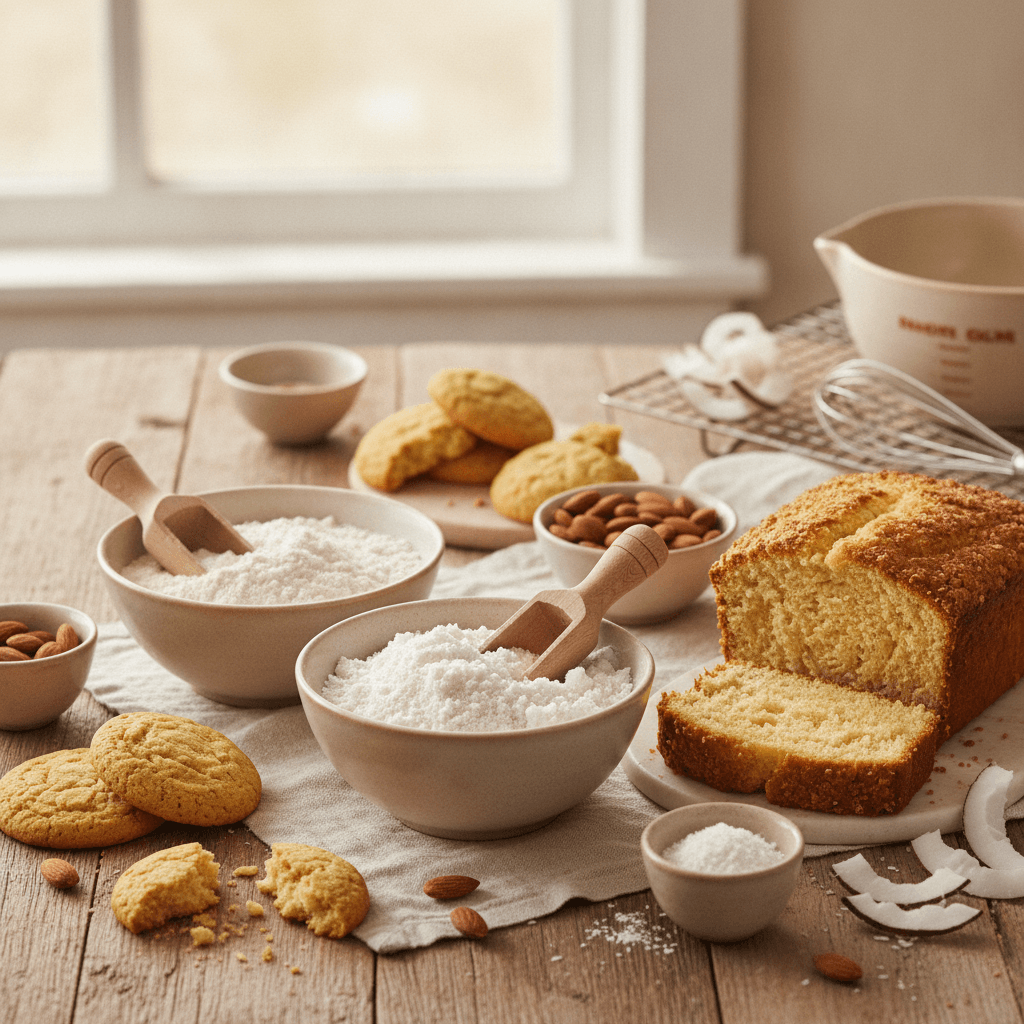
Almond Flour vs Coconut Flour for Keto Baking: 5 Differences That Actually Change Your Results
Monk Fruit Sweetener for Baking: 5 Mistakes That Ruin Texture (and How to Fix Each One)
Bake with Confidence
See all
Confident Gluten-Free Baker Toolkit
The science-based system that replaces gluten's seven invisible jobs so your baking turns out soft, fluffy, and foolproof — every time.

Gluten-Free Recipe Vault
Instant access to our complete library of proven gluten-free recipes — no waiting, no guesswork, just results that work tonight.

Fix Your Gluten-Free Bread
Learn the 3-step formula to make bread rise and stay soft, discover why your loaves collapse, and get a tested sandwich bread recipe that actually works.