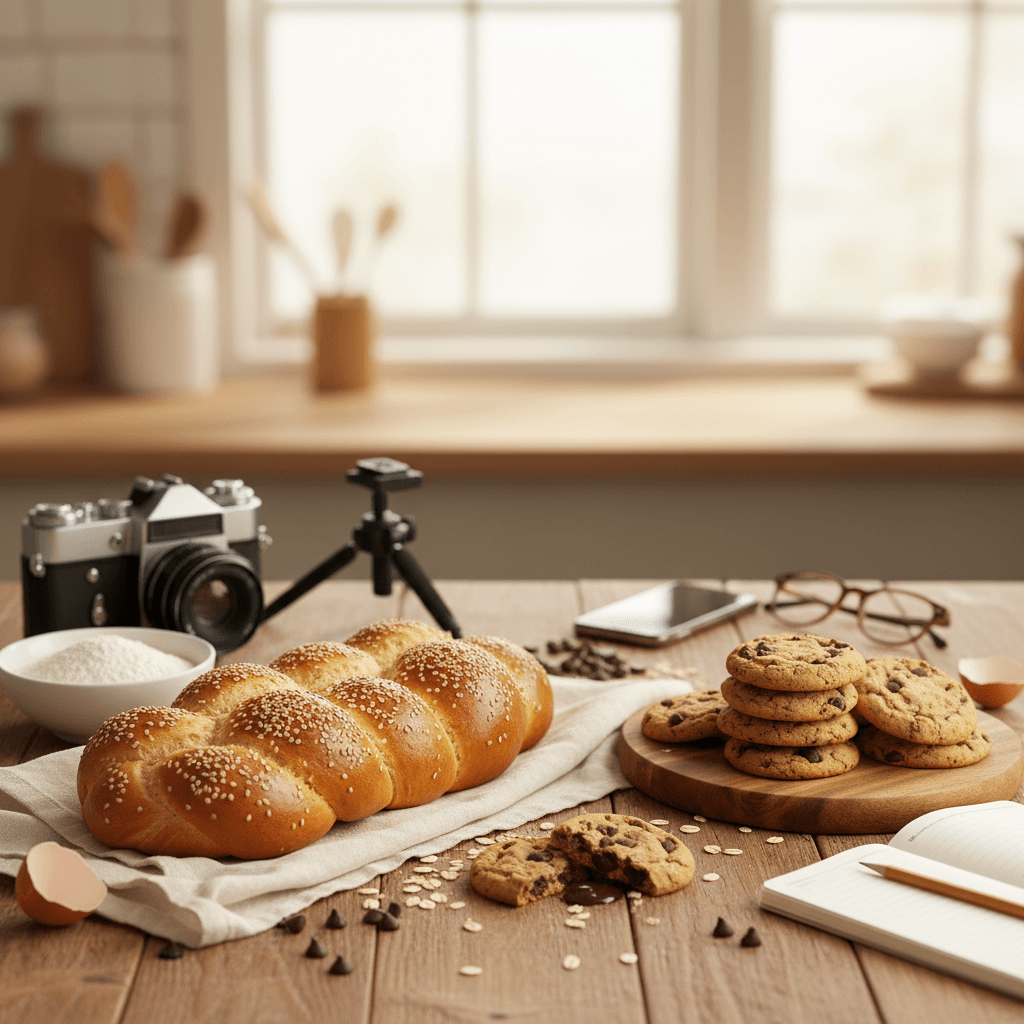
You spent hours perfecting that loaf or cake, but the photo you snapped looks flat and unappetizing. The good news is you do not need a fancy camera or a studio setup to fix that. Here are 12 practical tips that will immediately improve how your bakes look on screen.
Key takeaways
- Natural side light from a window is the single biggest upgrade you can make to your baking photos, and it costs nothing.
- A simple white poster board or piece of parchment paper can act as a reflector to fill in harsh shadows.
- Shooting at a slight angle (about 45 degrees) flatters most baked goods better than straight-on or directly overhead.
- Styling with crumbs, a sliced piece, or a dusting of powdered sugar adds visual storytelling without extra gear.
- Editing on your phone for brightness and contrast takes 30 seconds and makes a noticeable difference.
- Consistent backgrounds and lighting create a recognizable look that builds trust with anyone who sees your baking.
Why natural light changes everything
Natural light is the most important factor in baking photography, and it is completely free. Overhead kitchen lights cast a yellow or green tint that makes even a perfect golden crust look dull, while a window providing soft, indirect daylight brings out the true color and texture of your bakes.
The best setup is to place your bake on a surface next to a window where the light comes from the side. This creates gentle shadows that give your bread, cake, or cookies a sense of depth and dimension. If the sunlight is too harsh and direct, hang a thin white sheet or tape a piece of parchment paper over the window to diffuse it. You will be amazed at the difference this one change makes.
Avoid mixing light sources. Turn off your overhead kitchen light and any lamps nearby so the window is the only source. Mixed lighting creates color casts that are difficult to fix even with editing.
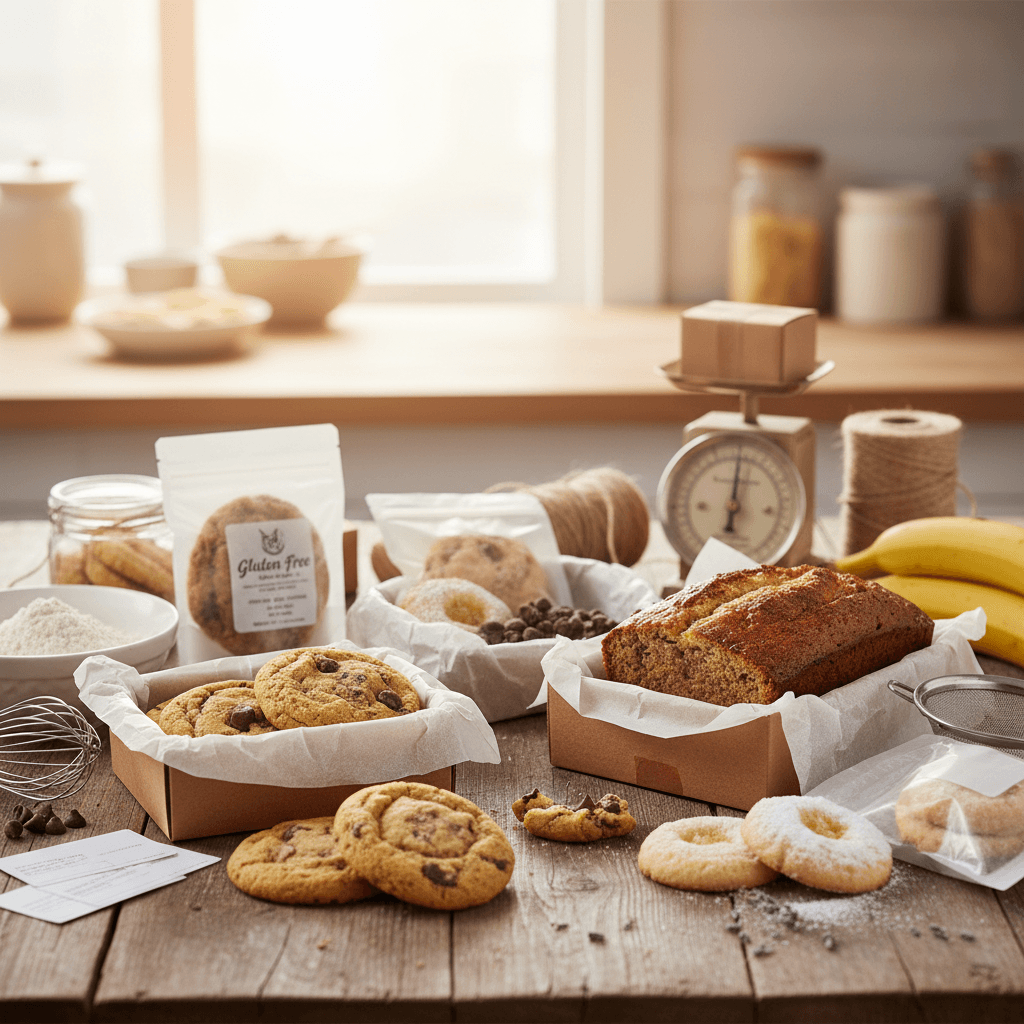
Someone Just Asked Your Price — and You Froze?
Going from "I made this for you" to "that'll be $45" is a big leap. Guess too low and you're baking for free. Guess too high and you lose the order.
Most home bakers undercharge by 40–60% because they forget overhead, packaging, and their own time. The math is harder than it looks — and doing it in your head mid-text message is a recipe for resentment.
The free Home Bakery Pricing Calculator does the math for you. Plug in ingredients, batch time, and overhead — see exactly what it costs to make and what to charge for a real profit.
Get the free Home Bakery Pricing Calculator
Stop guessing your prices. Plug in ingredients, time, and overhead — see exactly what to charge.
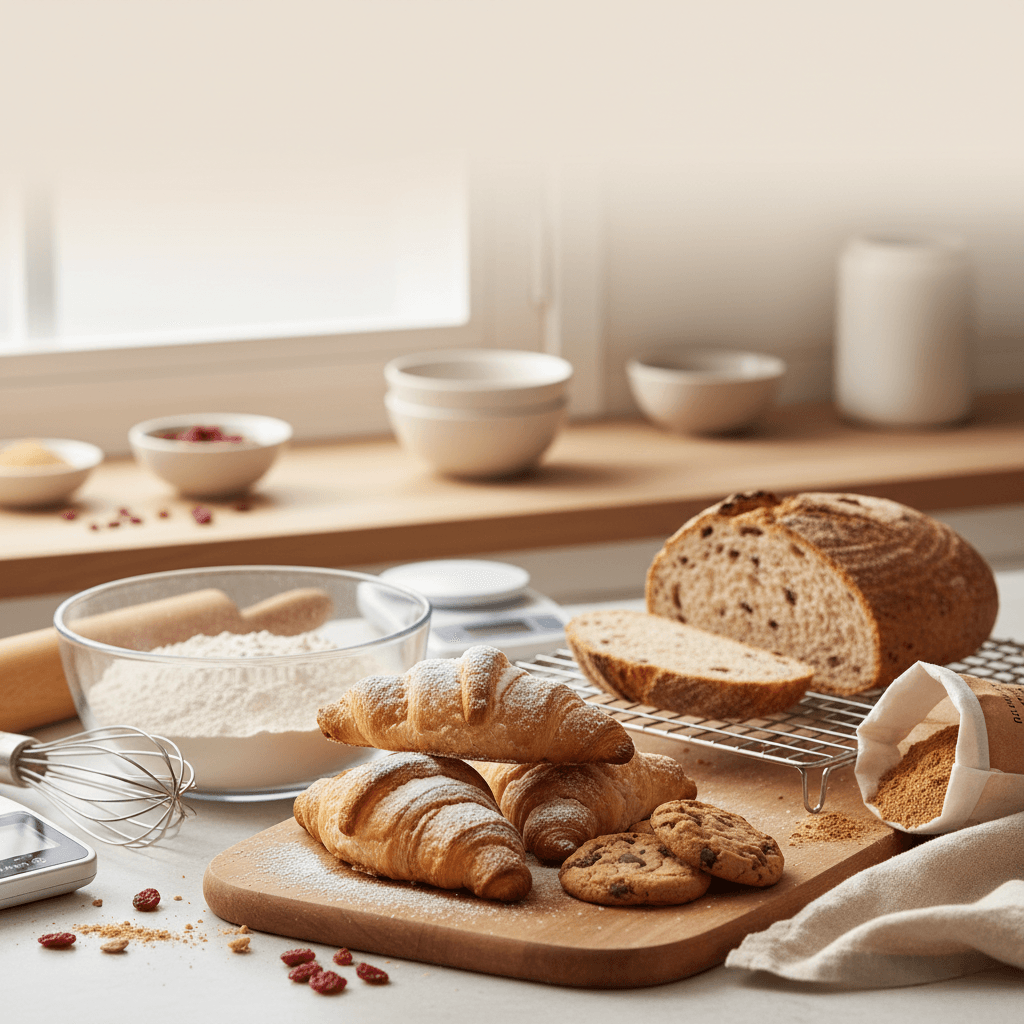
How to set up a simple baking photo background
A clean, simple background keeps the focus on your bake. You do not need to buy anything special. A wooden cutting board, a piece of parchment paper, a linen towel, or even a plain white countertop works beautifully.
Here are some easy background options you probably already own:
- Wooden cutting board or butcher block — warm and rustic, perfect for bread and cookies
- Marble slab or light countertop — clean and modern, great for cakes and pastries
- Baking sheet lined with parchment — keeps the focus entirely on the bake
- Linen or cotton kitchen towel — adds subtle texture without distracting
The key rule is to avoid busy or cluttered backgrounds. If your kitchen counter is covered in flour bags and mixing bowls, just clear a small area near the window. That tiny stage is all you need.
If you are working on improving your baking skills alongside your photography, the Confident Gluten-Free Baker Toolkit walks you through the fundamentals so every bake you photograph is one you are genuinely proud of.
The best angles for photographing different baked goods
The angle you shoot from should match the shape and best feature of your bake. Different baked goods have different "hero" qualities, and choosing the right angle highlights them.
| Baked good | Best angle | Why it works |
|---|---|---|
| Layer cakes | Straight on (0 degrees) | Shows off the layers, frosting, and height |
| Cookies | 45 degrees or slightly above | Highlights texture, crackle, and thickness |
| Bread loaves | 45 degrees | Shows crust detail and the shape of the loaf |
| Sliced bread | Straight on | Reveals the crumb structure inside |
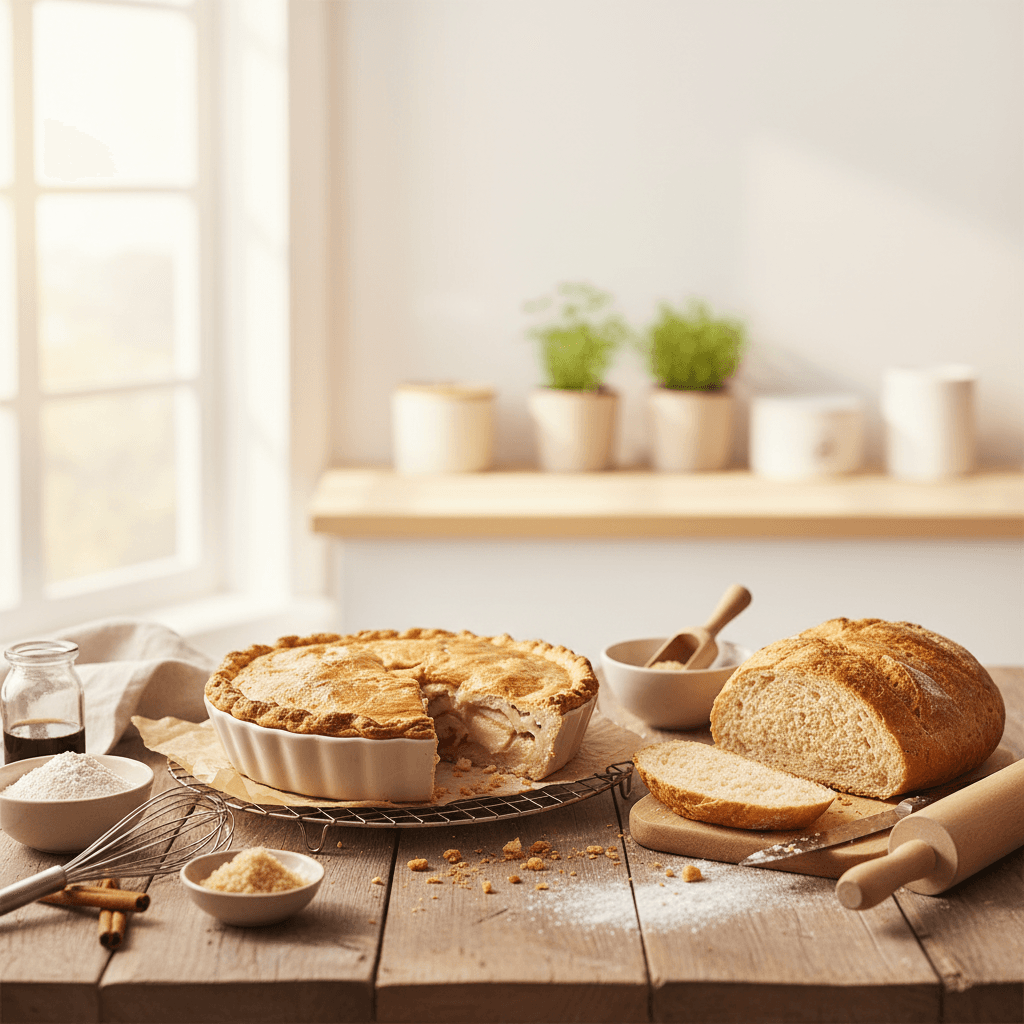
| Pies and tarts | Overhead (90 degrees) | Shows the full top design and filling |
| Muffins and cupcakes | 45 degrees | Captures the domed top and wrapper |
| Bundt cakes | 45 degrees | Shows the sculpted shape and glaze drip |
When in doubt, the 45-degree angle is the most versatile. It works for almost everything and feels natural, like the way you would actually look at food on a table.
How to use a reflector to fix shadows
When light comes from one side, the opposite side of your bake falls into shadow. A reflector bounces light back into those dark areas, creating an even, appetizing look. You do not need to buy a professional reflector. A white poster board, a sheet of white paper, or even a white plate propped up on the shadow side does the job perfectly.
Place the reflector on the opposite side of the window, angled toward your bake. You will see the shadows soften immediately. If you want a moodier, more dramatic look, skip the reflector and let the shadows stay. Both styles work — it depends on the vibe you are going for.
Styling tips that make your bakes look irresistible
Great food styling is about telling a small story. You want the viewer to imagine tasting your bake, and a few simple touches make that happen.
- Cut a slice or break a piece off. Showing the inside of a loaf of gluten-free bread or a cross-section of a cake is far more compelling than a whole, untouched bake. People want to see the crumb.
- Leave some crumbs. A few scattered crumbs on the board make the scene feel real and lived-in, not staged.
- Add a relevant prop or two. A cup of coffee, a butter knife, a small bowl of ingredients — these add context without cluttering the frame. Less is more.
- Dust with powdered sugar or cocoa. A light dusting right before you shoot adds visual texture and a sense of freshness.
- Use odd numbers. If you are photographing cookies on a sheet, arrange them in groups of three or five. Odd numbers are more visually appealing than even ones.
One common mistake is over-styling. If you have more props than baked goods in the frame, pull some out. Your bake should always be the clear star of the photo.
Phone camera settings that improve baking photos
You do not need a DSLR to take great photos of your bakes. Modern phone cameras are more than capable, especially if you know a few settings to adjust.
Lock your focus and exposure
Tap and hold on your bake in the camera app to lock the focus point. Then slide the exposure (the sun icon on most phones) up slightly to brighten the image. This prevents the camera from auto-adjusting and accidentally blurring or darkening your shot.
Turn off the flash
The built-in flash creates harsh, flat light with ugly shadows. Always turn it off and rely on your window light instead.
Use portrait mode for close-ups
Portrait mode blurs the background and keeps your bake sharp. This is especially effective for single items like a bundt cake or a decorated cupcake.
Avoid digital zoom
Pinching to zoom in degrades image quality. Instead, physically move closer to your bake. If you need a wider shot, step back.
How to edit baking photos on your phone
Editing does not mean making your photos look fake. A few small adjustments bring out what your eyes already saw in person but the camera missed. Most phone editing apps (including the built-in ones) have these controls:
- Brightness: Bump it up slightly. Baking photos almost always benefit from being a touch brighter.
- Contrast: Increase just a little to make the crust and crumb pop.
- Warmth: If the photo looks too cool or blue, add a small amount of warmth. Baked goods should look golden and inviting.
- Saturation: Be careful here. A tiny increase can help, but too much makes colors look unnatural.
- Crop: Trim out distracting edges. Center your bake or use the rule of thirds for a more dynamic composition.
Spend 30 seconds on these adjustments and your photos will look noticeably more professional. Consistency matters too — try to edit all your photos in a similar style so they look cohesive together.
Common baking photography mistakes to avoid
Even with good light and a nice background, a few common errors can undermine your photos. Here is what to watch for:
- Shooting under overhead fluorescent lights. This is the number one killer of good baking photos. Always use natural light.
- Cluttered backgrounds. A bag of almond flour and a pile of dishes in the background pull attention away from your bake.
- Waiting too long to shoot. Baked goods look their best within the first few minutes after cooling. Frosting melts, bread dries out, and cookies lose their sheen. Have your setup ready before the bake comes out of the oven.
- Shooting from too far away. Get close. Fill the frame with your bake so viewers can see the texture, the golden edges, and the crumb detail.
- Over-filtering. Heavy Instagram filters can make food look unappetizing. Stick to subtle adjustments.
How to photograph bread crumb structure
If you bake bread — especially gluten-free bread — showing off the crumb is one of the most satisfying photos you can take. The open, airy holes in a well-made loaf are proof that your recipe and technique worked.
To get the best crumb shot, let the bread cool completely before slicing. Use a sharp serrated knife and cut a clean slice. Place the cut side facing the camera and shoot straight on. Position it near your window so the light catches the texture of each air pocket. A dark background (like a dark cutting board or cloth) creates beautiful contrast against a lighter crumb.
Building a consistent look for your baking photos
Consistency is what separates a random collection of photos from a recognizable style. Whether you are posting on social media, sharing with friends, or building a portfolio, a consistent look builds trust and makes your baking feel polished.
Pick two or three backgrounds you like and stick with them. Edit your photos in the same style every time. Shoot from similar angles. Over time, people will recognize your photos instantly, and that recognition is powerful. If you are also working on developing your baking skills to match, our learning guides cover everything from ingredient functions to troubleshooting common issues.
Quick-reference checklist for your next baking photo
Before you snap your next photo, run through this list:
- Turn off overhead lights and move near a window.
- Clear the background and set up a simple surface.
- Place a white reflector on the shadow side.
- Style with a slice, crumbs, or one small prop.
- Lock focus and exposure on your phone.
- Shoot at 45 degrees (or match the angle to your bake type).
- Take multiple shots from slightly different positions.
- Edit for brightness, contrast, and warmth.
- Crop to remove distractions.
That is it. Nine steps, zero fancy equipment, and your bakes will finally look as good in photos as they do in person.
If you are interested in turning your baking into something more — like getting consistent orders and building a real home bakery — check out the free Home Bakery Pro masterclass. It covers how to get consistent orders and build a sustainable home bakery, and it pairs perfectly with the photography skills you are building here.
Frequently asked questions
What is the best camera for baking photography?
Your smartphone is more than enough for excellent baking photos. The key factors are lighting and composition, not the camera itself. A phone with a good camera (made in the last three to four years) combined with natural window light will produce professional-looking results without any extra gear.
How do you make baked goods look good in photos without professional lighting?
Place your bake next to a window with indirect natural light and use a white poster board as a reflector on the opposite side to fill shadows. Turn off all artificial lights in the room. This simple two-piece setup mimics professional studio lighting and works for everything from bread to decorated cakes.
What background should I use for food photography?
Simple, neutral backgrounds work best. A wooden cutting board, marble surface, plain white countertop, or linen towel keeps the focus on your bake. Avoid busy patterns or cluttered surfaces that compete for attention.
How do I take overhead photos of baked goods without a tripod?
Stand directly above your bake, hold your phone with both hands, and lock your elbows against your body for stability. Take several shots and pick the sharpest one. If you bake often and want perfectly level overhead shots, a simple phone mount that clamps to a table edge is an inexpensive upgrade.
Should I photograph baked goods while they are still warm?
It depends on the bake. Steam rising from a fresh loaf of bread can look beautiful and adds a sense of warmth. However, frosted cakes and glazed items should be fully set before photographing, or the frosting may melt and look messy. For muffins and cookies, shooting within the first few minutes after cooling gives you the best texture and color.

Written by
Co-founder, BakingSubs
Co-founder of BakingSubs, where he turns the science of ingredient substitutions into tested, reliable guidance for home bakers.
Related Posts
How to Ship Baked Goods That Arrive Fresh: 9 Operator-Tested Methods That Cut Damage Claims by 80%
How Much Does Bakery Insurance Actually Cost? Real Numbers From 6 Policy Types
How to Manage Rush Orders as a Home Baker (Without Wrecking Your Week or Your Margins)
Bake with Confidence
See all
Confident Gluten-Free Baker Toolkit
The science-based system that replaces gluten's seven invisible jobs so your baking turns out soft, fluffy, and foolproof — every time.

Gluten-Free Recipe Vault
Instant access to our complete library of proven gluten-free recipes — no waiting, no guesswork, just results that work tonight.

Fix Your Gluten-Free Bread
Learn the 3-step formula to make bread rise and stay soft, discover why your loaves collapse, and get a tested sandwich bread recipe that actually works.