
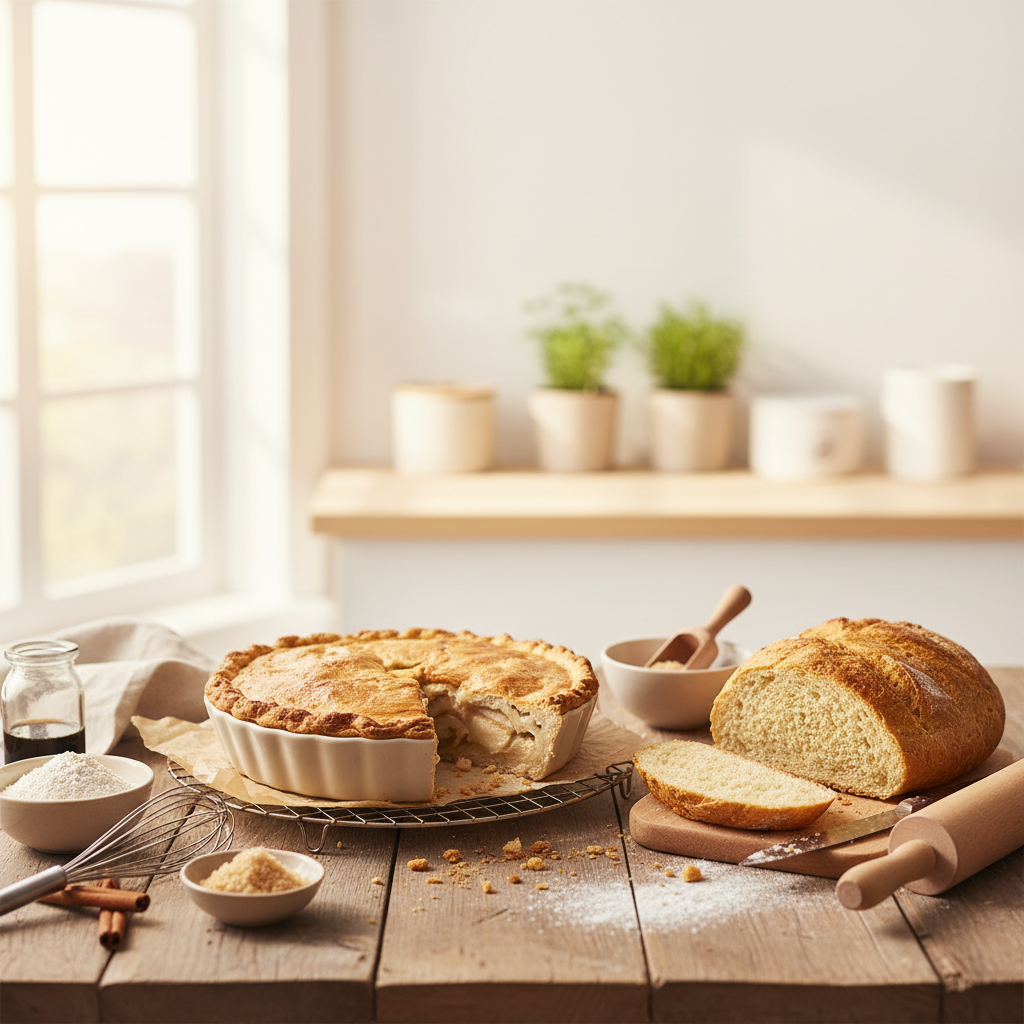
We've all been there: trying to bake something yummy, only to end up with a gluten-free dough that's more like a sticky mess than anything usable. It can be super frustrating, right? But don't worry, we're here to help you figure out why your dough is acting up and, more importantly, how to make gluten-free dough less sticky. We'll walk you through some simple fixes and tips to get your dough just right, so you can bake with confidence and avoid those sticky situations.
Key Takeaways
- Too much liquid or a starchy flour mix often makes gluten-free dough sticky.
- Getting your ingredient amounts right, especially flour and liquid, is super important for good dough.
- Using a little oil on your hands and tools, plus a dough scraper, can make handling sticky dough way easier.
- Letting your dough rest gives the flour time to soak up liquid, making the dough less sticky and easier to work with.
- Fresh, well-stored gluten-free flour makes a big difference in how your dough turns out.
Understanding Why Your Gluten-Free Dough Gets Sticky
Okay, let's talk about that super frustrating sticky gluten-free dough. We've all been there, right? You're trying to bake something amazing, and suddenly you're battling a goopy mess that sticks to everything. It's not fun, but don't worry, we can figure out why it's happening.
Too Much Liquid in Your Recipe
This is a big one. Gluten-free flours behave differently than regular wheat flour. They don't always absorb liquid in the same way. Sometimes, the recipe just calls for too much liquid for the particular blend of flours you're using. It's like trying to soak up a spill with a paper towel that's already wet – it just can't handle it! So, double-check your measurements and maybe even start with slightly less liquid than the recipe suggests. You can always add more, but you can't take it away easily!
Using a Starchy Gluten-Free Flour Blend
Starchy gluten-free flours, like tapioca starch or potato starch, can sometimes lead to a stickier dough. These starches absorb water quickly, but they don't always create a strong structure. Think of it like this:
- The type of flour blend you use matters a lot.
- Some blends are naturally more prone to stickiness.
- Experimenting with different blends can make a huge difference.
Insufficient Kneading or Mixing
With regular wheat dough, kneading develops the gluten, which gives the dough its structure and elasticity. Since gluten-free dough doesn't have gluten, we need to find other ways to develop its structure.
- Mixing is still important.
- It helps to distribute the ingredients evenly.
- It also helps to activate any binders you're using, like xanthan gum. If you don't mix enough, the ingredients won't combine properly, and the dough can end up sticky and weak.
The Importance of Proper Ingredient Ratios
We've all been there, staring at a sticky, unmanageable mess instead of a beautiful ball of dough. More often than not, the culprit is the ingredient ratios. Getting these right is essential for gluten-free baking success. It's not just about following a recipe; it's about understanding how each component interacts.
Balancing Flour and Liquid Content
The balance between flour and liquid is the foundation of any good dough. Too much liquid, and you're dealing with a sticky situation. Too little, and you'll end up with a dry, crumbly disaster. It's a delicate dance, and here are some things we've learned:
- Start with less liquid than the recipe calls for. You can always add more, but you can't take it away easily.
- Consider the humidity in your kitchen. On humid days, you might need less liquid.
- Use weight measurements instead of volume. It's way more accurate, trust us.
The Role of Binders in Gluten-Free Dough
Since we're missing gluten, we need to add binders to give our dough structure and elasticity. Common binders include:
- Xanthan gum: This is a popular choice for adding elasticity.
- Psyllium husk: Adds fiber and helps with moisture retention.
- Chia seeds or flaxseed meal: These can also act as binders and add a bit of nutrition.
Using the right amount of binder is key. Too much can make the dough gummy, while too little can lead to a crumbly texture. It's all about finding that sweet spot.
Adjusting for Different Flour Blends
Not all gluten-free flour blends are created equal. Some are starchier, while others have a higher protein content. This means that the amount of liquid and binders you need will vary depending on the blend you're using. Here's what we do:
- Read the label! See what the blend is made of and adjust accordingly.
- Experiment! Don't be afraid to tweak the recipe until you get the right consistency.
- Keep notes! Write down what works and what doesn't so you can repeat your successes.
Smart Techniques for Handling Sticky Dough

Okay, so your gluten-free dough is acting like glue? We've all been there! Don't panic. There are some simple tricks we can use to wrangle that sticky situation and get our dough behaving. It's all about technique, not just adding more flour (which, trust us, can backfire).
Lightly Oiling Your Hands and Work Surface
This is a game-changer. Instead of reaching for more flour, try a little oil. Just a tiny bit! We like to use olive oil, but any neutral oil will do. Rub a light coating on your hands and your work surface. This creates a barrier that prevents the dough from sticking without drying it out. It's like magic, but it's just science!
Using a Dough Scraper for Easy Management
A dough scraper is our best friend when dealing with sticky dough. Seriously, if you don't have one, get one! These little tools are inexpensive and make a huge difference.
Here's why we love them:
- They help you lift and move the dough without it sticking to your hands.
- They're great for scraping up any bits of dough that get left behind on the counter.
- You can use them to divide the dough easily.
We find that a plastic scraper works best, but metal ones are good too. Experiment and see what you prefer!
The Fold and Slap Method for Dough Development
Okay, this might sound a little aggressive, but hear us out! The fold and slap method is a great way to develop strength in gluten-free dough without traditional kneading. It's especially useful when the dough is super sticky. Here's how we do it:
- Pick up the dough and slap it down hard on your lightly oiled work surface.
- Stretch one side of the dough up and over to the middle, like folding a letter.
- Rotate the dough 90 degrees and repeat the stretch and fold.
- Keep doing this for a few minutes. You'll notice the dough starts to become smoother and more elastic. If it gets too sticky, give it a rest for 5-10 minutes before continuing. This method helps to build structure and reduce stickiness over time.
Giving Your Dough the Rest It Needs
We've all been there – staring at a sticky, unmanageable mess of gluten-free dough and wondering where we went wrong. But don't worry! Sometimes, all your dough needs is a little rest. Think of it as a spa day for your flour and other ingredients. It's a simple step that can make a huge difference in the final texture and handling of your dough.
Why Resting Time is Crucial for Gluten-Free Dough
Gluten-free dough is different from traditional dough, and it needs a bit more TLC. Resting allows the ingredients to fully come together and do their thing. It's not just about letting the dough sit; it's about giving it the time it needs to transform. Think of it like this:
- It gives the starches time to absorb the liquid.
- It allows the binders to activate and do their job.
- It helps the overall structure of the dough to develop.
Allowing Flour to Fully Hydrate
One of the main reasons resting is so important is hydration. Gluten-free flours can be quite thirsty, and they need time to soak up all the liquid in your recipe. If you rush this process, you'll end up with a sticky dough that's hard to work with. Here's what happens during hydration:
- The flour particles swell as they absorb water.
- This creates a smoother, more cohesive dough.
- It prevents a gritty or crumbly texture in your final product.
Relaxing the Dough for Better Handling
Resting also allows the dough to relax. This is especially important if you've been mixing or kneading it. A relaxed dough is much easier to shape and work with. Here's why:
- It reduces the elasticity of the dough.
- It makes it less likely to tear or shrink back when you're shaping it.
- It results in a more even rise during baking.
Troubleshooting Common Sticky Dough Issues

When Your Dough is Too Wet
Okay, so you've got a dough that's more like batter? We've all been there! The first thing to remember is: don't panic. It's tempting to just dump in a ton more flour, but that can lead to a dry, dense final product. Instead, try adding flour gradually, like a tablespoon at a time. Mix it in gently until the dough starts to hold its shape a bit better. Also, consider what kind of flour you're using. Some gluten-free flours absorb liquid differently, so you might need to adjust the recipe slightly.
When Your Dough is Too Dry or Cracking
On the flip side, sometimes gluten-free dough goes too far in the other direction and becomes dry and crumbly. This often happens if there's not enough moisture or if the dough has been overworked. Here's what we do: add a teaspoon of warm water at a time, and gently work it into the dough. You'll be surprised how little water it takes to make a difference! Also, make sure you're not over-kneading the dough. Gluten-free dough doesn't need the same kind of kneading as regular dough; overdoing it can actually make it tougher and drier. We also like to let the dough rest, covered, for a bit. This gives the flour a chance to fully hydrate and can help improve the texture.
Addressing Gummy or Dense Results
Ever baked something that looks right on the outside but is gummy and dense on the inside? Ugh, so frustrating! This can happen for a few reasons. One common culprit is underbaking. Gluten-free baked goods often need a bit longer in the oven than their gluten-filled counterparts. Use a toothpick to check for doneness – it should come out clean or with just a few moist crumbs. Another thing to consider is the ingredients. Too much starch or not enough binder (like xanthan gum) can also lead to a gummy texture. Here are some things to consider:
- Check your oven temperature with an oven thermometer.
- Make sure your baking powder or soda is fresh.
- Consider adding a bit of apple cider vinegar to your recipe to help with the rise.
The Impact of Flour Quality and Storage
We've all been there – ready to bake, only to find our gluten-free flour isn't quite up to par. The quality of your flour and how you store it can seriously affect your dough. Let's explore how to keep your flour in tip-top shape for the best baking results.
Using Fresh, High-Quality Gluten-Free Flour
Using fresh, high-quality gluten-free flour is key to avoiding sticky dough. Old or low-quality flour can lead to inconsistent results. Think of it like this: flour, especially gluten-free blends, can lose its oomph over time. We always try to check the expiration date and buy from brands we trust. It really does make a difference in the final product. Plus, some flours have different absorption rates, so knowing your flour is half the battle!
Properly Storing Your Flour to Prevent Moisture
Moisture is the enemy! Improper storage can lead to damp flour, which throws off your liquid ratios and results in sticky dough. Here's what we do:
- Always store flour in an airtight container.
- Keep it in a cool, dry place – away from the oven or any source of humidity.
- Consider storing it in the freezer, especially if you live in a humid climate. This helps prevent moisture absorption and keeps it fresh longer.
Understanding How Old Flour Affects Dough Consistency
Old flour can be a real pain. It can lose its ability to bind properly, leading to a gummy or sticky dough. Plus, it can even develop off-flavors that affect the taste of your baked goods. We've learned the hard way that it's better to toss old flour than to risk a baking disaster. Here are some signs your flour might be past its prime:
- It smells musty or stale.
- It has clumps that don't break apart easily.
- It's past its expiration date (duh!).
Adjusting Your Baking Process for Success

Ensuring Adequate Baking Time
Okay, so you've mixed, rested, and shaped your gluten-free dough. Now comes the baking part, which is just as important! Gluten-free baked goods often need a bit more time in the oven than their gluten-filled counterparts. We've all been there, pulling out what looks like a perfectly golden loaf, only to find the inside is still a bit gummy.
Here's what we've learned:
- Don't be afraid to let it bake longer. A toothpick inserted into the center should come out clean, but even then, give it a few more minutes if you're unsure.
- Use an oven thermometer. Ovens can be liars! Make sure yours is actually at the temperature it says it is.
- Consider the internal temperature. For bread, we aim for around 200-210°F (93-99°C).
Avoiding Cutting Hot Gluten-Free Bread
This is a tough one, we know. The aroma of freshly baked bread is so tempting! But trust us, patience is key here. Cutting into hot gluten-free bread is a recipe for disaster. It's still setting up inside, and slicing it too soon will result in a gummy, misshapen mess.
Here's our advice:
- Let it cool completely on a wire rack. This allows air to circulate and prevents the bottom from getting soggy.
- Resist the urge! Seriously, set a timer if you have to.
- Use a serrated knife for slicing. This will help you get clean, even slices without squishing the bread.
Tips for a Perfect Crust and Crumb
Achieving that perfect crust and crumb in gluten-free baking can feel like a never-ending quest. But don't worry, we've got some tricks up our sleeves!
- For a crispier crust, try brushing the loaf with an egg wash or milk before baking. A little melted butter works wonders, too!
- To improve the crumb, make sure you're using the right amount of liquid and binders in your recipe. Too much or too little of either can throw things off.
- Experiment with different baking techniques. Some people swear by baking with steam, while others prefer a lower temperature for a longer time. Find what works best for your oven and your recipe.
Wrapping It Up
So, there you have it! We've all been there, staring at a sticky mess that's supposed to be dough. But honestly, it's not the end of the world. With a few simple tricks and a little patience, we can totally turn things around. Just remember, gluten-free baking is a bit different, and that's okay!
We just need to understand how these flours work. Keep experimenting, and don't be afraid to adjust things as you go. You'll get the hang of it, and soon you'll be making awesome gluten-free treats without any sticky drama. Happy baking, everyone!

Written by
Co-founder, BakingSubs
Co-founder of BakingSubs, where he turns the science of ingredient substitutions into tested, reliable guidance for home bakers.
Related Posts
How Much Does Bakery Insurance Actually Cost? Real Numbers From 6 Policy Types
How to Manage Rush Orders as a Home Baker (Without Wrecking Your Week or Your Margins)
How to Ship Baked Goods That Arrive Fresh: 9 Operator-Tested Methods That Cut Damage Claims by 80%
Bake with Confidence
See all
Confident Gluten-Free Baker Toolkit
The science-based system that replaces gluten's seven invisible jobs so your baking turns out soft, fluffy, and foolproof — every time.

Gluten-Free Recipe Vault
Instant access to our complete library of proven gluten-free recipes — no waiting, no guesswork, just results that work tonight.

Fix Your Gluten-Free Bread
Learn the 3-step formula to make bread rise and stay soft, discover why your loaves collapse, and get a tested sandwich bread recipe that actually works.