
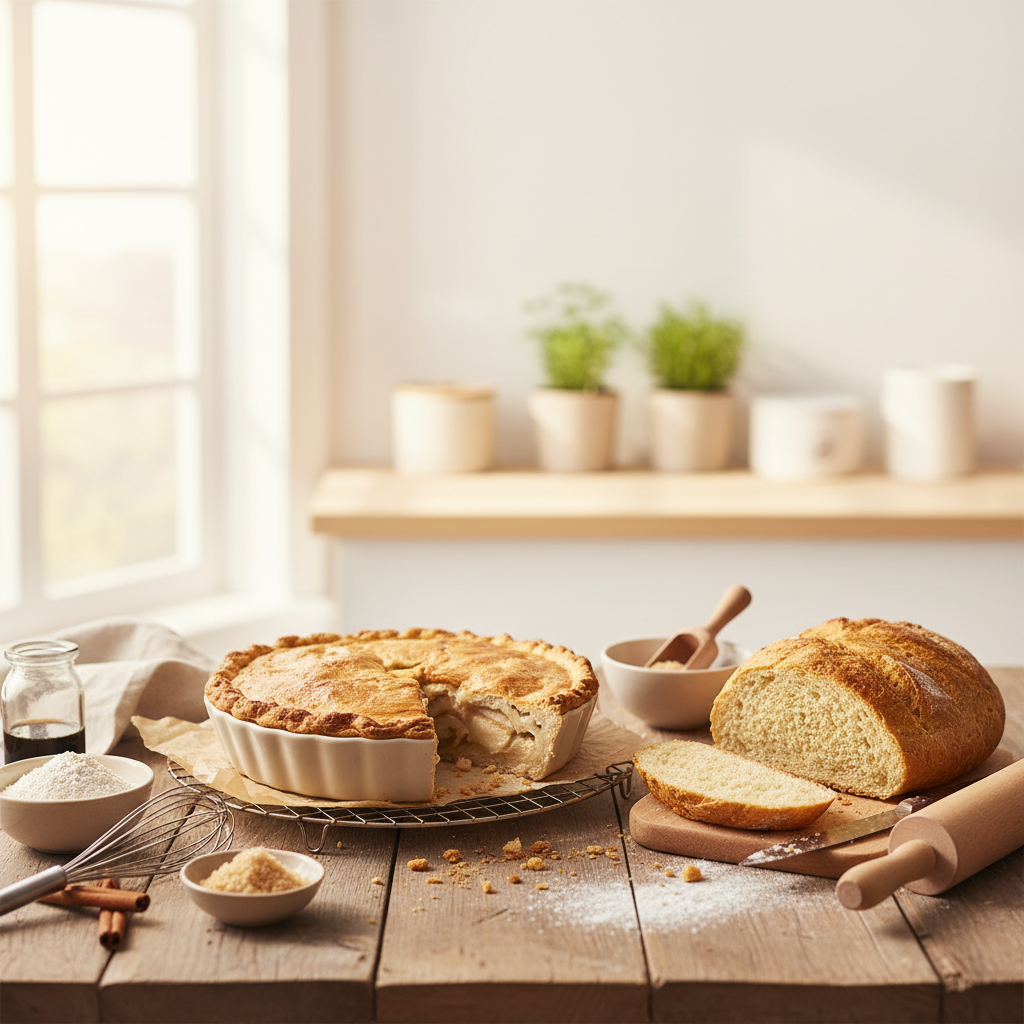
Ever baked a gluten-free cake, pulled it out of the oven looking perfect, only to watch it deflate right before your eyes? Yeah, we’ve all been there. It's super frustrating when your gluten-free cake keeps sinking. But don't worry, you're not alone, and there are good reasons why this happens. We're going to walk through the common problems and give you some simple tips to make sure your next gluten-free cake stays fluffy and delicious.
Key Takeaways
- Gluten-free baking is different from regular baking, so we need to know how gluten-free flours work to avoid common mistakes.
- Measuring ingredients just right, especially gluten-free flours and liquids, is super important for a cake that rises well.
- Don't mix your batter too much, and pick the right gluten-free flour blends to get a light, not dense, cake.
- Watch for signs of overbaking and learn how to keep your cake moist, so it doesn't end up dry.
- Adding binders like xanthan gum helps hold gluten-free cakes together, stopping them from crumbling.
Understanding Why Your Gluten-Free Cake Keeps Sinking
We've all been there – you pull a beautiful cake out of the oven, only to watch it deflate before your eyes. It's a common frustration in gluten-free baking, but don't worry, we can figure out why this happens and how to fix it!
The Science Behind Gluten-Free Baking
Gluten, the protein found in wheat, provides structure and elasticity to traditional cakes. Without it, we need to understand how to mimic those properties. Gluten-free baking relies on a delicate balance of ingredients to create a stable structure. It's like building a house without the usual support beams – you need to get creative with your materials!
Common Pitfalls in Gluten-Free Cake Recipes
Many things can go wrong when adapting traditional recipes to be gluten-free. Here are a few common mistakes we often see:
- Using the wrong type of gluten-free flour blend.
- Not using enough binder, like xanthan gum.
- Inaccurate measurements of ingredients.
- Overmixing the batter.
Why Gluten-Free Cake Keeps Sinking: The Core Issues
So, why does that cake sink? The main reason is a lack of structural integrity. Without gluten, the cake's internal structure is weaker, and it can't support itself as it cools. Other factors contribute, too:
- Too much moisture in the batter.
- Not enough aeration during mixing.
- An oven temperature that's not quite right.
- Cooling the cake improperly. We'll explore these issues and how to address them so we can bake a perfect cake!
The Importance of Accurate Ingredient Measurement

We've all been there – staring at a sunken, sad-looking cake and wondering where we went wrong. While many factors contribute to gluten-free cake success, accurate ingredient measurement is absolutely key. It's not just a suggestion; it's a necessity! Think of it like this: baking is a science, and precision is your lab equipment.
Measuring Gluten-Free Flours Correctly
Gluten-free flours are notorious for being tricky. Unlike wheat flour, they can vary wildly in density. That's why scooping flour straight from the bag is a recipe for disaster. You might end up with way too much flour, leading to a dry, dense cake. Here's what we recommend:
- Use a kitchen scale: Weighing your flour is the most accurate method. Look up the gram measurement for your specific flour blend.
- Spoon and level: Gently spoon the flour into your measuring cup until it's overflowing. Then, use a flat knife or spatula to level off the excess.
- Avoid packing: Never pack the flour into the measuring cup. This compresses it and results in more flour than the recipe intends.
The Impact of Too Much or Too Little Liquid
Liquid is just as important as flour. Too much liquid, and your cake might be overly wet and prone to sinking. Too little, and it'll be dry and crumbly. It's a delicate balance! Here's what to keep in mind:
- Use liquid measuring cups: These are designed for accurate liquid measurements.
- Measure at eye level: Place the measuring cup on a flat surface and check the liquid level at eye level to ensure accuracy.
- Consider humidity: On humid days, you might need to slightly reduce the amount of liquid in your recipe.
Why Precision Matters for a Perfect Rise
In gluten-free baking, we're already fighting an uphill battle to achieve a good rise and structure. Inaccurate measurements throw off the entire chemical reaction, leading to a cake that either doesn't rise properly or collapses after baking. Think of it like a domino effect: one wrong measurement can set off a chain of problems. So, grab those measuring cups and scales, and let's get precise!
Battling the Dense Gluten-Free Cake
Okay, let's talk about dense gluten-free cakes. We've all been there, right? You pull that cake out of the oven, and instead of a light, fluffy dream, you've got something that resembles a brick. It's frustrating, but don't worry, we can fix it!
Avoiding Overmixing Your Batter
Overmixing is a HUGE culprit when it comes to dense gluten-free cakes. Unlike regular wheat flour, gluten-free flours don't need a ton of mixing to develop structure. In fact, overmixing can actually make things worse. We want to mix just until the ingredients are combined. Think of it like this:
- Mix until just combined.
- Fold in any extra ingredients gently.
- Don't use a stand mixer unless absolutely necessary – hand mixing gives you more control.
The Role of Starchy Gluten-Free Flour Blends
Your flour blend could also be the problem. Some gluten-free flour blends are super heavy on the starches, and while starches are great for binding, too much can lead to a gummy, dense texture. It's all about balance! Here's what to consider:
- Check the ingredient list – is starch the first thing you see?
- Consider adding some almond flour or another grain-based flour to balance it out.
- Experiment with different brands to find one you like.
Achieving a Light and Airy Texture
So, how do we actually get that light and airy texture we're all after? It's a combination of things, but here are a few key points:
- Make sure your ingredients are at room temperature – this helps them emulsify properly.
- Don't skip the creaming step (if your recipe calls for it) – this is where you incorporate air into the batter.
- Consider adding an extra egg white for added lift.
Troubleshooting Overbaking and Dryness

Spotting the Signs of an Overbaked Cake
Okay, so you've pulled your cake from the oven, but how do you really know if it's overbaked? We've all been there, staring at a cake, wondering if we've committed a baking sin. One telltale sign is a cake that's pulling away from the sides of the pan. Another is an overly browned or even slightly burnt top. The texture will also be noticeably firm and possibly even hard to the touch. And if you insert a toothpick and it comes out too clean, that's another red flag. It should have a few moist crumbs clinging to it, not be bone dry.
Retaining Moisture in Gluten-Free Cakes
Keeping moisture in gluten-free cakes can feel like a constant battle, right? Since we're missing the gluten, which usually traps moisture, we need to be extra vigilant. Here are a few things we've found helpful:
- Add applesauce or mashed banana to your batter. These act as natural humectants, drawing moisture in and keeping the cake soft.
- Don't skip the oil! Gluten-free cakes often need a bit more fat than traditional recipes to stay moist. Experiment with different oils to find your favorite.
- Consider using a water bath (bain-marie) while baking. This gentle heat helps prevent the cake from drying out too quickly.
The Perfect Baking Time for Your Cake
Finding that sweet spot for baking time is crucial. It's not just about following the recipe blindly; every oven is different! Start checking your cake a few minutes before the recommended time. A toothpick inserted into the center should come out with a few moist crumbs attached. If it's still wet, give it a few more minutes and check again. Remember, it's better to err on the side of slightly underbaked than overbaked. And don't forget the carryover cooking – the cake will continue to bake a bit even after you take it out of the oven!
Ensuring Proper Structure with Binders

We've all been there – a beautiful cake rising in the oven, only to deflate like a sad balloon once it's out. One of the biggest culprits in gluten-free baking is the lack of structure. Gluten, that stretchy protein in wheat flour, is what usually holds everything together. Without it, we need to find other ways to provide that support. That's where binders come in! They're the unsung heroes that prevent our cakes from crumbling into a pile of disappointment.
The Magic of Xanthan Gum and Other Binders
Xanthan gum is like the MVP of gluten-free baking. It mimics gluten's elasticity and helps to bind the ingredients together. It's amazing how just a small amount can make a huge difference in the texture of your cake. But it's not the only option! Other binders like guar gum, psyllium husk, or even cornstarch can also do the trick. Experimenting with different binders can help you find the perfect combination for your recipe.
When Your Gluten-Free Flour Blend Lacks a Binder
Sometimes, pre-made gluten-free flour blends don't include enough binder, or any at all! Always check the ingredient list. If you don't see xanthan gum or another binder listed, you'll definitely need to add some. Otherwise, your cake is likely to be crumbly and fall apart. It's a simple step that can save you a lot of heartache.
How Binders Prevent Crumbly Cakes
Binders work by creating a network within the batter that holds everything together. Think of it like building a house – the binder is the mortar that keeps the bricks from falling apart. Without it, the cake's structure is weak, leading to:
- A crumbly texture that falls apart easily.
- A cake that sinks in the middle.
- An overall dry and unpleasant eating experience.
So, don't underestimate the power of binders! They're essential for creating gluten-free cakes that are moist, tender, and structurally sound.
Oven Temperature and Its Impact on Your Cake
Calibrating Your Oven for Consistent Baking
Okay, let's talk about ovens. They're supposed to be these reliable heat boxes, but honestly, how many of us really trust the temperature they display? Probably not enough! An oven that's off by even 25 degrees can totally mess with your gluten-free cake. We've all been there, right? So, what can we do? First, get yourself an oven thermometer. They're cheap and will save you a lot of heartache. Place it in the center of your oven and compare it to what your oven says it's doing. If there's a difference, adjust your oven accordingly. Some ovens have a calibration setting, which is awesome. If yours doesn't, just remember the difference and adjust the temperature manually every time you bake. It's a little extra work, but so worth it for a cake that actually rises properly.
The Dangers of Opening the Oven Door Too Soon
We know, we know, it's tempting! You peek through the oven door, just to check on your precious cake. But resist! Seriously, every time you open that door, you're letting out heat, and that temperature drop can cause your gluten-free cake to sink faster than you can say "gluten." Think of it like this:
- The cake batter needs consistent heat to rise properly.
- Opening the door introduces cold air, disrupting the baking process.
- This is especially true for gluten-free cakes, which are already a bit delicate.
So, how do we avoid the temptation? Use the oven light! Watch your cake through the glass. Only open the door when you're absolutely sure it's ready to be tested for doneness. Trust us, your cake will thank you.
Even Heat Distribution for a Uniform Rise
Ever notice how one side of your cake is perfectly golden brown, while the other is still pale? That's uneven heat distribution, and it's a common problem. Here's the deal:
- Make sure your oven racks are positioned correctly. Usually, the center rack is best for cakes.
- Don't overcrowd your oven. Give your cake pan plenty of space for air to circulate.
- Consider rotating your cake halfway through baking. This helps ensure even browning and a uniform rise. Just be quick about it to minimize heat loss!
If you're still struggling with uneven baking, it might be time to consider an oven stone or baking steel. These can help distribute heat more evenly, but they also require some experimenting to get right. We've found that a little trial and error goes a long way in achieving that perfect, evenly baked gluten-free cake.
Cooling Your Gluten-Free Cake Like a Pro
The Critical Cooling Process
Okay, so you've pulled your cake from the oven, and it looks amazing. Don't get too excited and slice into it just yet! The cooling process is super important, especially for gluten-free cakes. This is when the cake's structure sets, preventing it from collapsing. Think of it like this: it's still cooking from the inside out, and needs time to stabilize.
Avoiding Collapse During Cooling
Here's what we usually do to avoid a cake disaster:
- Let the cake cool in the pan for about 10-15 minutes. This gives it a chance to firm up a bit before we mess with it.
- Then, we carefully invert it onto a wire rack. Make sure the rack is clean! We don't want any weird flavors transferring to our cake.
- Let it cool completely before even thinking about frosting. Seriously, patience is key here. We usually wait at least an hour, sometimes longer, depending on the size of the cake.
When to Remove Your Cake from the Pan
Knowing when to take the cake out of the pan is a bit of an art. If you try to remove it too soon, it might fall apart. If you wait too long, it could stick to the pan. We usually look for these signs:
- The edges of the cake should be pulling away slightly from the sides of the pan.
- The top should feel firm to the touch, not jiggly.
- If you're still unsure, gently run a knife around the edges of the pan to loosen the cake before inverting it. This has saved us more than once!
Wrapping It Up
So, there you have it! We've gone through a bunch of reasons why your gluten-free cake might be sinking and, more importantly, how to fix it. It can feel a bit like a puzzle sometimes, trying to get everything just right with gluten-free baking. But honestly, with a little bit of practice and paying attention to the details we talked about, you'll be baking amazing cakes in no time.
Don't get discouraged if your first few tries aren't perfect. We've all been there! Just keep at it, and soon you'll be enjoying perfectly fluffy, delicious gluten-free cakes every single time.

Written by
Co-founder, BakingSubs
Co-founder of BakingSubs, where he turns the science of ingredient substitutions into tested, reliable guidance for home bakers.
Related Posts
How Much Does Bakery Insurance Actually Cost? Real Numbers From 6 Policy Types
How to Manage Rush Orders as a Home Baker (Without Wrecking Your Week or Your Margins)
How to Ship Baked Goods That Arrive Fresh: 9 Operator-Tested Methods That Cut Damage Claims by 80%
Bake with Confidence
See all
Confident Gluten-Free Baker Toolkit
The science-based system that replaces gluten's seven invisible jobs so your baking turns out soft, fluffy, and foolproof — every time.

Gluten-Free Recipe Vault
Instant access to our complete library of proven gluten-free recipes — no waiting, no guesswork, just results that work tonight.

Fix Your Gluten-Free Bread
Learn the 3-step formula to make bread rise and stay soft, discover why your loaves collapse, and get a tested sandwich bread recipe that actually works.