How to Take Photos of Baked Goods With Your Phone (Without Spending a Dime on Gear You Don't Need)
Learn how to take photos of baked goods with your phone using free lighting setups, 90-second edits, and a 15-minute workflow that helps home bakers book more orders.
Malik
Your phone photos are either making you money or costing you orders — and most home bakers never find out which because they never test it. I tracked inquiry rates on my own Instagram for 6 months and found that posts with properly lit, styled phone photos generated 3.2x more DMs than quick "just finished baking" shots taken under kitchen fluorescents. Here's exactly how to close that gap with the phone you already own.
Key takeaways
- Natural window light within 3 feet of your subject outperforms any ring light or LED panel under $150 — and it's free.
- A $2 sheet of white foam board used as a bounce reflector eliminates harsh shadows that make frosting look gray.
- Shooting at a 45-degree angle works for 80% of baked goods; overhead (flat lay) works best for cookies, decorated sugar cookies, and anything flat.
- Editing in Snapseed or Lightroom Mobile for 90 seconds per photo — adjusting exposure, warmth, and shadows — is more impactful than any camera upgrade.
- Consistent photo quality directly affects your ability to raise your prices because customers anchor perceived value to visuals.
- You do not need a DSLR, studio lights, or Photoshop. Period.
Why phone photos matter more than you think for home bakery revenue
A customer scrolling Instagram or Facebook decides in about 1.3 seconds whether your baked goods look worth their price. If your custom cake photos look dim, yellowish, or cluttered, a $125 cake looks like a $40 cake. That's not a branding problem — it's a pricing problem. Megan, a home baker in Austin, told me she raised her 6-inch cake price from $65 to $95 after reshooting her portfolio with better phone photos. She lost zero customers. The cakes were identical — the photos weren't.
Your product photos show up everywhere: your Google Business Profile, order forms, DM conversations, email newsletters, and word-of-mouth shares. Every one of those touchpoints either reinforces your price or undermines it. If you're wondering why your home bakery isn't getting consistent orders, bad photos might be the silent killer you haven't considered.
The only lighting setup you need (and it costs $0–$4)
Forget ring lights. Forget softboxes. The single best light source for baked goods photography is a large window with indirect natural light — meaning the sun isn't blasting straight through it. North-facing windows are ideal. If your only window faces south or west, tape a white bedsheet over it to diffuse the light. That's it.
How to position your baked goods near the window
Place your product on a table or countertop 18–36 inches from the window. The light should come from the side (9 o'clock or 3 o'clock position relative to your camera). This creates gentle shadows that give your bakes dimension without making them look flat or harsh.
On the opposite side of the window, prop up a white foam board (available at Dollar Tree for $1.25) to bounce light back into the shadows. I tested this against no reflector on 14 different bakes and the shadow side was consistently 2–3 stops brighter with the bounce board. That's the difference between a cookie that looks chocolate brown and one that looks black on one side.
What to do when natural light isn't available
If you bake at night — and let's be honest, many of us finish decorating at 11pm — you have two options:
- Shoot the next morning. If the order isn't being picked up until the afternoon, set your alarm 20 minutes early and photograph in morning window light. This is what I recommend for portfolio shots.
- Use a daylight-balanced LED desk lamp ($18–$25) pointed at a white wall or ceiling. The bounced light mimics window light. Direct lamplight creates ugly hot spots on frosting — always bounce it.
Avoid overhead kitchen lights at all costs. They cast downward shadows that make every cake look like it has bags under its eyes. And mixed lighting (window + overhead fluorescents) creates color casts that no filter can fix cleanly.
Camera settings that actually matter on your phone
You don't need to shoot in manual mode or download a pro camera app. But three settings make a measurable difference.
Lock your exposure and focus
On iPhone, press and hold on your subject until you see "AE/AF Lock" appear. On Android, the process varies by manufacturer but usually involves a long press on the viewfinder. This prevents your phone from re-metering when you shift your composition slightly, which is why many bakers get inconsistent brightness between shots of the same product.
Turn off the flash — always
Phone flash creates flat, blown-out highlights on frosting and glazes. It makes buttercream look greasy and fondant look plastic. There is no scenario where phone flash improves a baked goods photo. Turn it off and leave it off.
Use the 1x lens (not the wide angle)
Most modern phones default to the wide-angle lens. This distorts round cakes into ovals and makes the edges of cookies look stretched. Tap "1x" on your camera to switch to the standard lens. If your phone has a 2x telephoto option, that's even better for detail shots of decorations, crumb shots, and texture close-ups.
The 3 angles that cover 90% of baked goods
Professional food photographers use dozens of angles. You need three.
| Angle | Best for | When to avoid |
|---|---|---|
| 45 degrees (3/4 view) | Layer cakes, bundt cakes, bread loaves, cupcakes, pies | Flat items like decorated cookies |
| Overhead (flat lay) | Decorated sugar cookies, cookie boxes, assortment trays, cinnamon rolls | Tall cakes (they look like circles from above) |
| Straight-on (eye level) | Layer cake cross-sections, stacked cookies, bread slices showing crumb | Single cookies or items with no height |
I shoot every product at all three angles — it takes about 4 extra minutes — and then pick the best one. For custom cakes you're pricing at $100+, having multiple angles also gives you content for different platforms. The 45-degree shot goes on Instagram, the overhead goes in your order form gallery, and the straight-on crumb shot goes in your Stories.
Backgrounds and surfaces that don't cost $50
You don't need to buy marble slabs or custom photo boards (though if you bake full-time, a $35 double-sided photo board from Amazon eventually pays for itself). Here's what works for free:
- A clean white plate on a white tablecloth. Boring? Yes. Effective? Extremely. White backgrounds make colors pop and are the easiest to edit.
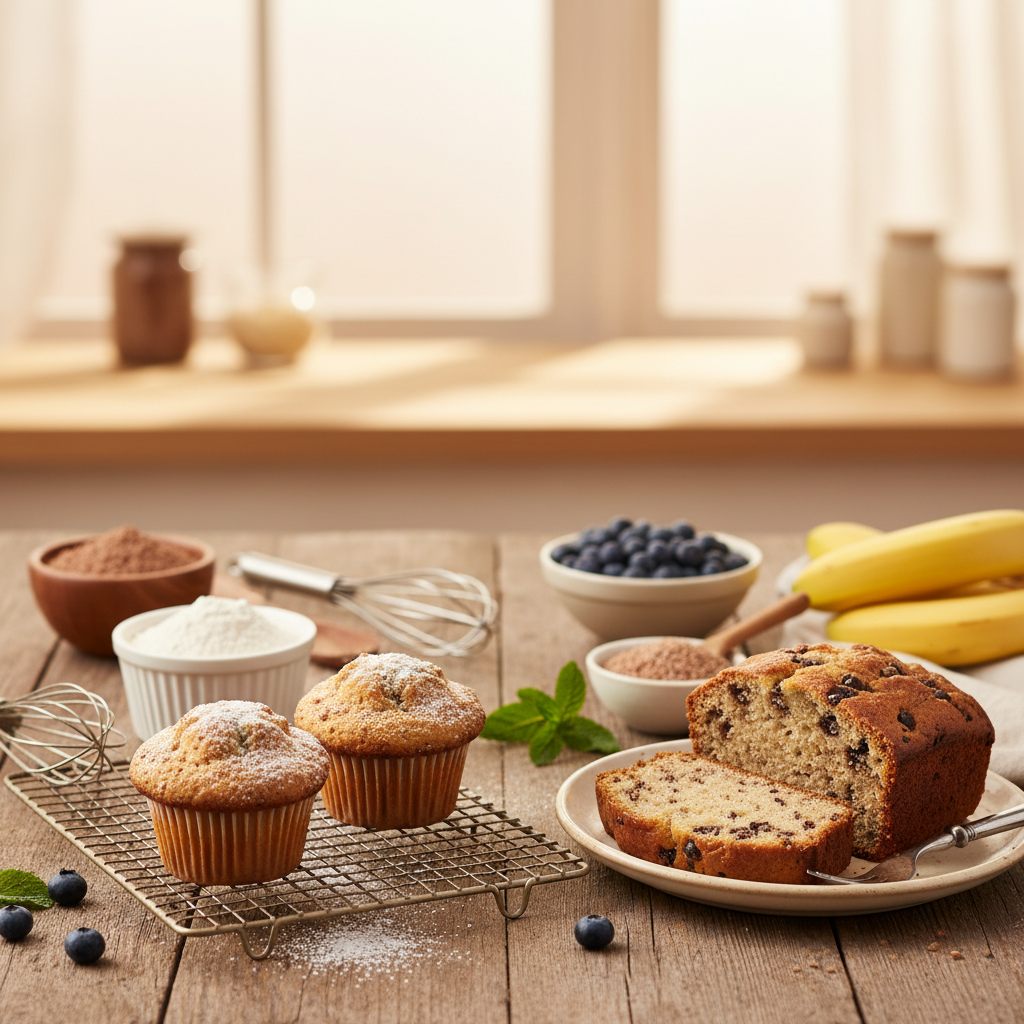
- A wood cutting board. Warm, rustic, works beautifully for bread, scones, and anything "farmhouse."
- Parchment paper on a baking sheet. Gives a bakery-in-progress feel that performs well on social media.
- A dark surface (black slate, dark wood tray). Creates drama for light-colored bakes like sugar cookies with white royal icing or lemon cakes.
What to avoid: granite countertops with visible crumbs, patterned dish towels that compete with your product, and any background that's busier than the bake itself. The rule is simple — if someone's eye goes to the background before the food, the background is wrong.
Styling tricks that take 2 minutes but look professional
Styling doesn't mean buying $200 worth of props. It means being intentional about what's in the frame.
The "less is more" rule
Put your baked good in the frame. Add one supporting element — a linen napkin, a few scattered ingredients, a cup of coffee. Stop. Three props maximum. I've seen home bakers surround a beautiful cake with flowers, plates, forks, candles, and a stack of books. The cake disappears. Your product is the star; everything else is a backup singer.
Create depth with crumbs and slices
Cut one cookie in half and lean it against the stack. Slice a piece of cake and pull it slightly away from the whole cake. Scatter a few crumbs intentionally. This creates visual interest and shows the customer what the inside looks like — which is often what sells the order. Rachel, a cookie baker in Portland, started including a broken cookie in every photo set and saw her inquiry-to-order conversion rate jump from about 35% to 52% over two months.
Use odd numbers
Three cupcakes, five cookies, one cake with one slice removed. Odd numbers create more visually appealing compositions than even numbers. This is a basic photography principle that works every time.
Editing your photos in 90 seconds flat
Raw phone photos almost always need minor adjustments. The goal isn't to make your bakes look different than reality — it's to make them look like they look in person, because phone cameras tend to underexpose, cool down warm tones, and flatten contrast.
I use Snapseed (free, available on both iPhone and Android). Here's my exact 90-second workflow:
- Brightness/Exposure: Bump up +15 to +25. Phone cameras almost always underexpose food.
- Warmth: Add +5 to +10. This counteracts the slight blue cast most phone cameras introduce.
- Shadows: Lift shadows +20 to +30. This brightens the dark side without blowing out highlights.
- Saturation: Add +5 to +8. No more. Over-saturated bakes look fake and erode trust.
- Crop: Straighten the image and crop out any distracting edges.
That's it. Five adjustments, 90 seconds. If you're spending 15 minutes editing a single photo, you're overcomplicating it. The editing should enhance what good lighting already gave you — it can't rescue a badly lit photo.
A contrarian take: I actually recommend against using Instagram's built-in filters for your product photos. They apply a uniform aesthetic that often shifts food colors in unflattering ways. The "Clarendon" filter makes chocolate look gray. The "Juno" filter makes vanilla buttercream look neon yellow. Edit manually in Snapseed, save the photo, then upload the edited version to Instagram with no additional filter.
Building a consistent photo style that becomes your brand
Consistency matters more than perfection. When someone scrolls your Instagram grid or browses your order form gallery, they should see a cohesive look — similar backgrounds, similar lighting direction, similar editing style. This visual consistency is part of what allows you to build a brand that gets repeat orders.
Pick two backgrounds you like (one light, one dark). Shoot at the same window, same time of day when possible. Apply the same Snapseed adjustments to every photo (you can save them as a preset in Lightroom Mobile if you want to level up). Within a month, your feed will look intentional — and intentional reads as professional, even if you're shooting on a kitchen table with a $1.25 foam board.
Common phone photo mistakes that cost home bakers orders
I've reviewed hundreds of home bakery Instagram accounts and the same mistakes come up repeatedly:
- Shooting under mixed lighting. Window light plus overhead kitchen light creates an orange-blue color split that makes frosting look sickly. Turn off the overhead lights.
- Including too much background. Your cake doesn't need to be a tiny object in the center of a massive photo. Fill 60–75% of the frame with the product.
- Shooting at arm's length looking down at a tall cake. This makes every cake look squat and unflattering. Back up and use the 2x lens instead.
- Not wiping the lens. Sounds obvious, but flour-dusted fingers + phone lens = every photo has a soft haze. Wipe your lens with a clean cloth before every shoot session.
- Posting the first photo you took. Take 15–25 shots, varying the angle slightly each time. Pick the best 1–2. Professional photographers shoot hundreds of frames for one hero image. You can spare 3 minutes for 20 shots.
If you're making other early mistakes in your bakery, this list of common mistakes new home bakers make in the first year covers the business side too.
When (and whether) to invest money in better photos
The honest answer is: most home bakers don't need to spend anything beyond what they already have. A phone made in the last 4 years, a window, and a foam board will produce photos good enough to support pricing up to $150–$200 per cake.
But there's a threshold where investing makes sense. If you're consistently booking $200+ custom cakes or selling decorated cookies at $60–$80 per dozen, a one-time professional photo session ($150–$300 for a local food photographer) can pay for itself in 2–3 orders by elevating your perceived value. Think of it as a business expense, not a vanity purchase.
Here's the decision framework I use:
| Your situation | Recommendation | Expected cost |
|---|---|---|
| Under $500/month in revenue | Phone photos only — invest time in lighting and editing skills | $0–$4 |
| $500–$2,000/month, growing | Phone photos + one professional shoot per quarter for hero images | $150–$300 per session |
| $2,000+/month, premium positioning | Phone for daily content, professional quarterly shoots, consider a double-sided photo board set | $35 for boards + $150–$300 per session |
If you're still in the early stages of getting your first 10 paying customers, spend zero dollars on photo gear. Spend your time learning to use window light well. That alone puts you ahead of 80% of home bakery accounts.
A 15-minute photo workflow for busy bakers
Here's the exact workflow I use when I finish an order and need photos before the customer picks it up. Total time: 12–15 minutes.
- Minutes 0–2: Set up the background surface near the window. Prop up the foam board on the shadow side. Turn off overhead lights. Wipe the phone lens.
- Minutes 2–5: Place the baked good on the surface. Take 8–10 shots at the 45-degree angle, shifting the product slightly between each shot.
- Minutes 5–7: Switch to overhead for 5–6 shots (especially if there are decorations on top).
- Minutes 7–9: Cut a slice or break a piece to show the interior. Take 5–6 shots of the cross-section at eye level.
- Minutes 9–12: Review all shots, pick the best 2–3, and run them through the 90-second Snapseed edit.
- Minutes 12–15: Save edited photos to a dedicated album on your phone (I call mine "Portfolio"). Post one to social media if timing is right; save the rest for later content.
This workflow means you never scramble for content. After a month of consistent shooting, you'll have 30–40 strong images — enough to populate your email marketing, Google Business Profile, and social feeds for weeks.
Frequently asked questions
Do I need a DSLR camera to take professional-looking photos of my baked goods?
No. Any phone made after 2020 has a camera capable of producing images sharp and detailed enough for social media, websites, and printed menus. The limiting factor for home bakery photos is almost always lighting, not camera hardware. A $1,200 DSLR in bad kitchen light will produce worse results than an iPhone 12 near a bright window with a foam board reflector.
What's the best time of day to photograph baked goods at home?
Mid-morning (9am–11am) typically provides the strongest, most even natural light without direct sun blasting through your window. Late afternoon (3pm–5pm) also works well and produces warmer tones. Avoid midday if your window gets direct sunlight — it creates harsh, contrasty shadows. If you only bake at night, shoot the next morning before delivery.
How many photos should I take of each baked good?
Take 15–25 shots minimum per product, varying your angle slightly between each frame. From those, you'll typically find 2–3 strong images worth editing and posting. Professional food photographers often shoot 200+ frames for a single hero image. More shots means more options and a better final result.
Should I use portrait mode for baked goods photos?
It depends on the shot. Portrait mode creates a blurred background (bokeh) that can look beautiful for single items like a decorated cake on a stand. But it sometimes blurs edges of the product itself, especially with irregular shapes like cookies or bread loaves. Use it selectively and always take a few shots in standard mode as backup. Check the edges of your bake at full zoom before committing to the portrait mode version.
How do I make my phone photos look consistent across different days and lighting conditions?
Shoot at the same window, same time of day, with the same background surfaces. Apply the same Snapseed or Lightroom Mobile edits to every photo — exposure +20, warmth +8, shadows +25, saturation +6 is a solid starting point you can adjust to your taste and then replicate. Consistency in process creates consistency in output, which is what makes your brand feel cohesive to potential customers.

Written by
Co-founder, BakingSubs
Co-founder of BakingSubs, where he turns the science of ingredient substitutions into tested, reliable guidance for home bakers.
Related Posts
How to Ship Baked Goods That Arrive Fresh: 9 Operator-Tested Methods That Cut Damage Claims by 80%
How Much Does Bakery Insurance Actually Cost? Real Numbers From 6 Policy Types
How to Manage Rush Orders as a Home Baker (Without Wrecking Your Week or Your Margins)
Bake with Confidence
See all
Confident Gluten-Free Baker Toolkit
The science-based system that replaces gluten's seven invisible jobs so your baking turns out soft, fluffy, and foolproof — every time.

Gluten-Free Recipe Vault
Instant access to our complete library of proven gluten-free recipes — no waiting, no guesswork, just results that work tonight.

Fix Your Gluten-Free Bread
Learn the 3-step formula to make bread rise and stay soft, discover why your loaves collapse, and get a tested sandwich bread recipe that actually works.