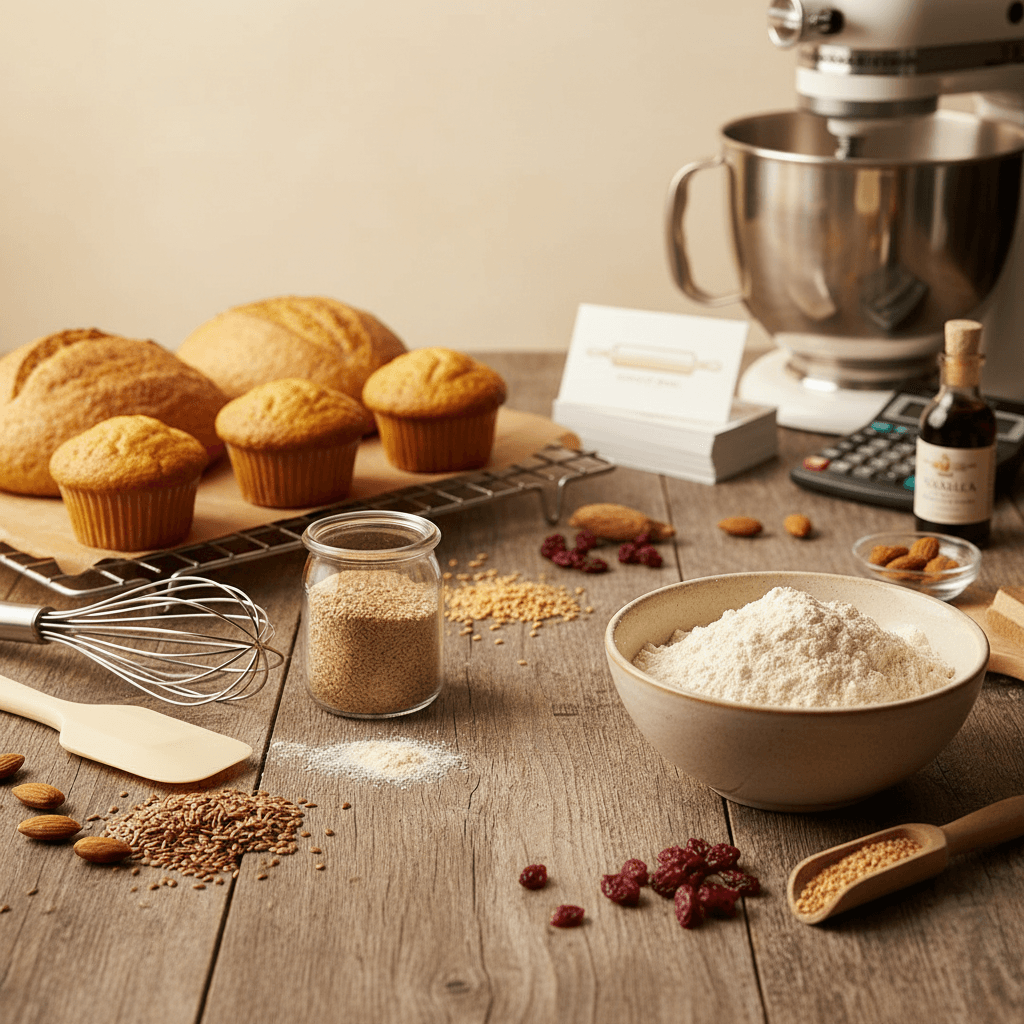
Starting a micro bakery from your kitchen is one of the lowest-risk ways to turn your baking skills into real income. This guide covers everything from legal requirements and startup costs to pricing, equipment, and getting your first orders — with actual numbers so you can plan with confidence.
Key takeaways
- Most states allow cottage food operations with annual sales caps ranging from $25,000 to $75,000 (some states have no cap at all).
- You can realistically start a micro bakery for $500 to $2,000, depending on what equipment you already own.
- Choosing a focused menu of 3-5 items is more profitable and manageable than trying to sell everything.
- Pricing should cover ingredients, labor, packaging, and overhead — most new home bakers undercharge by 30-50%.
- Consistent repeat customers matter more than viral social media posts for sustainable income.
- A food handler's permit and basic liability insurance are smart investments even when not legally required.
What is a micro bakery and how is it different from a home bakery?
A micro bakery is a small-scale baking business that operates out of your home kitchen (or sometimes a shared commercial kitchen) and sells directly to local customers. The terms "micro bakery" and "home bakery" are often used interchangeably, but a micro bakery specifically emphasizes small-batch, artisan production rather than scaling up to a storefront.
Most micro bakeries operate under cottage food laws, which allow you to sell certain homemade foods directly to consumers without a commercial kitchen. This keeps startup costs low and lets you test your business idea before committing to a lease or major equipment purchases.
Someone Just Asked Your Price — and You Froze?
Going from "I made this for you" to "that'll be $45" is a big leap. Guess too low and you're baking for free. Guess too high and you lose the order.
Most home bakers undercharge by 40–60% because they forget overhead, packaging, and their own time. The math is harder than it looks — and doing it in your head mid-text message is a recipe for resentment.
The free Home Bakery Pricing Calculator does the math for you. Plug in ingredients, batch time, and overhead — see exactly what it costs to make and what to charge for a real profit.
Get the free Home Bakery Pricing Calculator
Stop guessing your prices. Plug in ingredients, time, and overhead — see exactly what to charge.
Step 1: understand your state's cottage food laws
Before you bake a single loaf for sale, you need to know what your state allows. Every state in the U.S. has some form of cottage food legislation, but the rules vary significantly. Here's what to research for your specific state:
Key cottage food law variables
| Factor | Common range | What to check |
|---|---|---|
| Annual sales cap | $25,000 - $75,000+ | Some states like Utah and Wyoming have no cap |
| Allowed products | Varies widely | Most allow baked goods; some restrict cream-filled or refrigerated items |
| Labeling requirements | Basic to detailed | Many require "Made in a home kitchen" disclaimer plus allergen info |
| Permits needed | None to food handler's card | Some states require annual registration or a basic permit ($25-$75) |
| Where you can sell | Direct to consumer | Some allow online sales and delivery; others restrict to farmers markets or in-person only |
Start by searching "[your state] cottage food law" on your state's Department of Agriculture or Health Department website. If you're in a state with strict limitations, look into whether a shared commercial kitchen rental ($15-$25/hour in most areas) makes sense as an alternative.
One thing that trips people up: allergen labeling. If you're doing any gluten-free baking, you need to be especially careful about cross-contamination claims and labeling. We'll cover that more below.
Step 2: choose your niche and signature menu
The most successful micro bakeries don't try to be everything to everyone. Pick a focused niche and build a reputation around it. Here are some proven micro bakery niches:
- Artisan sourdough bread — weekly subscription loaves are a goldmine for repeat orders
- Gluten-free baked goods — huge demand, less competition, and customers are willing to pay premium prices
- Decorated cookies — high margins, especially for events and holidays
- Specialty cakes — birthday and celebration cakes with a signature style
- Allergy-friendly baking — serving the allergy-friendly community builds incredibly loyal customers
We recommend starting with 3-5 items maximum. This lets you perfect your recipes, streamline your ingredient purchasing, and build efficiency in your workflow. You can always expand later once you have consistent demand.
If you're considering a gluten-free micro bakery, you already have a built-in advantage — customers with dietary restrictions are actively searching for reliable local bakers and will pay more for quality. Understanding flour substitutions and how different gluten-free flours perform is essential for consistent results.
If you're new to gluten-free baking or want to tighten up your substitution skills, the Confident Gluten-Free Baker Toolkit walks you through flour blends, binder ratios, and troubleshooting so your products are consistently excellent — which is non-negotiable when you're selling to paying customers.
Step 3: calculate your real startup costs
One of the biggest advantages of a micro bakery is the low barrier to entry. Here's a realistic breakdown of what you'll spend to get started:
| Category | Budget start | Mid-range start | Notes |
|---|---|---|---|
| Permits and licenses | $0 - $75 | $75 - $200 | Varies by state; includes food handler's card |
| Liability insurance | $200 - $350/year | $350 - $500/year | Not always required but highly recommended |
| Equipment upgrades | $100 - $300 | $300 - $800 | Scale, extra sheet pans, cooling racks, thermometer |
| Initial ingredients | $75 - $150 | $150 - $300 | First batch of bulk flour, sugar, butter, etc. |
| Packaging | $50 - $100 | $100 - $250 | Boxes, bags, labels, stickers |
| Marketing basics | $0 - $50 | $50 - $150 | Business cards, simple website or social media setup |
| Total | $425 - $1,025 | $1,025 - $2,200 |
If you already have a well-stocked kitchen with decent equipment, you can absolutely start on the lower end. The most important investments are a reliable digital scale (essential for consistent recipes), a good oven thermometer, and professional-looking packaging.
Equipment you probably already own
Don't rush out and buy everything new. Most home bakers already have mixing bowls, measuring tools, a stand mixer or hand mixer, baking sheets, and basic pans. Focus your spending on filling gaps rather than upgrading what works.
Equipment worth investing in early
A few items make a real difference when you're producing in volume: a digital kitchen scale (around $25-$40), extra half-sheet pans ($12-$15 each), and a good oven thermometer ($7-$10). If you're doing bread, a Dutch oven or baking stone is worth the investment.
Step 4: price your products for profit (not just to cover costs)
Underpricing is the number one mistake new micro bakery owners make. Here's a straightforward formula that works:
Price = (Ingredient Cost + Packaging Cost) x 3 to 4
This multiplier accounts for your labor, overhead (utilities, equipment wear, cleaning supplies), and a reasonable profit margin. Many experienced cottage bakers use a 4x multiplier, especially for items that require significant hands-on time like decorated cookies or layered cakes.
Real pricing examples
| Product | Ingredient + packaging cost | Suggested retail price | Notes |
|---|---|---|---|
| Sourdough loaf | $2.50 - $3.50 | $8 - $14 | Higher end for specialty grains or add-ins |
| Dozen cookies | $3.00 - $5.00 | $12 - $20 | Decorated cookies can go much higher ($36-$60/dozen) |
| 9-inch cake | $8.00 - $15.00 | $35 - $65 | Custom decoration adds value |
| Gluten-free muffins (6-pack) | $4.00 - $6.00 | $15 - $24 | Specialty dietary items command premium pricing |
Don't apologize for your prices. If someone says "I can get a loaf of bread at the grocery store for $4," that's fine — they're not your customer. Your customers value handmade quality, local sourcing, and the care that goes into small-batch baking.
Step 5: set up your kitchen for production
You don't need a commercial kitchen, but you do need to think about your home kitchen differently when it becomes a production space. Here are the practical changes to make:
- Dedicated storage — Keep business ingredients separate from family groceries. This is especially critical if you're baking allergen-free products.
- Batch scheduling — Plan your baking days around your oven capacity. Most home ovens fit 2-3 sheet pans at once, so calculate how many batches you need per order cycle.
- Cooling and packaging station — Set up a clean area with cooling racks and all your packaging supplies within reach.
- Cleaning protocol — Establish a consistent cleaning routine between batches, especially if you handle multiple allergens.
- Ingredient inventory system — Even a simple spreadsheet tracking what you have, what you need, and what each recipe costs prevents last-minute grocery runs and helps you spot rising costs.
If you're running a gluten-free micro bakery out of a kitchen that also handles wheat, cross-contamination is a serious concern. You'll need dedicated equipment (or extremely thorough cleaning protocols) and honest labeling. Our guide on troubleshooting gluten-free texture issues can help you dial in your recipes before you start selling.
Step 6: get your first customers
This is where most new micro bakery owners stall. You have great products, legal compliance, and beautiful packaging — but no orders. Here's how to get traction:
Start with your immediate network
Your first 10-20 customers will almost always come from people you already know. Tell friends, family, neighbors, and coworkers. Bring samples to gatherings. Post on your personal social media (not a business page — your personal profile gets more reach).
Farmers markets and local events
A farmers market booth ($20-$50/week in most areas) puts your products in front of people who are already looking to buy local food. It's also the fastest way to get real feedback on your pricing and product lineup.
Word of mouth and referrals
Include a business card or small flyer with every order. Offer a small discount or free item for referrals. The micro bakery business is fundamentally a local, relationship-driven business — one happy customer who tells five friends is worth more than any Instagram post.
Simple online presence
You don't need a fancy website to start. A Google Business Profile (free) and an Instagram or Facebook page with good photos of your products, your menu, and how to order is enough. Make it dead simple for people to place an order — a direct message, a text number, or a basic Google Form all work.
Step 7: build systems for repeat orders and growth
The difference between a micro bakery that earns a little side money and one that generates consistent income is systems. Here's what to put in place early:
- Order deadlines — Set a weekly cutoff (e.g., orders by Wednesday for Saturday pickup). This lets you plan your ingredient purchasing and baking schedule.
- Pre-order model — Bake only what's ordered. This eliminates waste and guarantees you're profitable on every batch.
- Standard operating procedures — Write down your recipes with exact weights (not volume measurements), your packaging process, and your cleaning checklist. This consistency is what builds trust.
- Customer list — Keep a simple email or text list of every customer. A weekly "here's what I'm baking this week" message is the most effective marketing tool a micro bakery has.
- Track your numbers — Record every expense and every sale from day one. You need to know your actual profit per item, not just your revenue.
If you're stocking your pantry on a budget, buying ingredients in bulk once you have consistent order volume can significantly improve your margins. A 25-pound bag of flour costs much less per pound than a 5-pound bag.
Common mistakes that kill micro bakeries early
We've seen these patterns over and over with home bakers who launch and then struggle. Avoid these and you're already ahead of most:
- Underpricing — If you're not making at least $15-$20/hour for your labor after ingredient costs, your prices are too low.
- Too many menu items — Every new item adds complexity to purchasing, production, and inventory. Start small.
- No boundaries on orders — Without clear order deadlines and pickup times, you'll burn out doing custom requests at all hours.
- Ignoring the business side — Tracking expenses, understanding your margins, and setting aside money for taxes aren't optional.
- Waiting until everything is perfect — Your packaging, logo, and website don't need to be perfect to start. They need to be clean and professional, and you can improve as you go.
Frequently asked questions
How much money can you make with a micro bakery from home?
Most micro bakeries earn between $500 and $2,000 per month in their first year, with experienced cottage bakers reaching $3,000 to $5,000+ monthly. Your income depends on your state's sales cap, your pricing, and how many orders you can handle. Some states cap annual cottage food sales at $25,000-$75,000, while others have no limit.
Do you need a license to sell baked goods from home?
It depends on your state. Most states allow cottage food sales with minimal licensing — sometimes just a food handler's permit ($10-$25) or a basic registration. A few states require a home kitchen inspection. Check your state's Department of Agriculture website for the specific requirements where you live.
What baked goods sell best from a home bakery?
Sourdough bread, decorated sugar cookies, specialty cakes, and items that serve dietary niches (gluten-free, vegan, allergy-friendly) tend to sell best. Products that are hard to find in local grocery stores or that offer a clear quality advantage over commercial options command the best prices and build the most loyal customer bases.
How do you handle food safety in a home micro bakery?
Get a food handler's certification (available online for $10-$25 in most states), use a digital thermometer to verify oven temperatures, store ingredients properly, and maintain a clean workspace. If you're handling allergens, keep dedicated equipment and be transparent on your labels. Liability insurance ($200-$500/year) is a smart investment for additional protection.
Can you run a gluten-free micro bakery from a shared kitchen?
Yes, but cross-contamination is the biggest challenge. If your home kitchen also handles wheat, you'll need dedicated baking equipment, thorough cleaning protocols, and honest labeling about your production environment. Some gluten-free micro bakers use a shared commercial kitchen that is certified gluten-free, which adds credibility and safety. Understanding common gluten-free baking issues helps you deliver consistent quality to customers who depend on it.
Ready to turn your baking into a real business?
Starting a micro bakery is exciting, but the bakers who actually build consistent income aren't just great at baking — they have a system for getting and keeping customers.
Want a proven system for getting consistent orders? This free masterclass covers the 3 biggest mistakes new home bakers make and how to actually get repeat customers — without relying on social media.

Written by
Co-founder, BakingSubs
Co-founder of BakingSubs, where he turns the science of ingredient substitutions into tested, reliable guidance for home bakers.
Related Posts
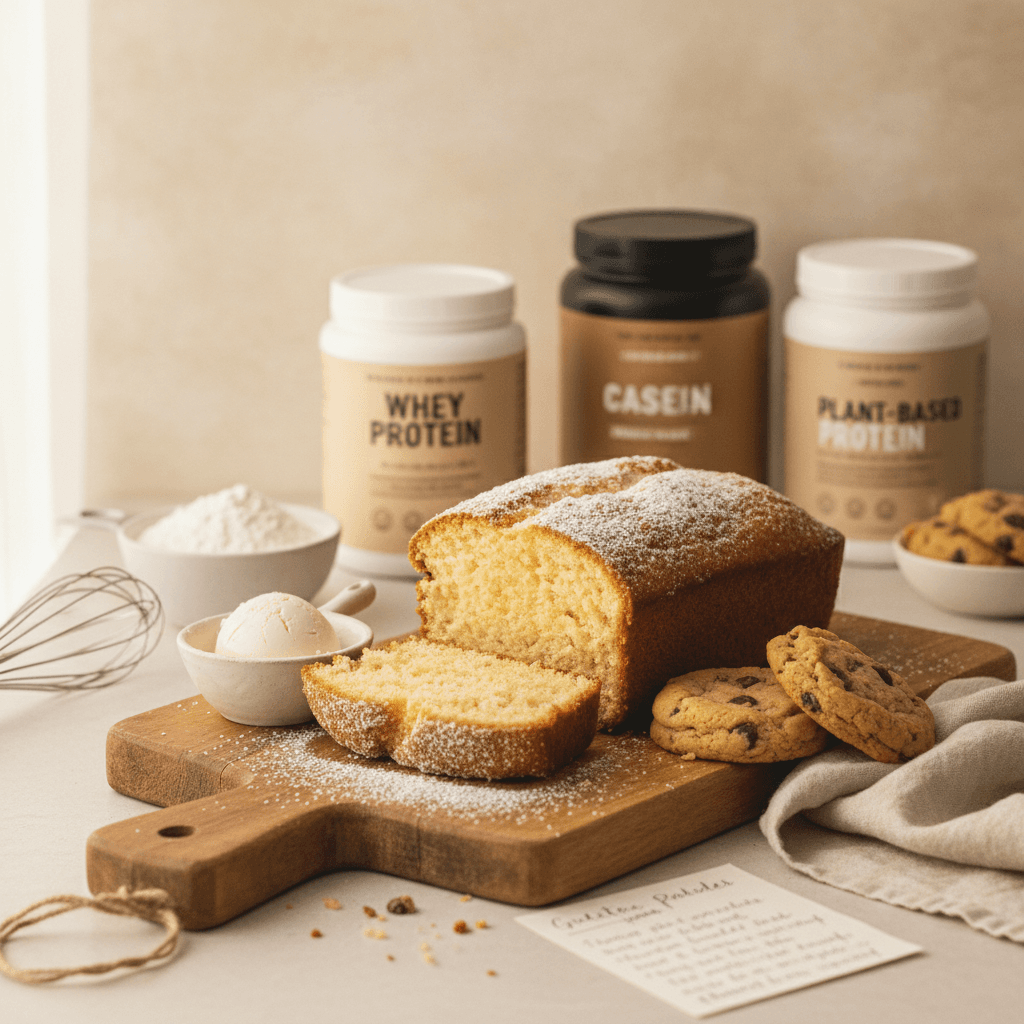
Protein Powder as Flour Replacement in Baking: Why It Fails (and 5 Fixes That Actually Work)
Almond Flour vs Coconut Flour for Keto Baking: 5 Differences That Actually Change Your Results
Monk Fruit Sweetener for Baking: 5 Mistakes That Ruin Texture (and How to Fix Each One)
Bake with Confidence
See all
Confident Gluten-Free Baker Toolkit
The science-based system that replaces gluten's seven invisible jobs so your baking turns out soft, fluffy, and foolproof — every time.

Gluten-Free Recipe Vault
Instant access to our complete library of proven gluten-free recipes — no waiting, no guesswork, just results that work tonight.

Fix Your Gluten-Free Bread
Learn the 3-step formula to make bread rise and stay soft, discover why your loaves collapse, and get a tested sandwich bread recipe that actually works.