

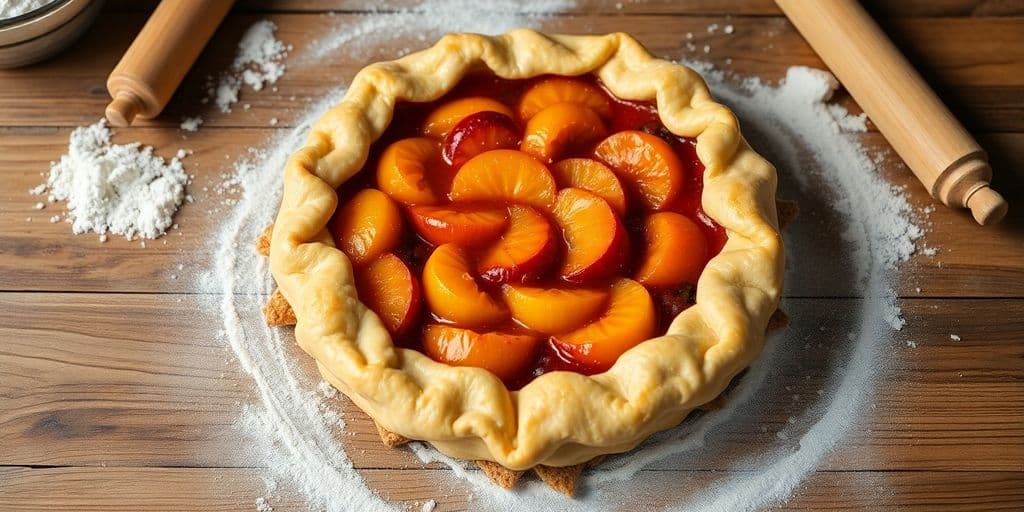
Nothing beats the satisfaction of cutting into a perfectly flaky crust. Getting there comes down to a handful of principles, and once you know them, a great crust is well within reach.
Key Takeaways
- Keep everything cold! Your butter, your tools, even your hands if possible
- Mix just enough to combine - overworking is your enemy
- Roll with confidence from the center outward
- Give your dough time to rest (it deserves a break!)
- Don't go overboard with flour when rolling
The Basics: What Makes a Flaky Crust?
Here's the thing about pie crust—it's simple but finicky. The perfect crust is all about balance: tender yet flaky, substantial but not heavy.
The secret really comes down to understanding a few key principles.
Think of pie crust as layers. You want thin sheets of fat (usually butter) sandwiched between layers of flour. When those butter pieces hit the hot oven, they create steam pockets, which give you that heavenly flakiness we're all after.
Three non-negotiables for great crust:
- Cold ingredients (seriously, COLD)
- Minimal handling (less is more!)
- Patience (rushing = disaster)
Essential Ingredients for Flaky Pie Crust
Choosing the Right Flour
Most recipes call for all-purpose flour, and that works great. Pastry flour, which has less protein, makes an even more tender crust. But all-purpose is a reliable default that's probably already in your pantry.
Skip bread flour, though — its extra protein gives you something closer to a pizza crust than a pie crust.
Selecting the Best Fat for Flakiness
This is where things get interesting. Butter is the favorite for flavor, but plenty of bakers swear by shortening or even lard.
Here's my take:
- Butter = best flavor, but trickier to work with
- Shortening = easier to handle, but lacks flavor
- Lard = old-school option with its own unique taste
A 75% butter, 25% shortening mix gives you the best of both worlds. The butter provides that irresistible flavor, while the shortening adds insurance for flakiness. If you're vegan or out of butter, check out these butter substitution options that actually work.
The Importance of Cold Ingredients
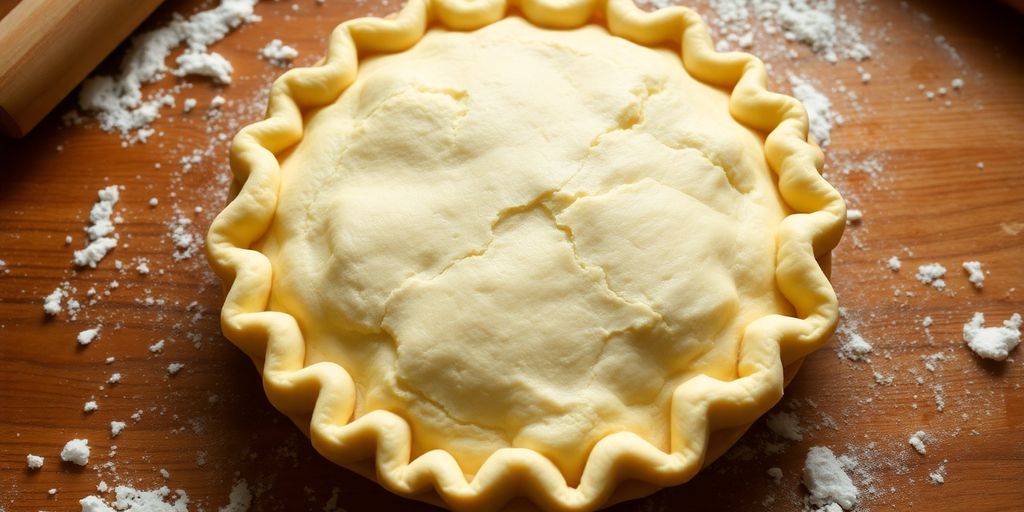
Chilled ingredients can seem like a fussy baker's thing, but they're what keep the butter in distinct pieces until it hits the oven — and that's where the flakiness comes from.
It's worth going to extremes:
- Cube your butter and pop it in the freezer for 15 minutes before starting
- Use ice water (literally water with ice cubes, strained out)
- Chill your FLOUR (yes, really!)
- If your kitchen is warm, chill your bowl and pastry cutter too
Step-by-Step Guide to Making Flaky Pie Crust
Mixing the Dough: Techniques for Success
This is where most people go wrong. You want to mix JUST enough to hold things together. Overworking develops gluten, which is great for bread but terrible for pie crust.
The method:
- Whisk dry ingredients together
- Cut in cold fat until you have pea-sized pieces
- Add ice water a tablespoon at a time, mixing gently
- Stop the second you can press some dough together and have it hold
The dough should look a bit shaggy, not smooth and cohesive. Overworked dough bakes into a crust you could bounce off the wall.
Some bakers add a tablespoon of white vinegar to their ice water and swear it helps prevent gluten development. Whether it makes a real difference is debatable, but it's an easy addition to try.
Rolling Out the Dough
A lot of things can go wrong when you're rolling out the dough. It can stick, tear, or just look like an amoeba rather than a circle.
Tips for better rolling:
- Let the dough rest in the fridge for at least 30 minutes first
- Use just enough flour to prevent sticking—too much dries out the crust
- Roll from the center outward, rotating the dough a quarter turn after each roll
- Don't rush! If the dough starts getting too warm, pop it back in the fridge
Rolling between two sheets of parchment paper can be a lifesaver when you're first learning. It prevents sticking without adding excess flour. Once you're comfortable, a lightly floured surface works too.
Common Mistakes to Avoid
Overworking the Dough
This is a big one. Overworking the dough develops the gluten in the flour, which results in a tough, not-so-flaky crust. Think of it like this: you want tender, not chewy. Here's how to avoid it:
- Mix until just combined. Seriously, stop when it looks like it's almost there. A few streaks of flour are okay.
- Use cold ingredients. This helps prevent the gluten from developing too quickly.
- Handle the dough gently. No need to manhandle it!
Overworked dough is a pie-baker's worst nightmare. It's the difference between a light, flaky crust and something resembling cardboard. Treat your dough with kindness, and it will reward you.
Using Too Much Flour
It's tempting to keep adding flour when the dough seems sticky, but resist! Too much flour will make your crust dry and dense. Nobody wants that. Here are some tips:
- Use a light hand when flouring your work surface. A little goes a long way.
- Measure your flour accurately. Spoon and level, or use a kitchen scale for best results.
- If the dough is sticky, chill it for a bit. Cold dough is easier to handle. If you want to use sufficient butter in your recipe, make sure to measure correctly.
It's better to have a slightly sticky dough than one that's overloaded with flour. You can always add a tiny bit more if absolutely necessary, but err on the side of caution. Remember, practice makes perfect, and soon you'll be a pie crust pro!
Baking Tips for a Perfect Finish

Starting with a hot oven (around 425°F) helps create those steam pockets for flakiness. Bake at this temperature for about 15 minutes, then reduce to 375°F to finish.
For custard or liquid fillings, blind baking is your friend. Line your unbaked crust with parchment and fill it with dry beans or pie weights. This prevents the dreaded "soggy bottom" that Paul Hollywood is always complaining about on The Great British Bake Off.
An egg wash (just a beaten egg with a splash of water) brushed on the crust gives a beautiful golden color. For sweet pies, sprinkle a little sugar on top, too, for sparkle and crunch.
One more trick: shield your crust edges with foil if they're browning too quickly. You can buy fancy pie shields, but honestly, strips of aluminum foil work just fine.
If you're interested in how different ingredients affect your crust's texture, check out our deep dive on creating the perfect cake texture—many of the same principles apply to pie!
Wrapping It Up
Each pie teaches you something new. Pay attention to how the dough feels, how it rolls, how it bakes. You'll still mess up sometimes — that's how you learn.
Even an imperfect crust usually tastes pretty damn good. The journey to perfect pie crust is ongoing — there's always another little trick to pick up. Just keep baking, pay attention to details, and enjoy the process. Your perfect pie crust is out there waiting for you to discover it!

Written by
Co-founder, BakingSubs
Co-founder of BakingSubs, where he turns the science of ingredient substitutions into tested, reliable guidance for home bakers.
Related Posts
Bake with Confidence
See all
Confident Gluten-Free Baker Toolkit
The science-based system that replaces gluten's seven invisible jobs so your baking turns out soft, fluffy, and foolproof — every time.

Gluten-Free Recipe Vault
Instant access to our complete library of proven gluten-free recipes — no waiting, no guesswork, just results that work tonight.

Fix Your Gluten-Free Bread
Learn the 3-step formula to make bread rise and stay soft, discover why your loaves collapse, and get a tested sandwich bread recipe that actually works.