
Making your own homemade vanilla extract is not only simple but also a fantastic way to save money and enhance your baking. With just a few ingredients and some patience, you can create a rich and flavorful extract that far surpasses the store-bought versions. Plus, you have complete control over the flavor strength, making it a worthwhile kitchen project for any baking enthusiast.
Key Takeaways
- Homemade vanilla extract is easy to make and requires just vanilla beans and alcohol.
- You can save money by making your own, especially with fluctuating vanilla prices.
- Using quality vanilla beans and the right alcohol can significantly impact the flavor.
- You can reuse vanilla beans for multiple batches of extract, maximizing your investment.
- Homemade vanilla extract can be stored for long periods, allowing you to enjoy its flavor over time.
What You Need for Homemade Vanilla Extract
So, you wanna make your own vanilla extract? Awesome! It's way easier than you think, and the flavor is just...chef's kiss. Here's the lowdown on what you'll need to get started. Trust me, once you taste homemade, you'll never go back to the store-bought stuff. Plus, it makes a killer gift!
Essential Ingredients
Okay, let's talk ingredients. You really only need two things, which is why this is so simple. But the quality of those two things makes all the difference. Seriously, don't skimp here!
- Vanilla Beans: This is where the magic happens. You can use different types of beans for different flavor profiles. More on that later. I usually buy mine online to save a few bucks.
- Alcohol: Vodka is the classic choice because it has a neutral flavor, but you can also use bourbon, rum, or even brandy for a different twist. Just make sure it's at least 80 proof.
Recommended Tools
Alright, you don't need a ton of fancy equipment, but a few things will make your life a whole lot easier. Think of it as investing in your future vanilla-making happiness.
- Glass Bottles or Jars: You'll need something to store your extract in while it's doing its thing. Make sure they have a tight seal! I like using 8-ounce bottles with swing tops.
- A Sharp Knife: For splitting the vanilla beans. This helps release all those yummy flavors.
- Funnel: Optional, but it makes pouring the alcohol into the bottles way less messy. Trust me, you'll thank me later.
Choosing Quality Vanilla Beans
Okay, this is important. Not all vanilla beans are created equal. The type of bean you choose will have a big impact on the final flavor of your extract. Here's a quick rundown:
- Madagascar Bourbon Vanilla Beans: These are the most common and have a classic vanilla flavor. Sweet, creamy, and perfect for everyday use.
- Tahitian Vanilla Beans: These have a more floral and fruity flavor. Great for desserts where you want a more delicate vanilla note.
- Mexican Vanilla Beans: These have a spicier, almost smoky flavor. Awesome for chocolate desserts or anything that needs a little extra kick.
Don't be afraid to experiment! Try different types of beans to find your favorite flavor profile. You can even mix and match! Just make sure you're buying from a reputable source to ensure you're getting the real deal.
Also, consider the grade of the bean. Grade B beans are often cheaper and work great for extract since you're extracting the flavor anyway. You can find high-quality Tahitian vanilla beans online if you want to splurge a little.
Understanding Vanilla Extract Types
Single-Fold Vs Double-Fold
Most of the vanilla extract you find in stores is single-fold. Single-fold extract is, well, less potent. To make your own single-fold, you'd need around 6 vanilla beans for every 8 ounces of alcohol. I like a stronger vanilla flavor, so I usually go for something closer to double-fold. Double-fold vanilla is more concentrated and has a richer flavor. It requires more vanilla beans, which makes it a bit pricier. I usually aim for about 8 vanilla beans (around .75 to 1 ounce) per 8 fluid ounces of alcohol. It's a good balance between taste and cost.
Flavor Profiles
Did you know that vanilla beans aren't all the same? They each have their own unique flavor profile. Here are a few common types:
- Madagascar Vanilla: This is a super common type, known for its creamy and rich flavor. It's a safe bet if you're not sure what to choose.
- Mexican Vanilla: This one has a darker, almost smoky flavor. It can add a really interesting depth to your baking.
- Tahitian Vanilla: Also pretty popular, Tahitian vanilla has a rich, floral flavor. It's a bit more delicate than Madagascar vanilla.
Any of these are great choices for making vanilla extract. It really just comes down to personal preference. Experiment and see which one you like best!
Choosing the Right Type for Your Needs
So, how do you pick the right vanilla extract type for your baking? Well, it depends on what you're making! For everyday stuff like cookies or cakes, single-fold is usually fine. But if you want a really pronounced vanilla flavor, like in vanilla sugar or ice cream, go for double-fold. Also, think about the flavor profile. If you're making something with chocolate, maybe try Mexican vanilla to complement the dark, rich flavors. And remember, you can always adjust the amount of extract you use to get the flavor just right. Don't be afraid to experiment! Just be mindful of common mistakes in baking with sugar, like using the wrong sugar substitutes or not accounting for sugar's role in texture.
Reasons to Make Homemade Vanilla Extract

Why bother making your own vanilla extract when you can just grab a bottle at the store? Well, there are actually some pretty compelling reasons! Let's get into it.
Cost Efficiency
Okay, let's be real, vanilla extract can be expensive, especially the good stuff. And the price seems to jump around all the time! Making your own is way more budget-friendly in the long run. Think about it: you buy some vanilla beans and a bottle of vodka (or bourbon, if you're feeling fancy), and you're set for months, maybe even years. Plus, you can reuse those beans a few times, which stretches your dollar even further. It's a win-win!
Flavor Control
Have you ever bought a bottle of vanilla extract that just tasted… weak? Like it was missing that rich, deep vanilla flavor? That's because some store-bought brands skimp on the vanilla or use artificial ingredients. When you make your own, you're in charge of the flavor. Want a super-strong vanilla punch? Add more beans! Prefer a more subtle flavor? Use fewer. It's all up to you. You can even experiment with different types of beans to create unique flavor profiles.
Healthier Ingredients
Ever read the label on your store-bought vanilla extract? You might be surprised to find things like corn syrup or other additives. Yuck! When you make your own, you know exactly what's going in it: vanilla beans and alcohol. That's it! No weird chemicals or unnecessary ingredients. It's a much cleaner, healthier option. Plus, knowing exactly what's in your extract can be a big relief, especially if you have allergies or sensitivities. You can even use plant-based milks to make a non-alcoholic version, though the flavor extraction might be different.
Making your own vanilla extract isn't just about saving money or getting a better flavor. It's about taking control of what you're putting into your food. It's about knowing that you're using pure, simple ingredients to create something delicious. And that's a pretty good feeling.
Plus, you can use vanilla bean paste to add an even richer flavor to your extract!
Tips for Making Homemade Vanilla Extract

Splitting Vanilla Beans
Okay, so you've got your beans and your booze, now what? Don't just toss those vanilla beans in whole! Splitting them open is key. This exposes more of the surface area, letting the alcohol really get in there and pull out all that delicious vanilla flavor. I usually just use a small, sharp knife and slice them lengthwise. You don't have to go all the way through, just enough to open them up. Trust me, it makes a difference!
Reusing Vanilla Beans
Don't throw those beans away after your first batch of extract! You can totally reuse them. The flavor won't be as intense as the first time around, but they still have plenty to give. I usually make a second, smaller batch of extract with the used beans, or I'll toss them into a jar of sugar to make homemade vanilla sugar. You can even dry them out and grind them into vanilla powder. Get creative!
Accelerating the Extraction Process
Alright, so the biggest downside to making your own vanilla extract is the wait time. But, there are a few things you can do to speed things up a bit.
- First, make sure you're using good quality vanilla beans. They'll release their flavor faster.
- Second, give your jar a good shake every few days. This helps to circulate the alcohol and distribute the flavor.
- Third, store your extract in a warm place (but not in direct sunlight). A slightly warmer temperature can help speed up the extraction.
Just remember, patience is a virtue! Even with these tips, it's still going to take a few months for your extract to reach its full potential. But trust me, it's worth the wait. You can also try using a vanilla bean paste for a quicker vanilla flavor in your recipes.
Exploring Budget-Friendly Vanilla Substitutes
Using Vanilla Bean Paste
Vanilla bean paste is a fantastic alternative to extract, offering a more intense vanilla flavor because it contains the tiny vanilla seeds. It's basically vanilla extract but with the added visual appeal and flavor boost of those little black specks. You can usually substitute it 1:1 for vanilla extract in recipes. It might be a bit pricier than extract, but you often need less to achieve the same level of vanilla goodness. Plus, seeing those specks in your baked goods just makes them look extra fancy!
Homemade Vanilla Sugar
Don't toss those spent vanilla beans! Instead, bury them in a jar of sugar. Over time, the sugar will absorb the vanilla flavor, creating a fragrant and delicious vanilla sugar. It's super easy to make and adds a subtle vanilla touch to coffee, tea, or baked goods. Here's how:
- Let your vanilla beans dry out completely after using them for extract.
- Place the dried beans in a jar of granulated sugar.
- Seal the jar and let it sit for a few weeks, shaking occasionally.
Vanilla sugar is a great way to use up leftover vanilla beans and infuse sugar with a delicate vanilla flavor. It's perfect for sprinkling on top of muffins or adding to your morning coffee.
Extracting Flavor from Other Ingredients
Believe it or not, you can get vanilla-like flavors from other ingredients! Here are a few ideas:
- Almond Extract: Almond extract has a warm, nutty flavor that can mimic vanilla in some recipes. Use it sparingly, as it's quite potent. A little goes a long way!
- Maple Syrup: A good quality maple syrup adds sweetness and a hint of caramel that can complement other flavors in place of vanilla. It works especially well in recipes with nuts or warm spices.
- Other Extracts: Consider extracts like rum or evaporated milk substitutes to add depth and complexity to your recipes. They won't taste exactly like vanilla, but they can provide a similar warmth and richness.
Storing and Using Your Homemade Vanilla Extract
Best Storage Practices
Okay, so you've made your own vanilla extract – awesome! Now, let's talk about keeping it in tip-top shape. The key here is to protect it from light and heat. Think of your vanilla extract like a vampire; it hates the sun. Here's what I do:
- Use dark glass bottles. Amber or cobalt blue are great. If you don't have those, no biggie, just...
- Store the extract in a cool, dark place. A pantry or cabinet works perfectly. Avoid spots near the stove or oven.
- Make sure the bottle is sealed tightly. You don't want any of that precious vanilla goodness evaporating!
I like to give my bottles a gentle shake every now and then, just to keep things mixed up. It probably doesn't make a huge difference, but it makes me feel like I'm doing something extra to care for it.
How to Use in Recipes
Using your homemade vanilla extract is just like using the store-bought stuff, but with a little extra pride! Generally, you can substitute it 1:1 in any recipe that calls for vanilla extract. However, because homemade extract can be a bit stronger (especially if you used really good beans), you might want to start with a little less and then add more to taste. I use it in everything from cookies and cakes to vanilla bean ice cream and even my morning coffee.
Here are some ideas:
- Baked goods: Cakes, cookies, muffins, brownies – you name it!
- Desserts: Puddings, custards, ice cream, whipped cream.
- Beverages: Coffee, tea, smoothies, cocktails.
Shelf Life and Aging Tips
Here's the best part: homemade vanilla extract basically lasts forever. Seriously! The alcohol acts as a preservative, so it won't go bad. However, the flavor will continue to develop and deepen over time. The longer it sits, the better it gets. I've had some batches that have been aging for years, and they're amazing. To keep the flavor developing nicely:
- Keep the vanilla beans in the bottle. They'll continue to infuse flavor into the alcohol.
- Top off the bottle with more alcohol as you use the extract. This keeps the beans submerged and ensures you always have plenty of vanilla on hand. Use a decent brand of alcohol for the best results.
- Don't be afraid to experiment! Try adding different types of vanilla beans or even other flavorings, like citrus zest or spices, to create your own unique blends.
Wrapping It Up
So there you have it! Making your own vanilla extract is not just easy, it’s also a great way to save some cash and get a richer flavor than most store-bought options. Plus, you can tweak it to your liking. And if you ever run out or need a quick fix, those budget-friendly substitutes we talked about can really come in handy. Whether you’re baking cookies or whipping up a cake, having homemade vanilla extract on hand can make all the difference. So why not give it a shot? You might just find that your baked goods taste even better than before!

Written by
Co-founder, BakingSubs
Co-founder of BakingSubs, where he turns the science of ingredient substitutions into tested, reliable guidance for home bakers.
Related Posts
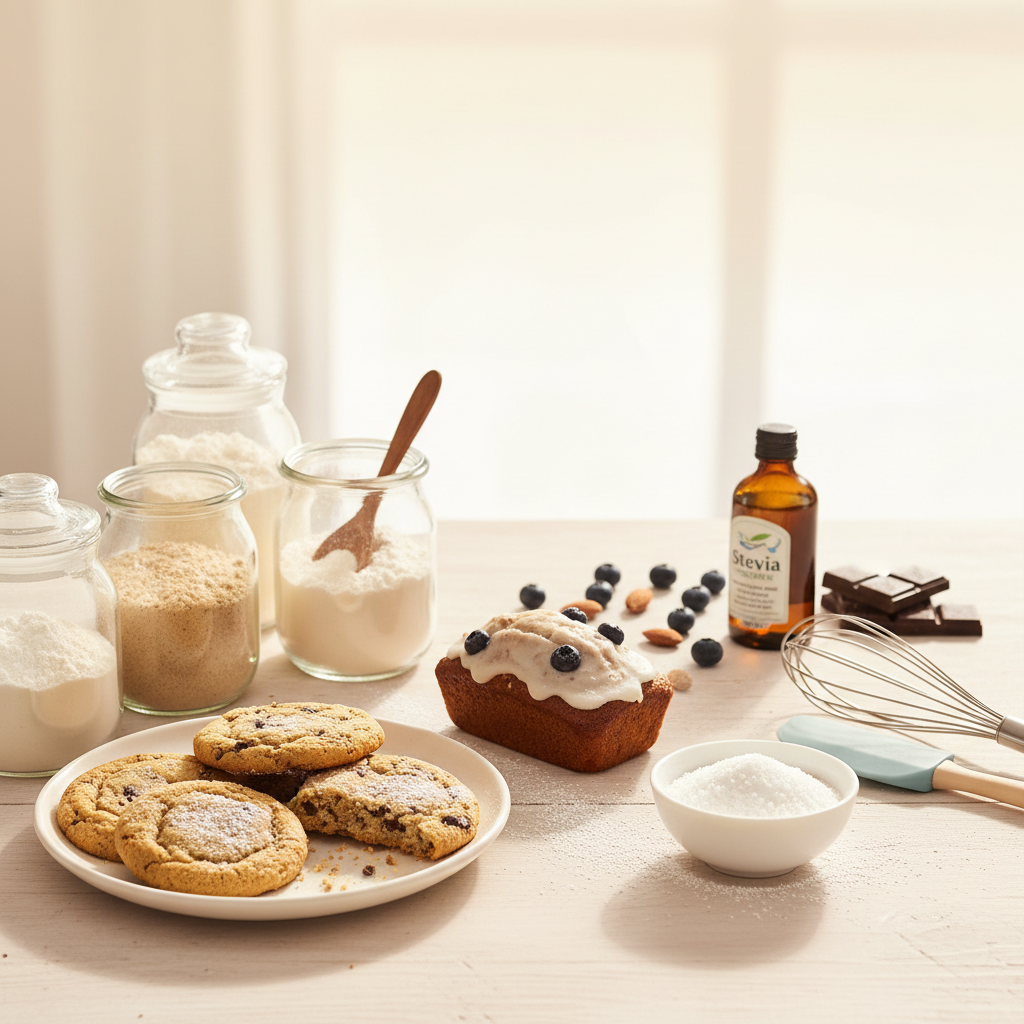
Gluten-free sugar-free baking for diabetics: a complete guide to ingredients, products, and techniques that actually work
Best keto baking essentials at every price point: budget, mid-range, and premium picks
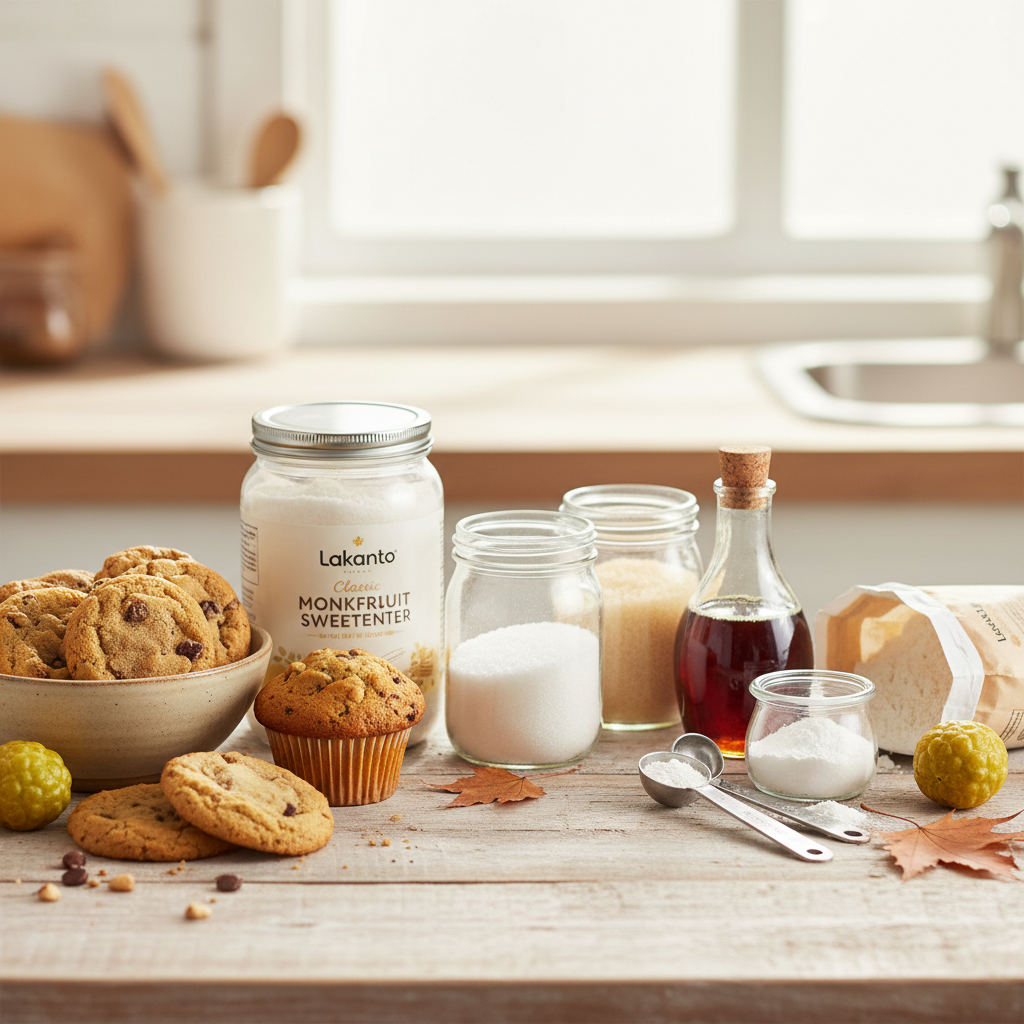
Best sugar and sweetener alternatives by price for baking: budget to premium picks compared
Bake with Confidence
See all
Confident Gluten-Free Baker Toolkit
The science-based system that replaces gluten's seven invisible jobs so your baking turns out soft, fluffy, and foolproof — every time.

Gluten-Free Recipe Vault
Instant access to our complete library of proven gluten-free recipes — no waiting, no guesswork, just results that work tonight.

Fix Your Gluten-Free Bread
Learn the 3-step formula to make bread rise and stay soft, discover why your loaves collapse, and get a tested sandwich bread recipe that actually works.