
It's super frustrating when you spend all that time making gluten-free bread, only for it to fall flat. We've all been there, wondering, "why is my gluten-free bread collapsing?" It feels like a baking mystery sometimes, right? But don't worry, we're here to spill the beans on what's really going on and how to get that perfect, fluffy loaf you've been dreaming of. We'll walk you through the common issues and give you simple ways to fix them, so your next batch is a total success.
Key Takeaways
- Gluten-free dough acts differently than regular dough, so you can't treat it the same way.
- Proofing time is a big deal; too much or too little can make your bread sink.
- Getting the right amount of liquid is super important for gluten-free bread’s structure.
- The kind of gluten-free flour and binders you use really change how your bread turns out.
- Proper baking temperature and cooling are just as important as the ingredients themselves.
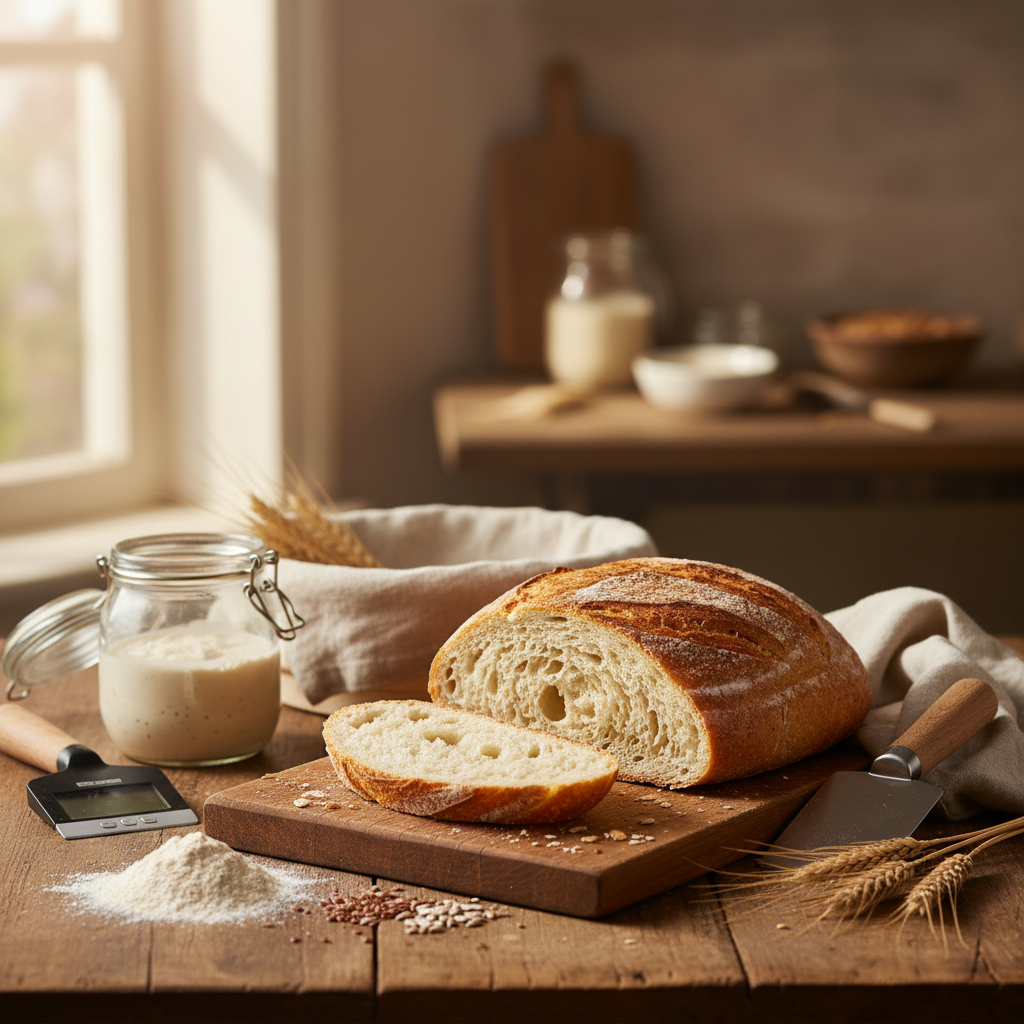
Understanding the Gluten-Free Dough Dilemma
Let's be real, baking gluten-free bread can feel like navigating a minefield. One minute you're feeling confident, the next your loaf has collapsed into a sad, dense brick. But don't worry, we're here to help you understand why this happens and, more importantly, how to fix it!
The Role of Gluten in Traditional Baking
Gluten is the MVP in traditional bread making. It's a protein that, when mixed with water, creates a stretchy, elastic network. This network traps gases produced by yeast, allowing the dough to rise and giving bread its airy, chewy texture. Think of it as the scaffolding that holds everything together. Without it, things get a little... complicated.
Why Gluten-Free Dough Behaves Differently
Okay, so here's the deal: gluten-free dough doesn't have gluten. Shocker, right? This means it lacks that stretchy, elastic network that's so crucial for trapping gas and providing structure.
As a result, gluten-free dough tends to be more fragile, less cohesive, and often struggles to hold its shape during baking. It's like trying to build a house out of sand – it needs extra help to stay standing.
The Importance of Structure in Gluten-Free Bread
Since we're missing gluten, we need to find other ways to build structure in our gluten-free loaves. This is where things like flour blends, binders (like xanthan gum), and proper baking techniques come into play.
We need to mimic the role of gluten by creating a framework that can support the bread as it rises and bakes. Think of it as building a new kind of scaffolding, one that's specifically designed for gluten-free ingredients. It's all about understanding how each ingredient contributes to the overall structure and how to balance them for the best results. We need to consider:
- The type of flour blend we use.
- The amount of liquid in the recipe.
- The role of binders like xanthan gum.
- The oven temperature and baking time.
The Proof is in the Proofing (Or Lack Thereof)
Let's talk ingredients! When it comes to gluten-free bread, the flour blend and binders you use can make or break your loaf. It's not just about swapping out wheat flour; it's about understanding the roles different ingredients play in creating structure and texture.
Choosing the Right Gluten-Free Flour Blend
Finding the right flour blend is like finding the perfect pair of jeans – it takes some trial and error, but once you find it, you'll know! There's no one-size-fits-all solution, as different blends work better for different recipes and personal preferences. We've experimented with tons of different blends, and here are a few things we've learned:
- Pre-made blends can be convenient, but always check the ingredient list. Some contain ingredients you might want to avoid, or might not give you the texture you're looking for.
- Don't be afraid to mix your own! This gives you complete control over the ingredients and allows you to customize the blend to your specific needs. We've had great success with blends using a combination of rice flour, tapioca starch, and sorghum flour.
- Consider the protein content. Higher protein flours, like sorghum or teff, can add structure and chewiness to your bread.
The Magic of Binders: Xanthan Gum and More
Since gluten is the 'glue' in traditional bread, we need to find a substitute in gluten-free baking. That's where binders come in! These ingredients help to hold everything together and prevent your bread from crumbling into a sad pile of crumbs. Here are some common binders:
- Xanthan Gum: This is probably the most popular binder, and for good reason. It's readily available and works well in most recipes. However, some people are sensitive to it, so it's good to know your options.
- Guar Gum: Similar to xanthan gum, guar gum can also be used as a binder. Some people find it produces a slightly softer texture.
- Psyllium Husk: This is a great natural option that also adds fiber to your bread! It needs to be mixed with water to form a gel before adding it to the dough.
Balancing Starches and Proteins
Think of starches and proteins as the building blocks of your gluten-free bread. Starches provide structure and lightness, while proteins add chewiness and flavor. Getting the right balance is key to achieving the perfect texture.
- Too much starch can result in a gummy or overly soft bread.
- Too much protein can make your bread dense and dry.
- Experiment with different ratios to find what works best for you. We often start with a 50/50 blend of starches and proteins and adjust from there based on the results.
Oven Temperature and Baking Time: Your Bread's Best Friends

Okay, let's talk about heat! Getting the oven temperature and baking time right is super important for gluten-free bread. It can be the difference between a beautiful, airy loaf and a collapsed, gummy mess. We've all been there, trust us!
Preheating for Success
Preheating is non-negotiable. Seriously. A fully preheated oven ensures that your bread starts baking at the correct temperature from the get-go. This initial burst of heat is what helps the bread rise properly and develop a good crust. Think of it like giving your bread a running start. Don't even think about putting your loaf in until that oven is ready to rock. We usually wait an extra 10-15 minutes after the oven says it's preheated, just to be sure.
The Impact of Oven Temperature Fluctuations
Ovens can be tricky. They often have hot spots or temperature fluctuations that can affect how your bread bakes.
Here's what we do:
- Use an oven thermometer to monitor the actual temperature inside.
- Rotate the bread halfway through baking to ensure even cooking.
- Avoid opening the oven door too often, as this lets heat escape and can cause the bread to collapse.
Knowing When Your Bread is Truly Done
This is the million-dollar question, isn't it? How do you know when your gluten-free bread is actually done? The toothpick test isn't always reliable with gluten-free bread because it can be naturally a bit moist inside.
Here are a few things we look for:
- A hollow sound when you tap the bottom of the loaf.
- A nicely browned crust.
- An internal temperature of around 205-210°F (use an instant-read thermometer!).
If you're unsure, it's always better to err on the side of overbaking slightly rather than underbaking. Nobody wants a gummy center!
Cooling Down: The Often-Overlooked Step
Okay, so you've baked your gluten-free bread. It looks (hopefully) amazing. But don't get too excited and slice into it right away! Cooling is super important, and it's a step that people often skip or rush, which can totally ruin your bread.
The Importance of Proper Cooling
Honestly, cooling is where the magic really happens. It allows the internal structure of the bread to set properly. Think of it like this: the starches and proteins are still rearranging themselves as the bread cools. If you cut into it too soon, you're basically interrupting that process, and you'll end up with a gummy, unstable mess. We've all been there!
Why Cutting Warm Bread is a No-No
Seriously, resist the urge! Here's why:
- The crumb will be sticky and wet.
- The bread will likely collapse under its own weight.
- The flavors haven't fully developed yet.
- It can be difficult to slice neatly.
Achieving a Stable Structure After Baking
So, how do you cool your gluten-free bread the right way? Here's what we usually do:
- Remove the bread from the pan immediately after baking. This prevents the bottom from getting soggy.
- Place the loaf on a wire rack to allow air to circulate around it. This helps it cool evenly.
- Let it cool completely! This usually takes at least 1-2 hours, depending on the size of the loaf. We know, it's hard to wait, but trust us, it's worth it.
- If you're in a humid environment, you might want to tent the bread loosely with foil to prevent the crust from getting too soft. But be careful not to wrap it too tightly, or you'll trap moisture.
Once it's completely cool, you can finally slice and enjoy your perfectly baked (and cooled!) gluten-free bread.
Troubleshooting Common Gluten-Free Bread Woes
Okay, so your gluten-free bread isn't turning out quite like those perfect loaves you see online? Don't worry, we've all been there! Gluten-free baking can be tricky, but with a little detective work, we can usually figure out what went wrong. Let's tackle some common issues.
Why Your Bread is Gummy Inside
Gummy bread is a bummer, right? Usually, this happens because the bread wasn't fully baked. Underbaking is a common culprit. But it could also be too much moisture in the dough. Here's what to check:
- Baking Time: Make sure you're baking it long enough. A toothpick inserted into the center should come out clean.
- Oven Temperature: Is your oven running at the correct temperature? An oven thermometer can help.
- Liquid Ratio: Did you accidentally add too much liquid? Reduce the liquid slightly in your next batch.
When Your Loaf Falls Apart
A loaf that crumbles easily is frustrating. This often points to a lack of structure. Here are a few things to consider:
- Binding Agents: Are you using enough xanthan gum or another binder? These help hold the bread together.
- Flour Blend: Is your flour blend balanced? Too much of one type of flour can affect the structure.
- Cooling: Did you let the bread cool completely before slicing? Cutting it warm can cause it to fall apart.
Addressing a Dense Texture
Dense, heavy bread? No fun. This can be due to a few different factors:
- Not Enough Rise: Did the dough rise enough before baking? Make sure your yeast is active and give it enough time.
- Too Much Flour: Did you add too much flour? This can make the dough too stiff.
- Oven Temperature: Is your oven temperature too low? This can prevent the bread from rising properly.
Conclusion
So, there you have it! We've gone through a bunch of reasons why gluten-free bread can be a bit tricky, and more importantly, how to get it right. It's easy to get frustrated when your loaf doesn't turn out like you hoped. But honestly, with a few small changes and a little patience, we can all make really good gluten-free bread. Keep trying, pay attention to those details, and soon you'll be enjoying perfect slices every time. Happy baking!

Written by
Co-founder, BakingSubs
Co-founder of BakingSubs, where he turns the science of ingredient substitutions into tested, reliable guidance for home bakers.
Related Posts
How to Price Sourdough Bread for Sale: A Real Framework From Bakers Who Actually Profit
Bread Microbakery Profit Margins and Realistic Income: What 3 Operators Actually Take Home
Best home bakery niche ideas to start (and how to pick one that actually makes money)
Bake with Confidence
See all
Confident Gluten-Free Baker Toolkit
The science-based system that replaces gluten's seven invisible jobs so your baking turns out soft, fluffy, and foolproof — every time.

Gluten-Free Recipe Vault
Instant access to our complete library of proven gluten-free recipes — no waiting, no guesswork, just results that work tonight.

Fix Your Gluten-Free Bread
Learn the 3-step formula to make bread rise and stay soft, discover why your loaves collapse, and get a tested sandwich bread recipe that actually works.